0
Climadoor Internal Bifold Doors
Climadoor brand internal bifold doors give you peace of mind for quality and ease of fitment. Exceptional value for money. Available in white, oak and a variety of glazing options.
From £70.92
From £67.50
From £26.00
From £133.99
From £60.00
From £26.00
From £90.00
From £61.53
From £107.00
From £91.99
From £26.00
From £207.05
From £41.99
Internal Doors by style
From £111.00
From £203.63
From £240.75
From £67.50
From £105.00
From £205.00
From £112.50
From £243.83
From £67.50
From £69.99
From £69.99
From £84.00
Introduce a sense of timeless craftsmanship to your project with internal oak door sets.
View Full RangeKeep it simple with versatile moulded door sets that arrive ready for rapid installation.
View Full RangeAdd that touch of warmth with a prehung oak fire door set, for any traditional or modern home.
View Full RangeFrench Doors increase the value of your home and make the most of your outdoor space all year round. Make a great investment in your home today.
View Full RangeExternal bifold doors are the perfect way to show off a well-maintained garden. These glass sliding doors will extend your living space during the spring and summer months. They create a light and bright atmosphere and add a finishing touch to your living room, kitchen, or conservatory.
View Full RangeBring the outside in with a striking set of sliding patio doors. If you want to open up your home with large glass panels that let the light flood in, patio doors are a must-have.
View Full RangeFrom £295.07
From £299.00
From £104.25
From £108.99
From £104.25
From £125.00
From £58.99
From £120.50
From £240.00
Installing internal doors is a fairly simple task to carry out yourself. But before you hang the door, it's important to understand the process and any potential pitfalls.

Interior doors may be the most humble part of any home. They keep the heat in, drown out noises from elsewhere in the home, and provide privacy.
We're here to sing the praises of internal doors, and explain how to replace an old, shoddy one with a brand new door in nine easy steps.
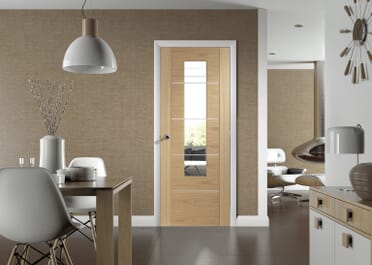
As well as separating living spaces and acting as a minimiser of noise, the internal door also adds a design detail to your overall décor.
When sprucing up a room, you'd be surprised by the impact installing a new door has. A pristine, white option, particularly those with glazed panels will add more natural light, whereas a painted door can add considerable character, quickly becoming a focal point.
And that's before we even mention the wide variety of stunning door handles that add an exceptional finishing touch to your room.
Do we have you convinced?
Great.
Once you've found a beautiful new interior door, ordered it in the correct size and had it delivered, it's time to replace your old door with your new one, hanging it within the existing frame.
Remember that there are many potential different variations of door dimensions, dependent on the age of your house. Therefore, you should order a door that is as close to the original dimensions as possible.
While you can pay a handyman to install it for you, the process is actually quite simple.
Anyone can carry out the installation themselves, although we do recommend asking a friend or family member for help. You won't want to be lifting, taking measurements, checking the fit etc alone. An extra pair of hands will be more than helpful to get the task completed quickly and safely.
To complete this project swiftly and safely, you'll need:
1x Bevelled edge chisel.
Clamps.
2x Door handles.
Dust mask (one per person).
Gloves (one per person).
1x Hammer.
2/3x Hinges (depending on the door).
1x Latch.
1x Pencil.
1x Plane or saw.
Safety glasses or goggles (one per person).
Sanding block or sandpaper.
1x Screwdriver and screws.
1x Tape measure.
2x Wedges.
1x Workbench.
1x Your new door.
Before we get started, here are a few top tips from the team at Express Door Direct:
If possible, purchase hinges that are the same size as the existing ones. While not essential, it will make fixing hinges much easier.
Try and do the same for your door latch if you're also installing this.
Make sure your pencil and chisel are both sharp to make things easier.
The first thing you'll need to do is acclimatise your wooden doors by laying them flat on an even surface inside your house for around three days. Check our guide on how to store your new internal doors for more information.
It may take this long for the door to expand or contract depending on the environment it's in. Don't worry, it won't change too much but you don't want it responding to the environmental change when it's already attached to the door frame.
Secondly, you'll need to uninstall the old door, but don't get rid of it straight away, it may be helpful in a few steps' time.
If the existing hinges are covered in paint, you should scrape this off using the edge of your screwdriver to clear the groove. This will make taking the door down much easier (trust us).
Most door hinges are secured with flathead screws (single line), so use a flathead screwdriver to remove these.
It is often easier to unscrew the half of the hinge attached to the door first. We recommend alternating between the top and bottom hinge screws to prevent the door from flapping and moving, leaving the very top screw until last.
This is where it's helpful to have an extra pair of hands to hold the door in place. If you're working solo then you could place a wedge under the door to keep things steady.
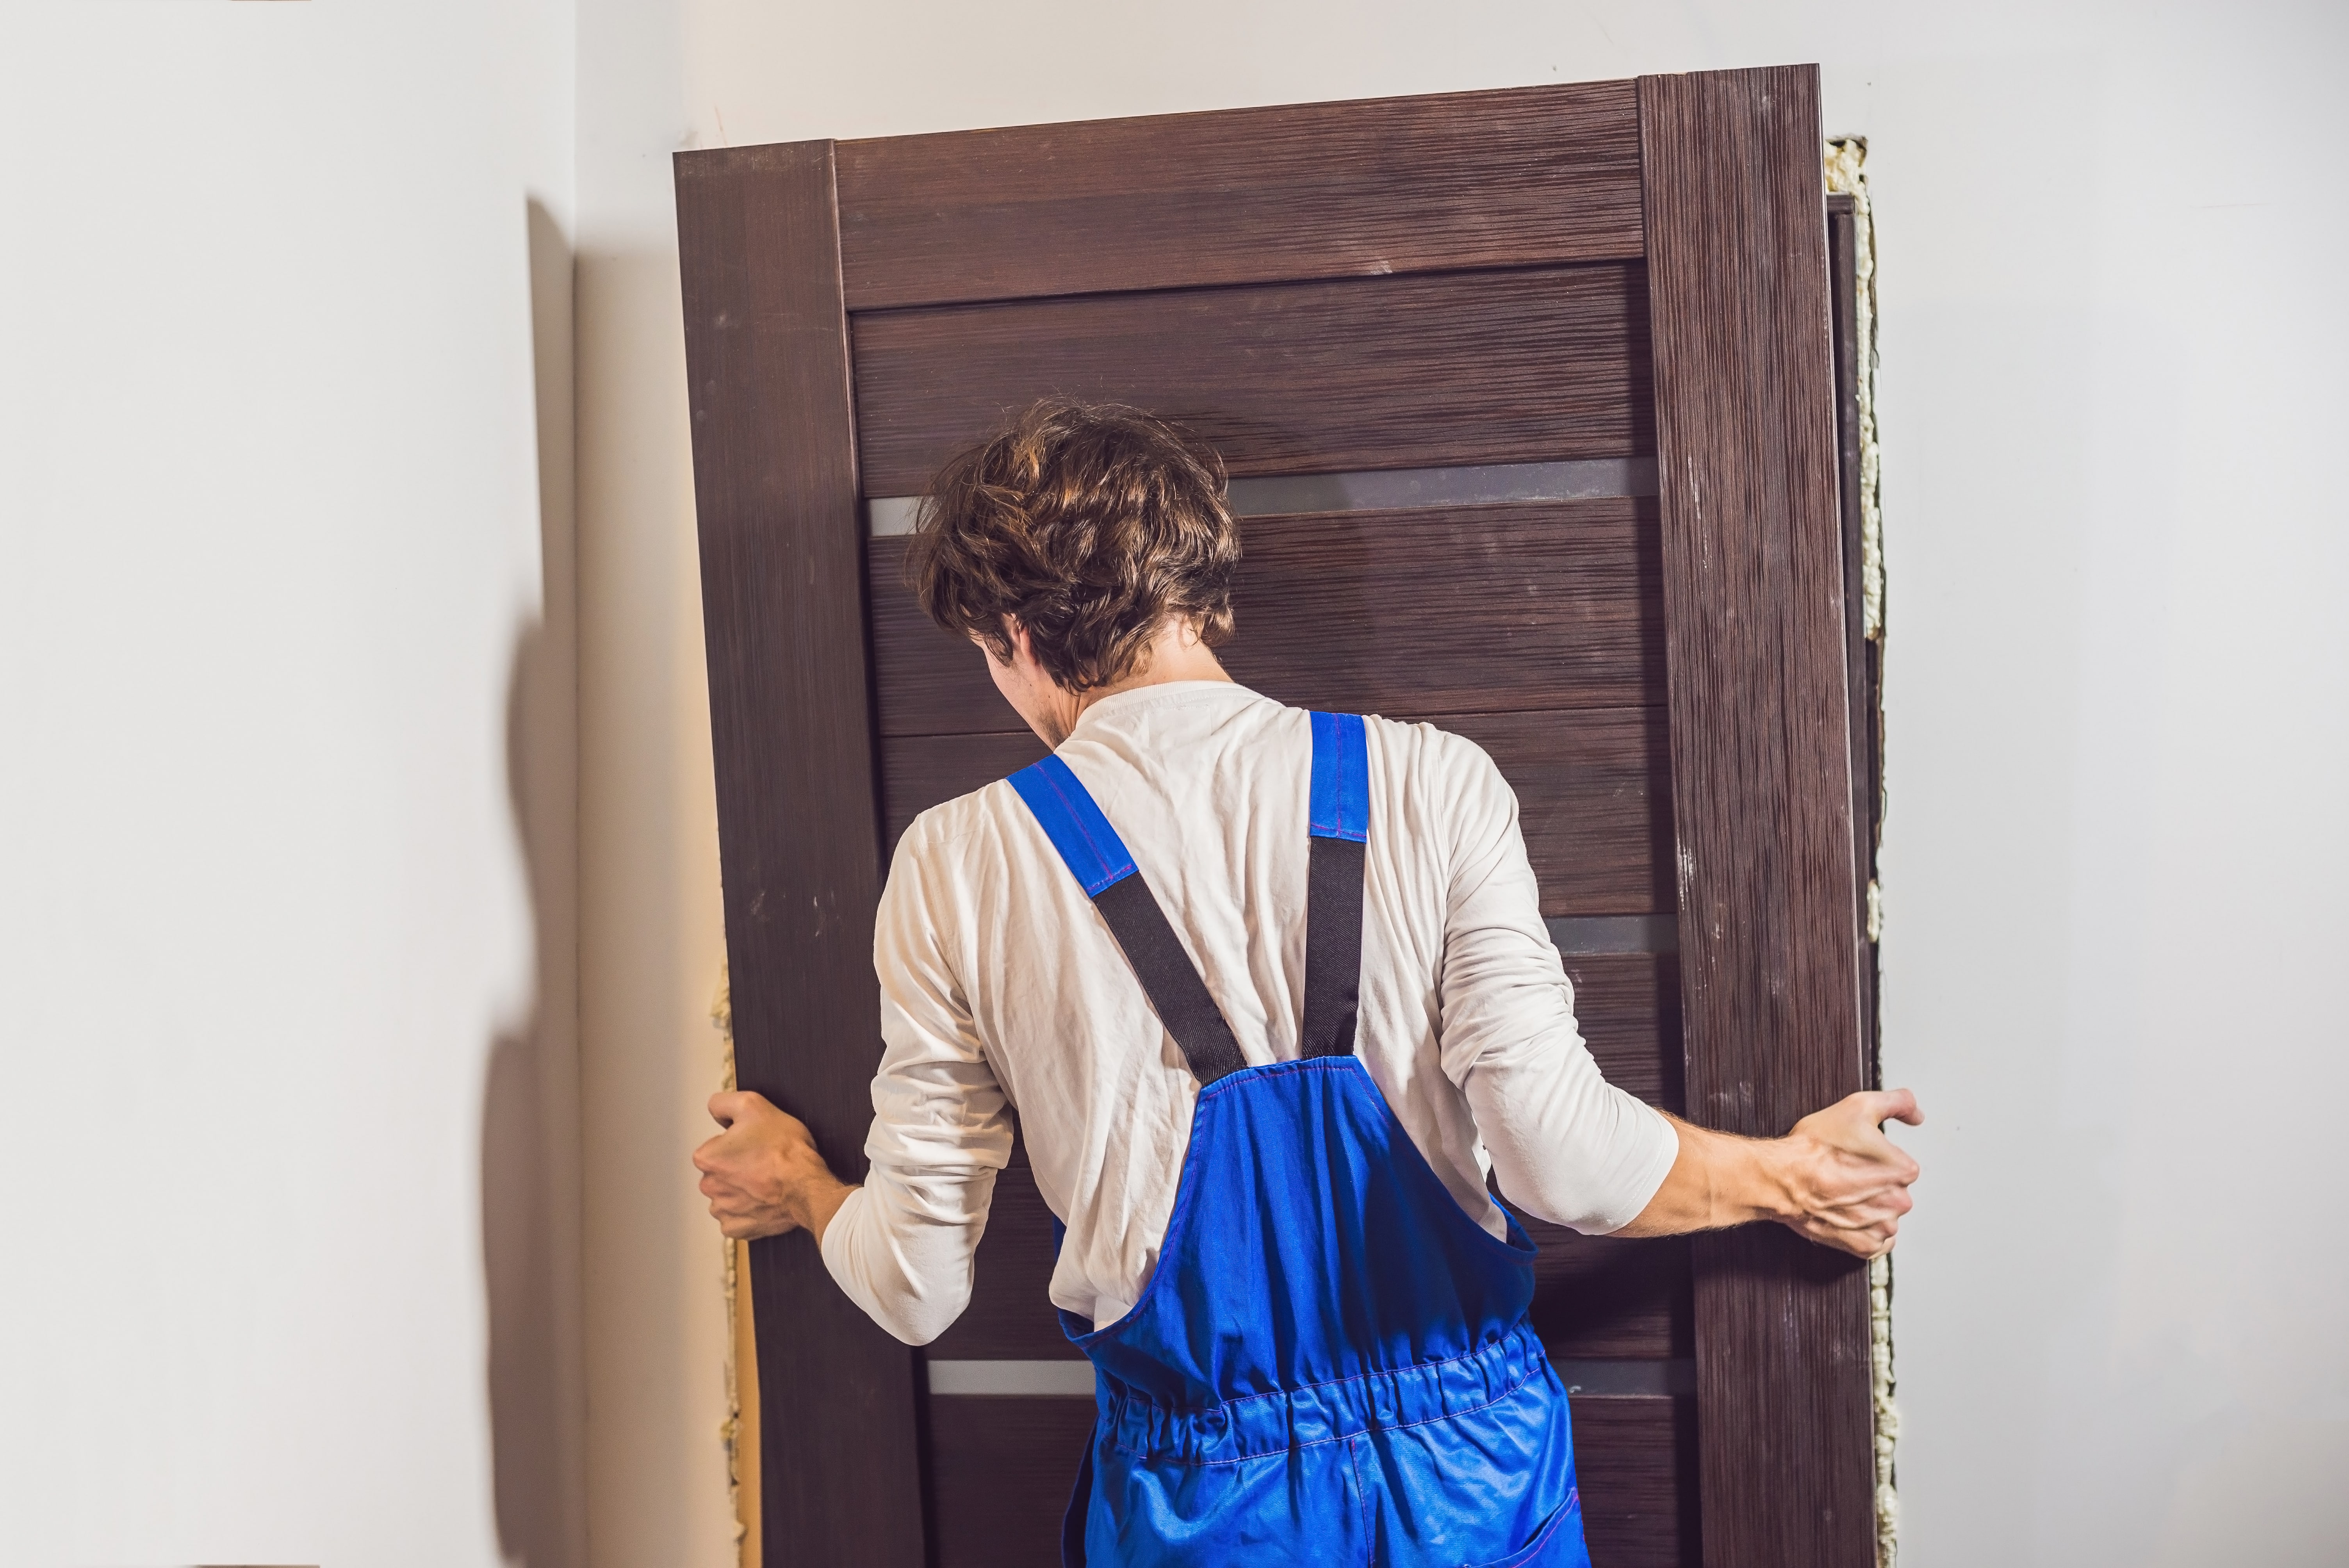
Once the hinges are unscrewed, slowly move the door out of the old door frame, tilting it downwards so you can easily move and store it safely out of the way.
Yes, you read that correctly.
Most new doors, even a standard sized door, will need to be trimmed a little to fit into the frame snugly. Most doors can handle having a certain amount of wood chiselled away without affecting the structural integrity.
We've created an incredibly detailed guide on how to trim internal doors, so make sure you've read this carefully before you tackle the task.
You should wear your protective glasses, goggles and mask for this step.
This is where your old door could come in handy. If it hasn't warped and still has a snug fit, you could use it as the outline for your new door, using a sharp pencil to draw around it so you know exactly how much to take off each side.
With that said, it may be more accurate (particularly if the original has seen better days) to follow the steps in the guide.
Remember that an internal door is meant to keep heat in one room, expelling the chill from elsewhere in the house. If you don't get a snug fit, it won't work as well as it should.
Hinges on a door and frame are inset so that they do not interfere with the operation of the door.
The easiest way to cut hinge recesses is to use a hammer and chisel, with a hinge cutter, which is available in various sizes to suit and will ensure that you do not cut your inset too deep or wide. You may need to cut a wide or longer inset into the frame also (more on this later).
Once your door fits nicely within the frame, the next step will be accurately marking where the new hinges will be positioned. This is another step where an extra pair of hands is welcome.
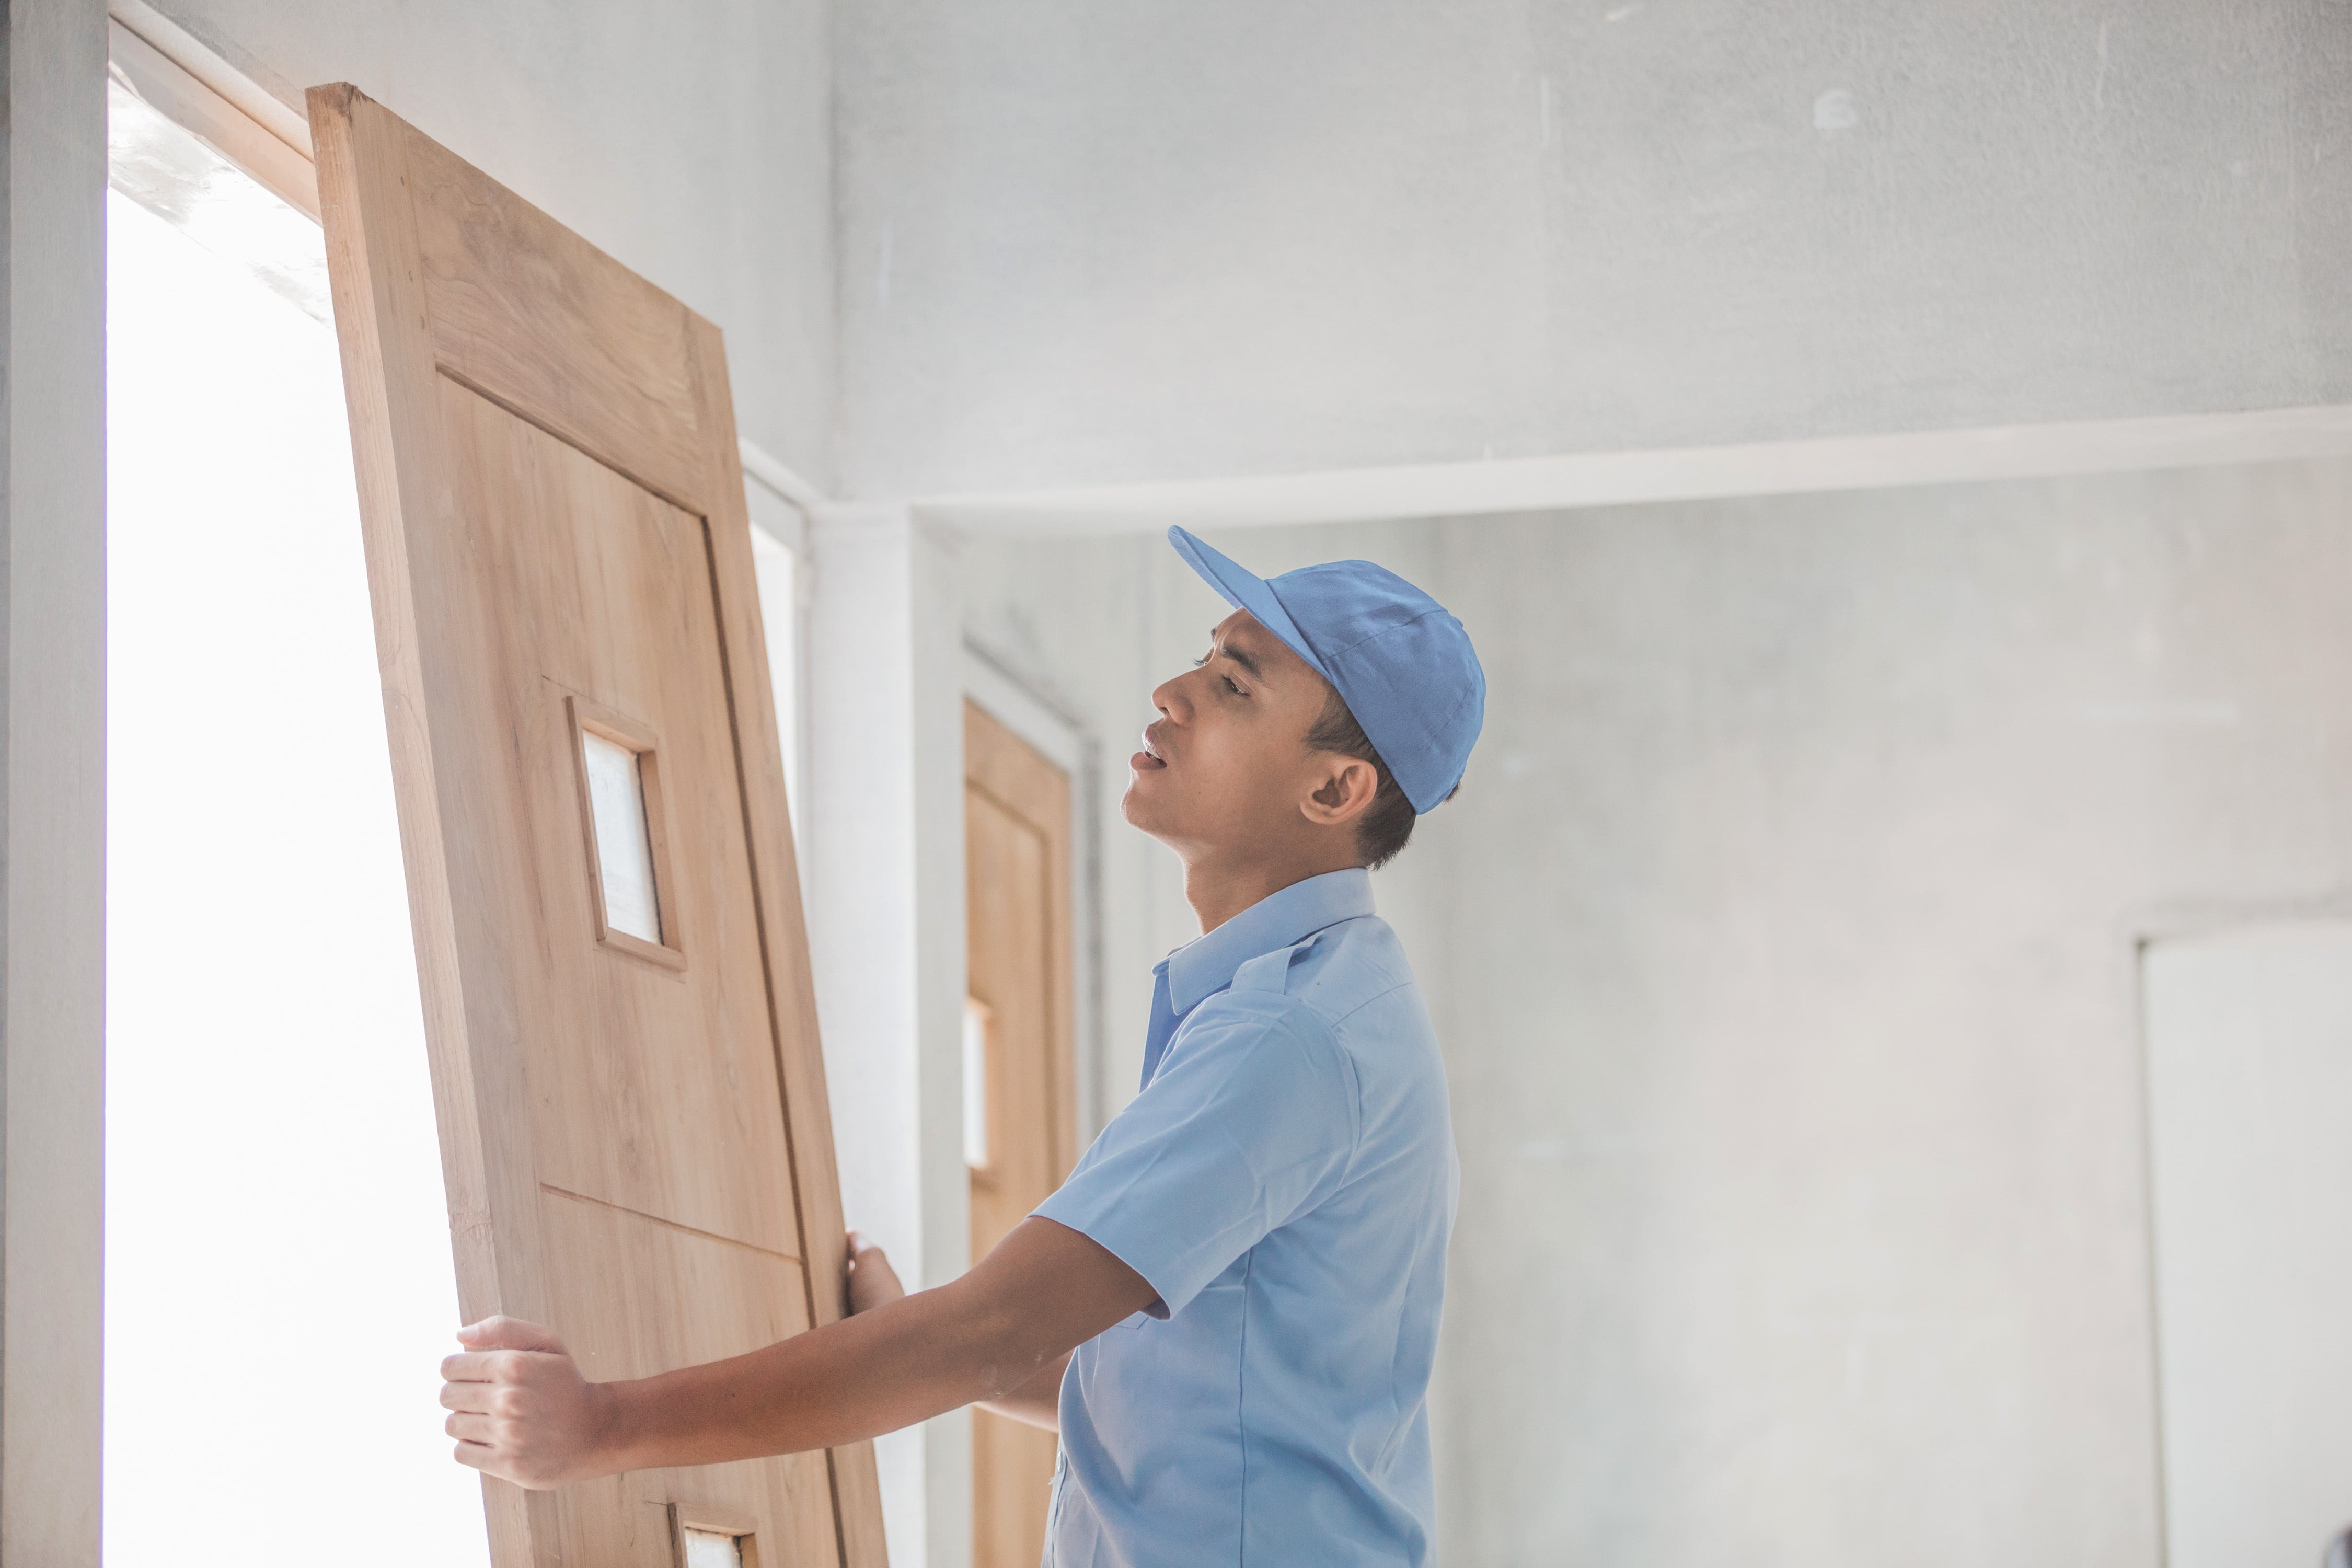
Put the door in place, using the wedges at the bottom to ensure it's exactly where it should be, and, while someone is holding the door steady, use a pencil to mark the hinge (bottom, middle and top) outlines on your door.
Take your door back down and secure it to the workstation using the clamps and straps to keep it from shifting around while you work.
Using the marking you just made as a guide, position the hinge plate against the edge of the door and mark out the outline and holes with you your pencil.
Next, you need to ascertain the thickness of the hinge, so you can chisel out the correct depth. Again, use the hinge plate as a guide and mark it out with your pencil.
Put on your safety goggles, mask and gloves again for this next step.
Using your chisel and hammer, cut around the inside of your markings on the side of the door.
Holding the chisel at a 45-degree angle, make small upwards stepped cuts with approximately 5mm between each cut. This should be to the depth of the hinge plate which you have already marked out.
You're looking to make little cuts so you don't accidentally split the wood.
For this next step, you want the flat side of the chisel to be facing the inside of the door. Chisel out the recess, slowly.
Now that you have a perfectly cut recess, position your hinge and drill pilot holes in the door. This will make the actual installation easier and help prevent the wood from splitting.
You can then screw the hinge plate into position.

You're almost there!
You'll undoubtedly need an additional pair of hands for this step.
Hold the door in the frame as though it were open (to a 90-degree angle) with the hinges to the frame.
Drill a screw into the top hole of the hinge plate at the top of the door.
Do the same on the hinge plate at the bottom of the door, screwing into the bottom hole.
Go back to the top hinge plate and secure another screw.
At this point, it's worth checking that the door opens and closes properly. If it catches on the floor covering, you'll need to take the door back down again and trim the door edge (don't forget your safety equipment if you’re retrimming).
If you don't need to cut out a latch plate or fit a handle, you can skip this step and go straight to step nine - the final step (hurray!)
The latch plate is what keeps a door shut.
Using your tape measure, ascertain the distance from the old latch to the floor and then use those same measurements to mark on your new interior door (which should still be on the hinges) with your pencil.
Take a diagonal measurement of your latch, this is the size of the drill bit you'll use to drill a hole for the latch.
With the wedges under the door to keep it still, drill a hole in the middle of the edges of the door you marked out previously. It's incredibly important to keep your drill straight during this step.
Insert your latch to check it fits correctly and sits flush against the door. Mark the outline with a pencil so you know how much needs to be chiselled out.
As in step four, chisel just inside the lines of your markings.
Then, starting from the middle of the hole you drilled, chisel upwards to the edge to make space for the latch.
Do the same thing but angle the chisel downwards.
Keep checking whether the latch fits as you work so you don't remove too much of the wood.
Position the latch on the outside of the door so it is flush.
Use your pencil to mark out the drill hole for your new handle.
Drill a hole where you've marked. Refer to the handle product information to ascertain what size drill bit you'll need to make the hole.
You can drill until you see it protruding from the other side of the door. This will be your guide so you can drill a hole from the other side, too.
Slot the latch into position and secure using screws. You can use a drill before inserting the screws just like in step four.
Do the same with the handle on both sides of the door. It may be helpful for someone to hold it in place while you secure the screws.
If you're replacing the old door latch in the door frame with a new one, close the door and mark with a pencil where it needs to be installed.
Measure the size of the latch and mark this out on the door frame with a pencil, too.
Next, position the latch against the door frame using your markings as a guide and draw around it.
Wearing your protective goggles and mask, chisel around the inside of your markings, and use the same method as in step six.
You'll also need to remove the middle section using the same method.
Regularly stop and insert the latch until it is flush with the frame.
When it's ready, attach the new plate using your drill and screws.

You're nearly there!
Simply secure screws into the remaining pilot holes in the door hinges and your project is complete.
Keeping your door in pristine condition is even easier than fitting a new door into an existing frame. You'll need to clean it every now and we have another detailed guide that you may find helpful. Glazed doors, in particular, will need regular cleaning to keep the glass sparkling.
Other than that we recommend checking the hinges and wiping these over every now and then to keep them clean. You may need to tighten your hinges but this will be a rarety.
If the door handles or locking mechanism starts to stick, creak or squeak, apply lubrication to keep things operating as they should.
Finally, keep an eye out for signs of damp. If moisture seeps into the wood, your internal door could warp, meaning it will eventually have to be replaced.
Taking on DIY projects can seem a little daunting at first. However, with careful planning, preparation and the right tools, fitting, a new internal door is a relatively simple task.
0115 838 9905
©
Express Doors Direct
All rights reserved
![]()
![]()
![]()
Express Doors Direct Ltd : Trading address : Unit 2 Sinfin Lane Commercial Park, Sinfin Lane, Derby DE24 9HL.
Trusted stockist of Climadoor; the Folding Doors brand.