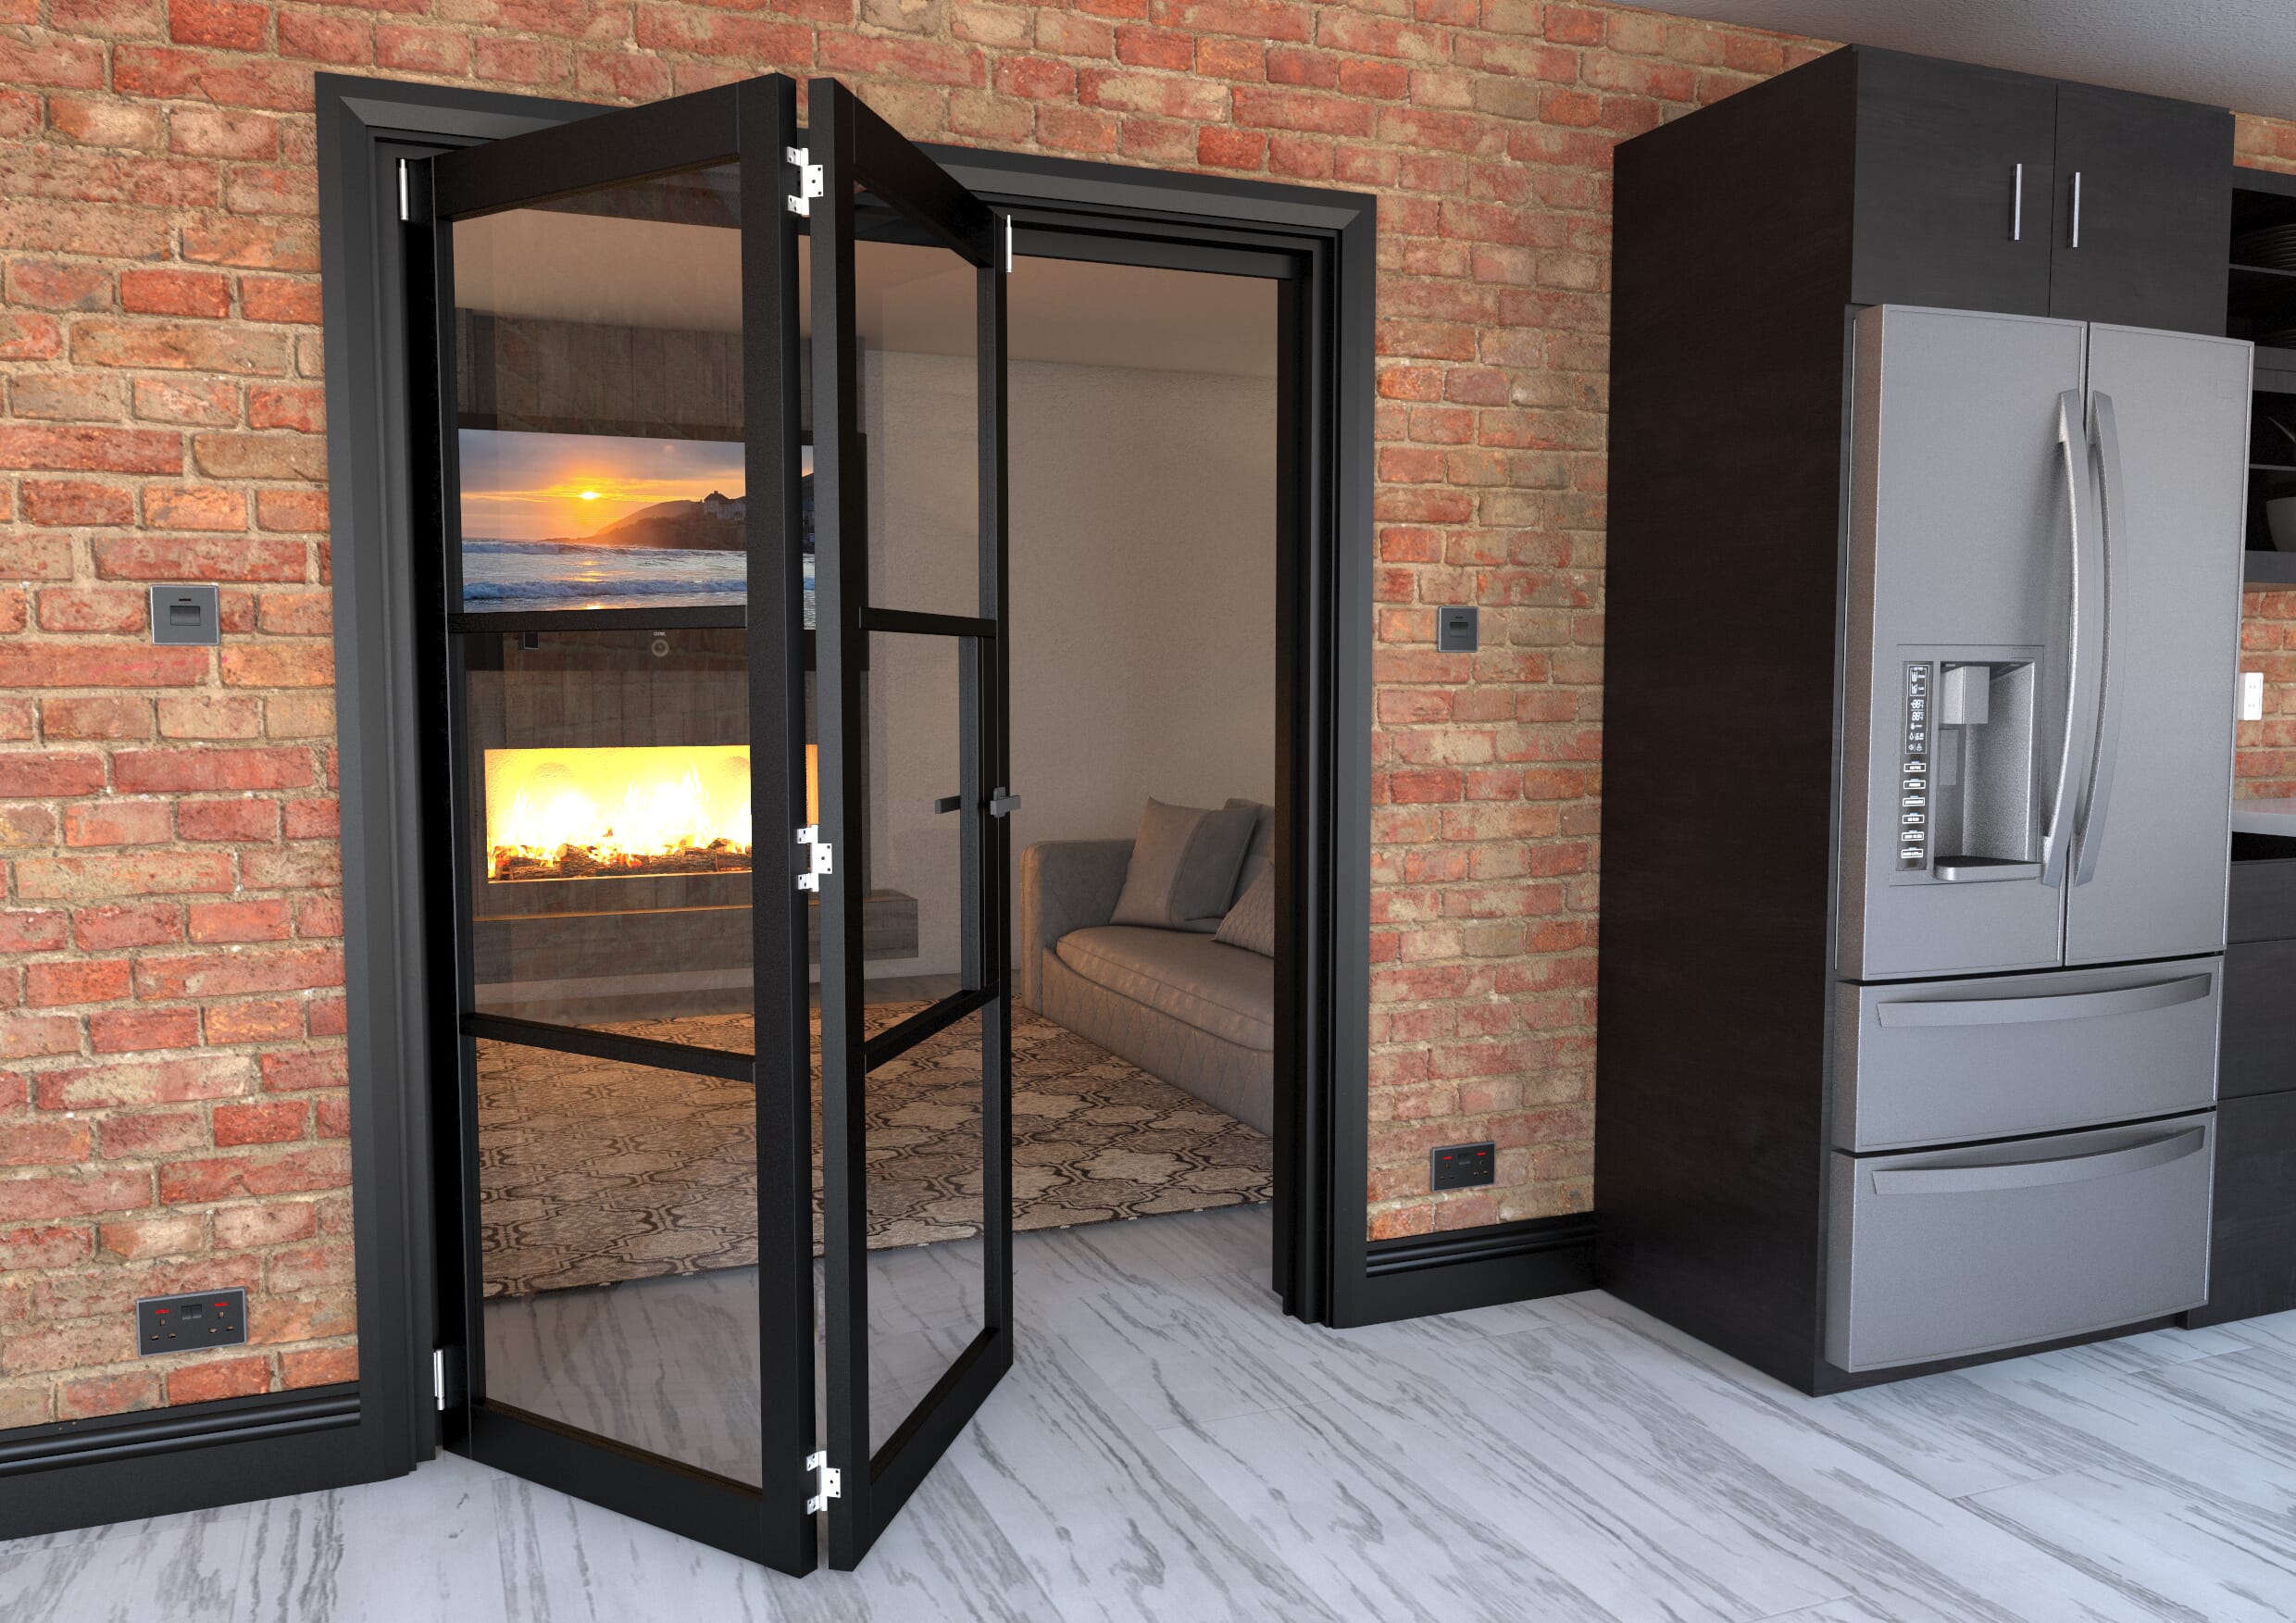
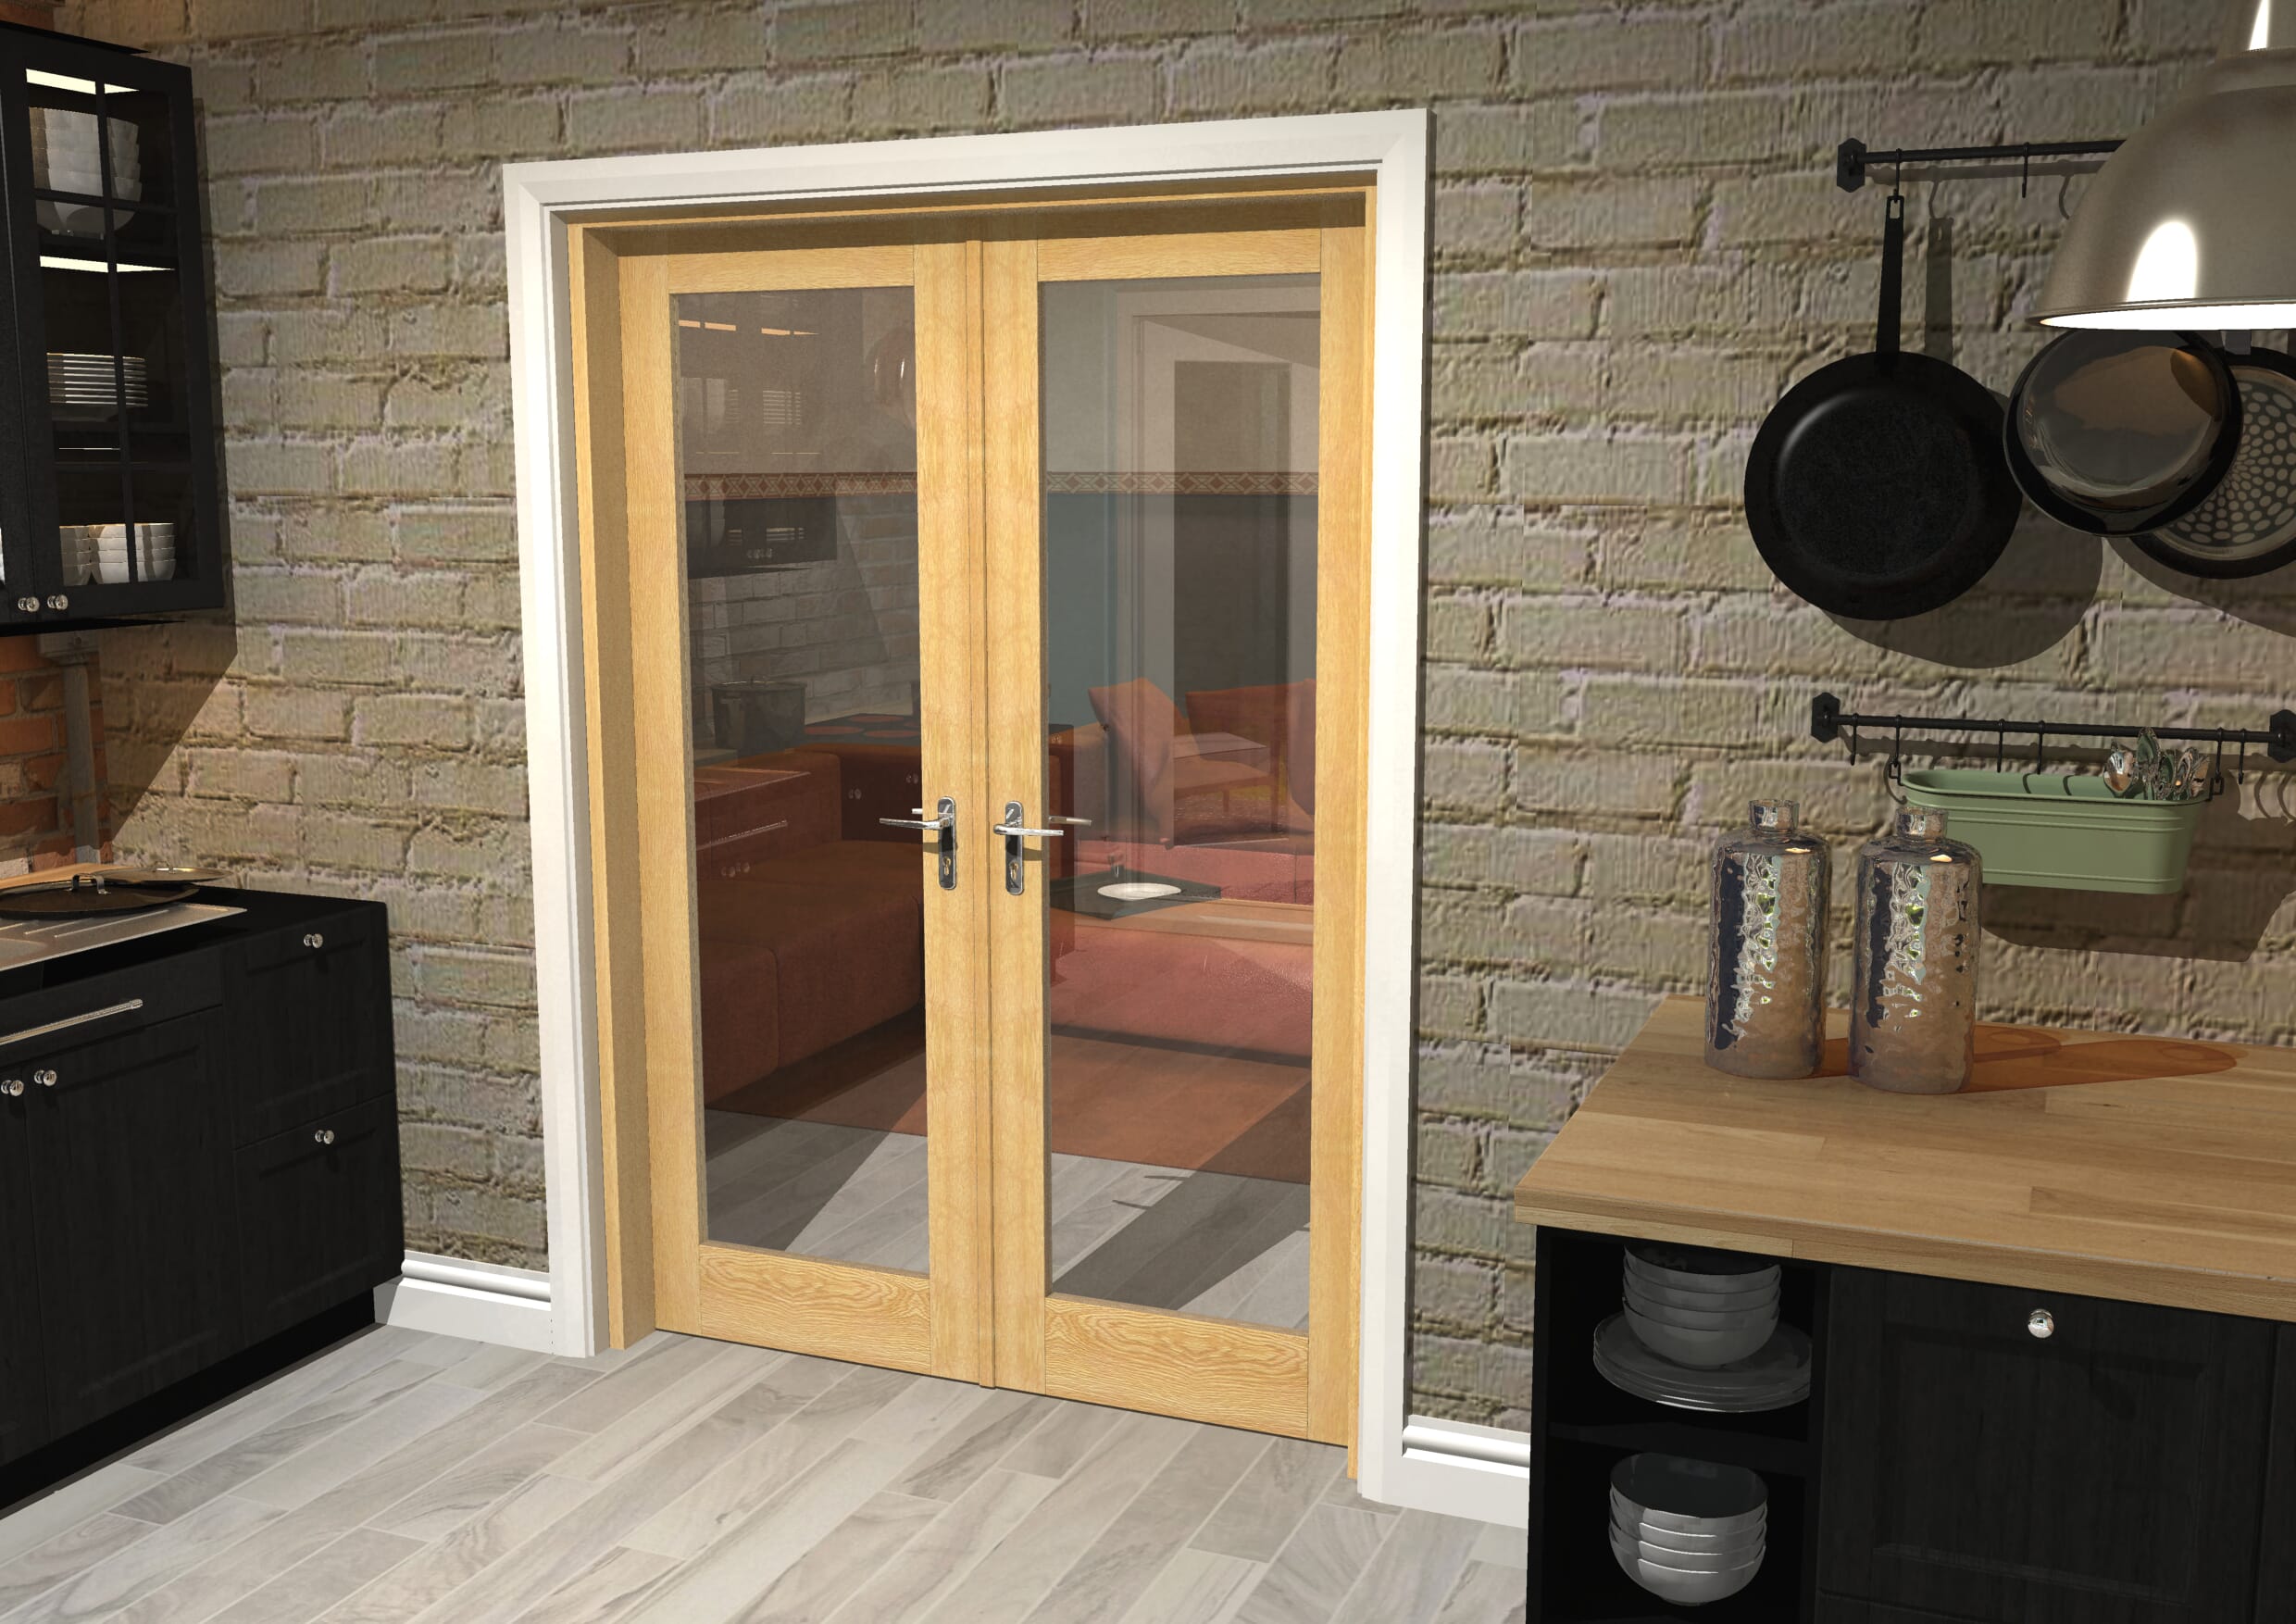
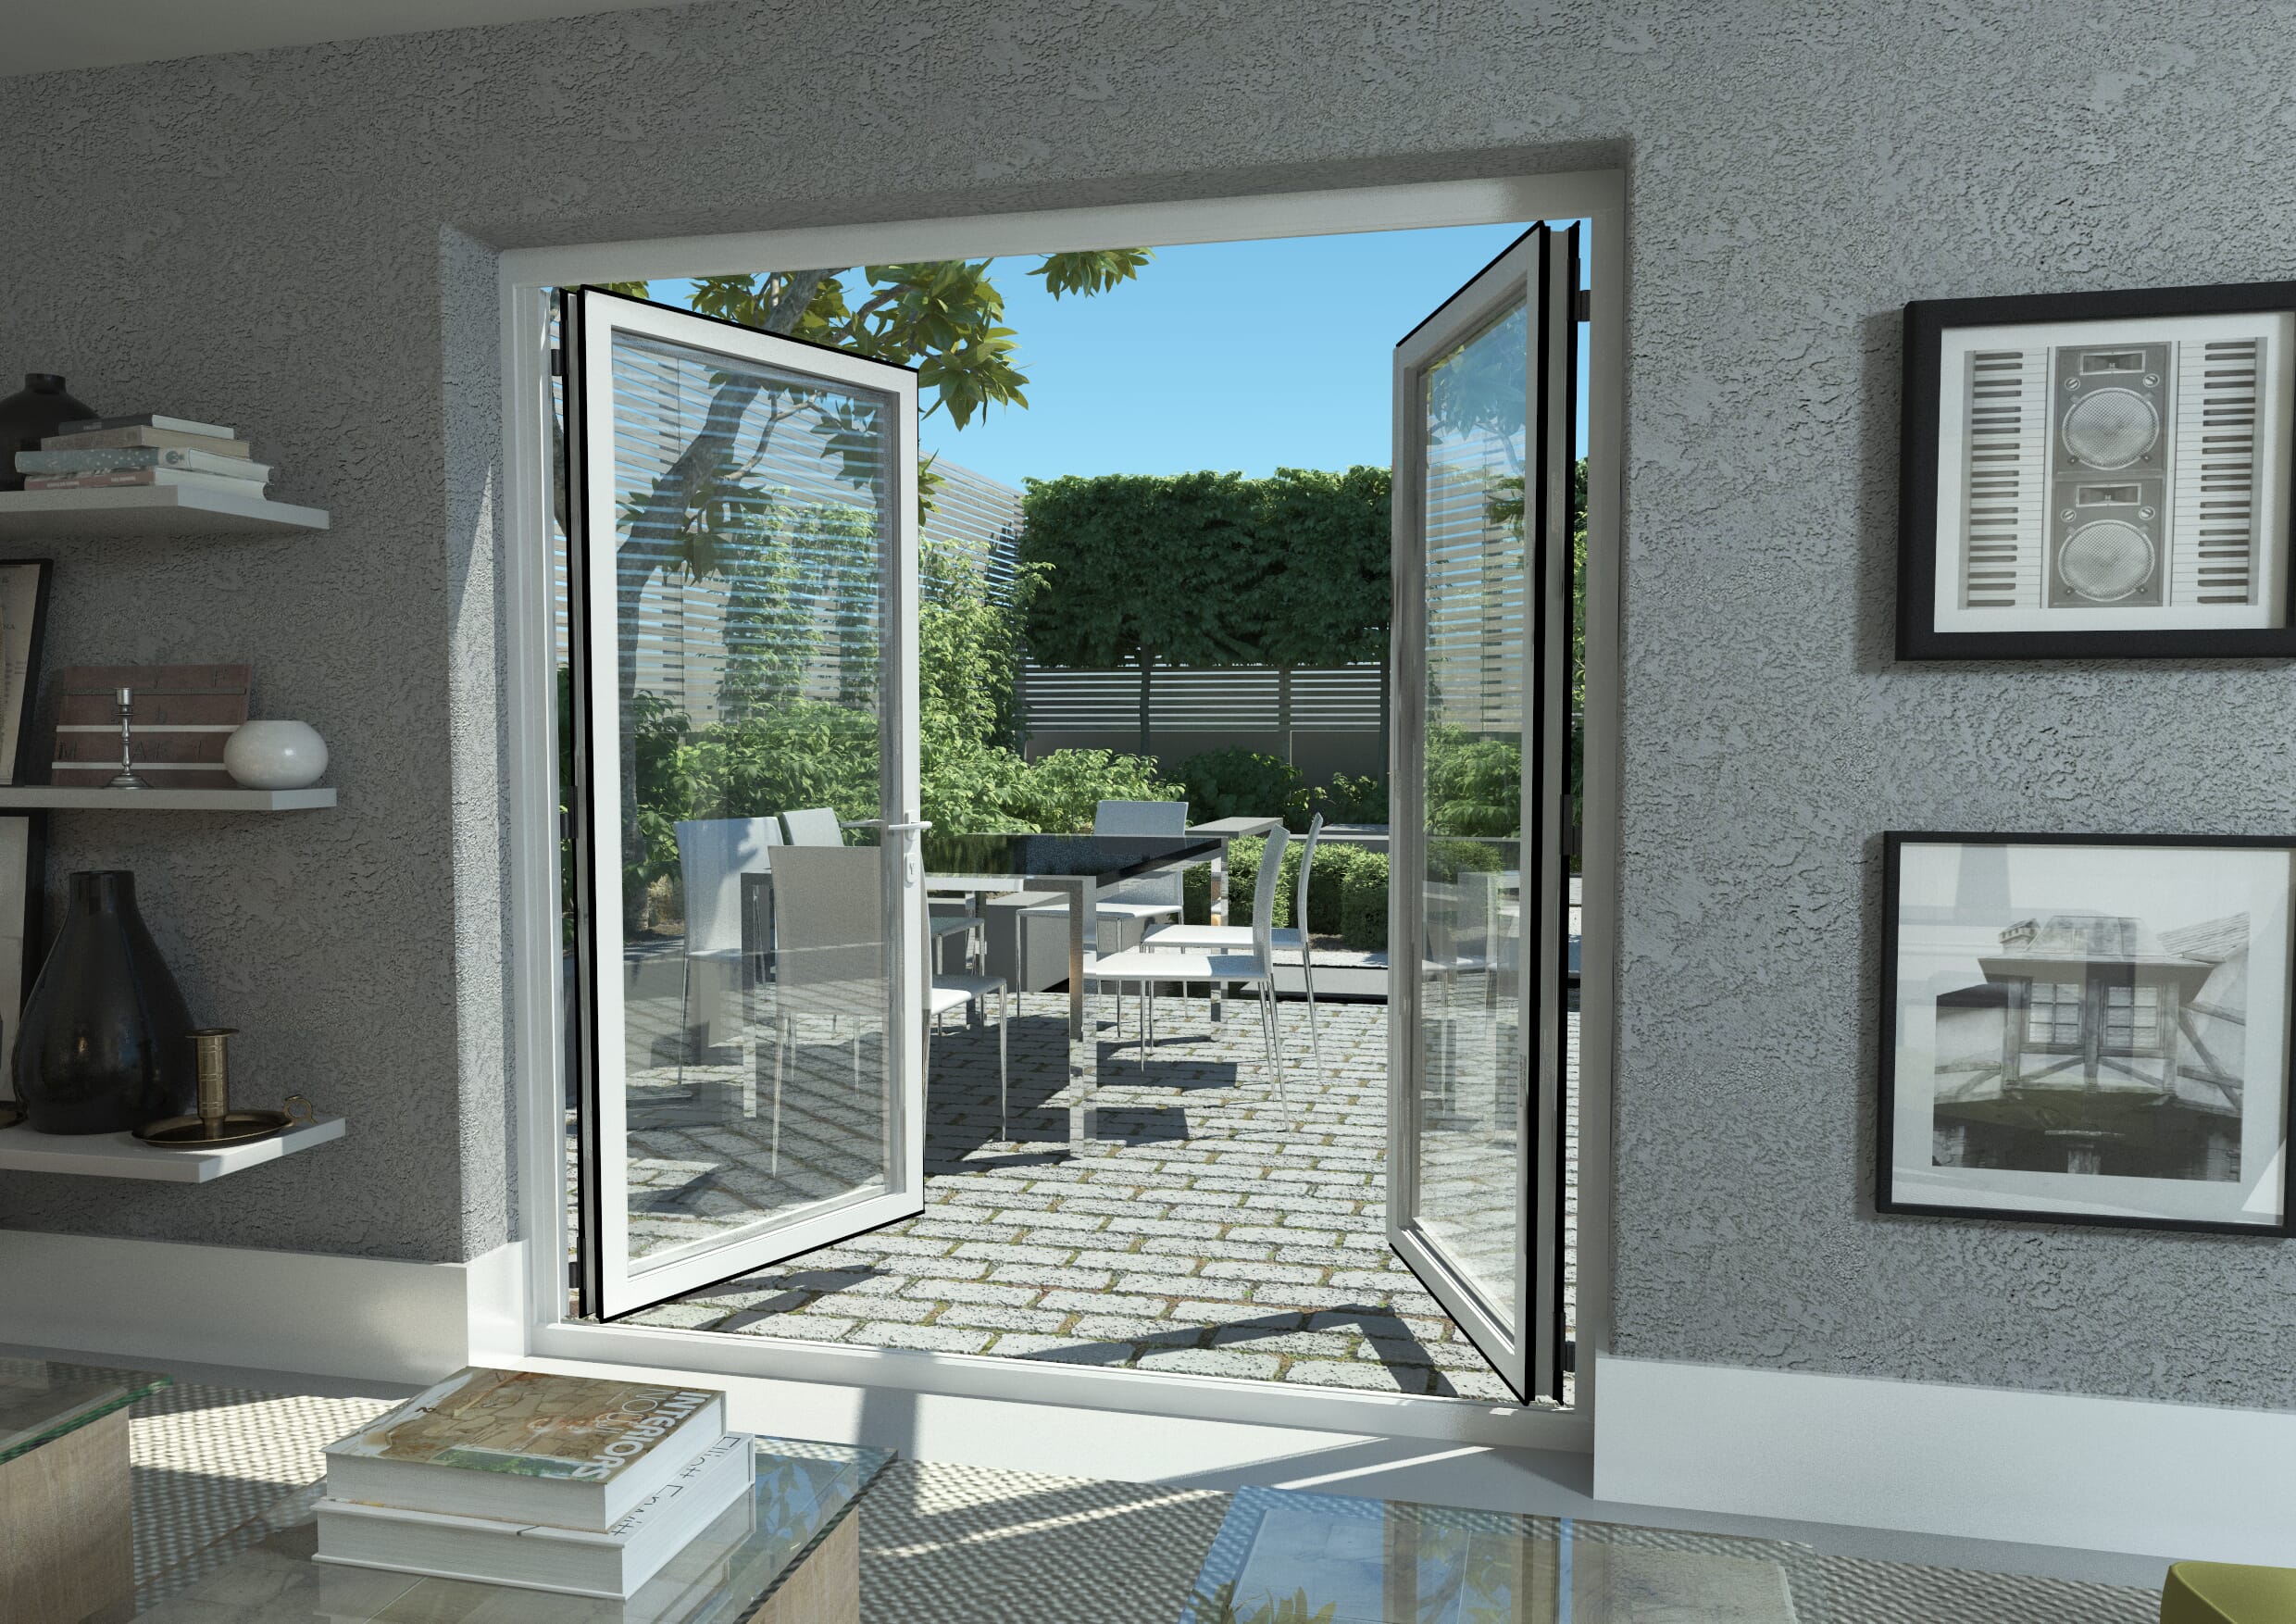
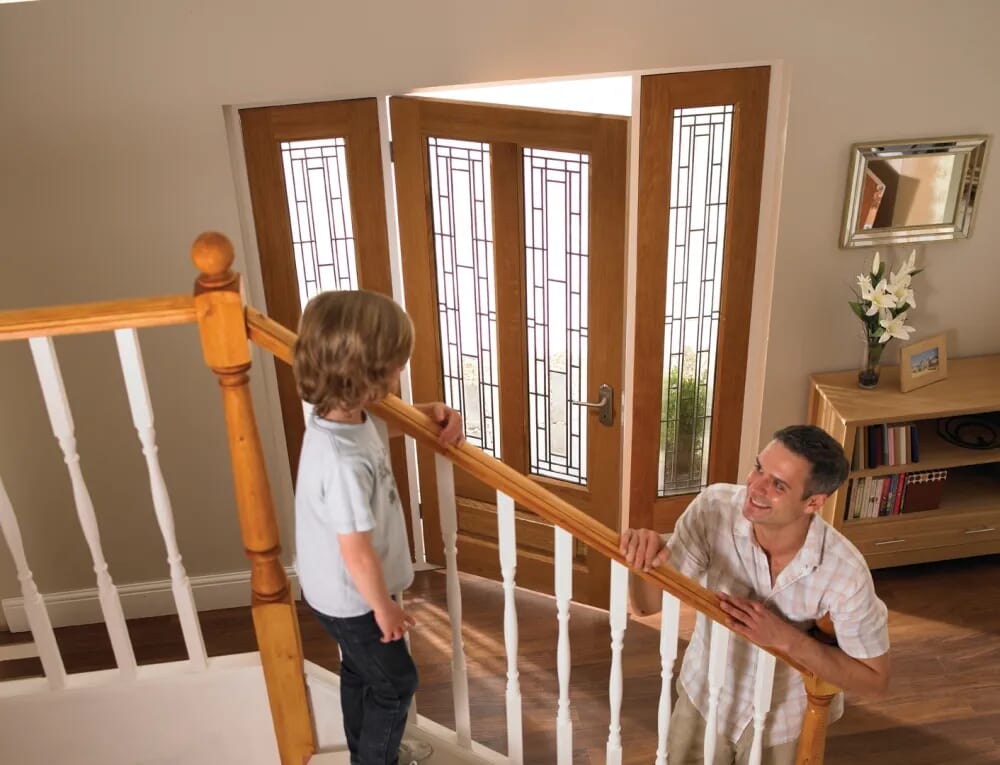
Wooden French doors are a great way to inject character into the home. They’re compact enough to fit into a double-door space, but, with the addition of some sidelights, they can also take the place of a larger set of folding or sliding doors. French doors have been around for centuries and were among the first glazed doors ever to hit the market.
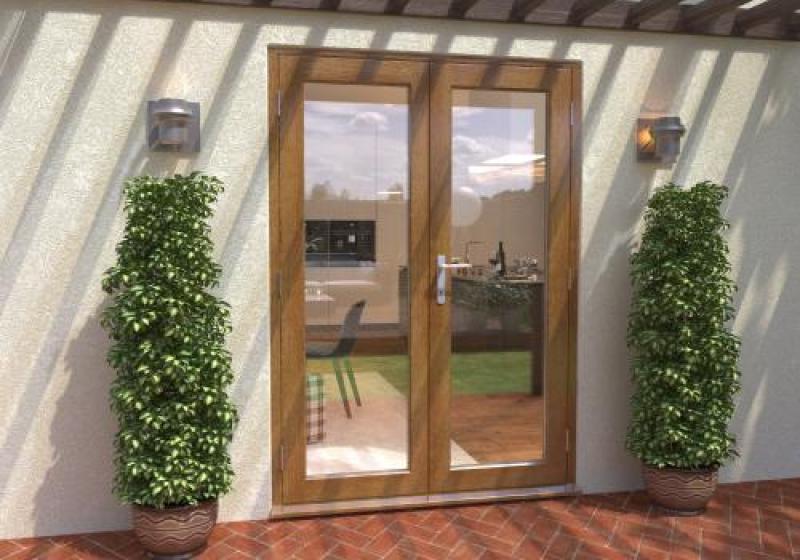
Nowadays, they’re available in a raft of different materials, including powder-coated aluminium. But for that iconic, traditional look, it’s still difficult to beat high-quality timber. Like anything wooden, however, doors of this sort require maintenance. If those fibres are exposed directly to the elements over a long period of time, then tiny variations in pressure and moisture will begin to wear them out. In some cases, this will make the door look a bit on the shabby side; in others, it’ll accelerate the warping process and prematurely age the door.
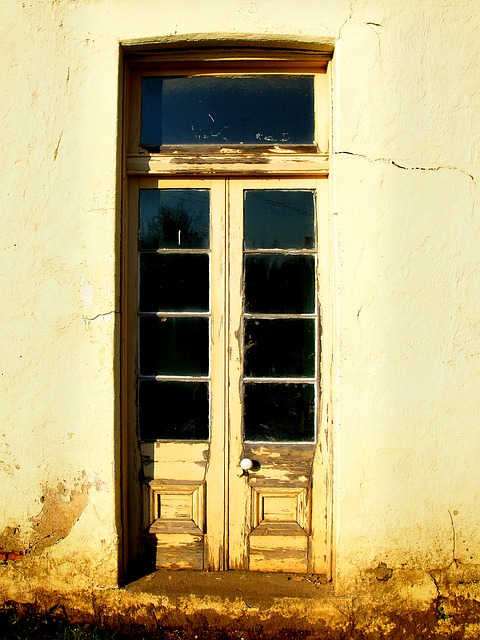
If you’ve already allowed your French doors to get into a bit of a state, then don’t worry – there are things we can do to get them looking great again. Restoring doors of this sort is often preferable to an outright replacement – especially where the damage is superficial. It might be that you’re looking to maintain the original look of the property, and therefore willing to get your existing doors repaired even if a replacement would be cheaper.
If the glasswork needs replacing, then professional help is more or less required; we’re not going to be covering that here. What we will do is explain how to refinish wooden doors.
What Materials do I Need?
Before getting started, you’ll need to assemble a few materials. This will save you the trouble of having to track down items when the job is only part-way complete.
- Your finish-of-choice
- A brush
- Sandpaper (medium-grade and fine-grade)
- Paint-stripper
- Wood-filler
- White Spirits
- A cloth (or two)
- A scraper
For an easy life, we’d suggest also securing the aid of a volunteer; their help will prove invaluable, particularly when you come to take down and reattach the door.
How Long Does it Take?
For each of the phases we’ll outline, we need to do both sides of the door. For the stripping, cleaning, and actual finishing phases, this means turning the door over, waiting for it to dry, and then turning it over again. Depending on the ambient temperature, drying time can be six, seven, or even eight hours, during which you’ll not have a door there to keep intruders out. As such, we’d suggest performing this operation during summer. You should set aside an entire weekend to get it done and get started early Saturday morning to allow enough time.
The Process
Let’s run through the entire procedure, step by step. We’ll assume we’re dealing with an exterior door, but the process is much the same for an interior one. If yours has a natural finish rather than a painted one, then you’ll be able to skip the paint-stripping step.
Step 1.
First, we’re going to get rid of all of the existing hardware. This means handles, bolts, and all of the other stuff which isn’t made from wood. You might decide that these pieces can be replaced, but if they’re authentic period pieces, a better option might be to get it restored professionally (or at the very least, polished). For the time being, set them aside. Remove the hinges and lay the doors flat. If you have sawhorses available, then be sure to use them.
Step 2.
We’re going to strip the paint, next. You have two options, here. You can either do it with a sander or with a chemical paint stripper. If you use a sander, then bear in mind that you’ll create a lot of dust. If you use a chemical stripper, then be sure that the area is adequately ventilated – or, better yet, outside. Allow the stripper to do its work, and then scrape away the paint, making sure all the while that you move in the direction of the grain rather than against it. You might need to use a wire brush to get into the moulding, but for most of us, a scraper is sufficient.
Step 3.
Before we go any further, we need to clean the surface with our rag and mineral spirits. Again, work in the direction of the grain. Leave the door to dry entirely before moving on to the next step.
Step 4.
It’s now time to sand. We’ll be starting with a medium-grade paper and then moving onto a fine-detail one. Remove any dust that’s built up using a dry cloth, or an air-duster.
Step 5.
You might find that you have cracks in your door which can’t be sanded down. Use your wood-filler to deal with these. Apply a little bit and then allow it to dry before applying another coat. Ensure that it’s adequately compacted and that it stands a little bit proud of the surface. That way, when it dries, you’ll be able to sand it totally smooth. You can find woodfiller that matches the colour of your wood, so this will work even if you’re going for a natural-style finish.
Step 6.
Here’s where we apply our choice of finish. Whether you opt for paint or natural wood-stain, you’ll be applying several coats, and leaving each to dry. Don’t lash it on too thick, and work the brush into the grain. If you’re painting, then you’ll need to start with primer; this will help the colours to effectively ‘pop’, and disguise the natural colour of the wood.
Step 7.
Once you’ve got a look you’re happy with, it’s time to reattach the door to its frame. If you’ve set aside all of the hardware, then this is usually a simple matter of screwing the hinges back into place. Get your partner to hold the door steady while you take care of this. Be sure that the door is able to swing freely, and that it doesn’t catch before you declare the job finished with!