
Solid-wood doors typically employ one of two materials: oak and pine. Oak is slow-growing, and comes with a densely-packed grain that makes it inherently tough and heavy. Pine, on the other hand, is a soft wood that comes with a naturally swirling grain that can be made to look gorgeous with the application of the right finish.

Find out more about why pine is a great wood for doors in our dedicated post.
Here, we’re going to take a closer look at pine, and, specifically, how to stain pine doors. Owners of pine doors have several options when it comes to treatment. In each case, we’ll need a smooth surface upon which to apply that treatment. That way those tiny bumps won’t be accentuated by the glossy finish.
Timber doors are sanded at factory level, but the journey to your front door can cause it to absorb a few bumps (and a little bit of moisture), which make for a slightly rougher surface. This can be sorted out by using a 100-grit sandpaper and a hand-block to smooth over the entire door.
If you’re going to be stripping an existing finish from the pine, then you’ll need to ensure that any caustic chemicals are thoroughly removed from the timber before you get started. This can be done by applying a paint-stripper, scrubbing away the paint that comes loose and then neutralising the surface using either white spirit or water, depending on the sort of stripper you’re using.
This will eliminate every trace of the paint and give you a fresh surface on which to work.
How to Stain Pine Doors
We’re going to lay the door flat, either on the floor (if the hardware is not yet attached) or across a pair of sawhorses. You’re going to apply your stain using a cotton cloth. Dip it in the tin and smother it across the timber.
Once you’ve got a coat on, you’ll need to wipe up the excess with a dry, clean cloth. Then you can wait for the finish to dry. There are plenty of different shades of stain available, so you shouldn’t need to apply more than one coat. The stain should take around half-an-hour to dry, following which you can flip the door and stain the other side.

Pine can be hard to stain because its uneven grain structure, featuring both early wood and late wood, absorbs stain inconsistently. The varying densities cause irregular colour and blotchiness, making it challenging to achieve a uniform finish. Using a pre-stain conditioner can help improve stain absorption and achieve a more even appearance on pine wood.
Have a look at the tips in this video for a quick overview:
How to Wax Pine Doors
Next, let’s look at how to wax pine doors. Again, you’ll need the door to be clean and sanded. Wax will seep into the underlying timber and provide a moisture seal while conditioning and protecting the pine. Once you’ve gotten the surface free of dust, you can apply the wax itself using a soft cloth. Work the wax into the grain, a little at a time, until you’ve covered the entire door. Then buff the surface until it’s gleaming.
Get more tips in this useful video:
Wax will need to be built up in layers in order to achieve a worthwhile protective coat. We’d suggest a minimum of four applications.
How to Varnish Pine Doors
To varnish a door, you’ll be using a thin paintbrush. This should follow the staining stage. Start with the mouldings around the panels and then work your way around half of the door. You’ll want to follow the grain, as this will ensure that the bristles of your brush reach as far into the timber as possible. Varnishes vary in their consistency, and manufacturers will provide their own instructions – so it’s worth checking the tin.

Don’t get too much of the stuff on your brush at any one time. Dip to no more than half a bristle-length, and be sure to wipe the excess away using the edge of the tin. Varnish needs to be applied in several coats. Allow the first to dry, and then sand the surface smooth, and then repeat the process. You can ensure that the door is entirely clean using a dry brush. How many coats of varnish do you need for a door? The short answer is as many as it takes to achieve a finish that you’re happy with. For most of us, two is sufficient; if you’re after a really tough finish, however, you’ll want to go for a third.
How do I Re-varnish a Wooden Door?
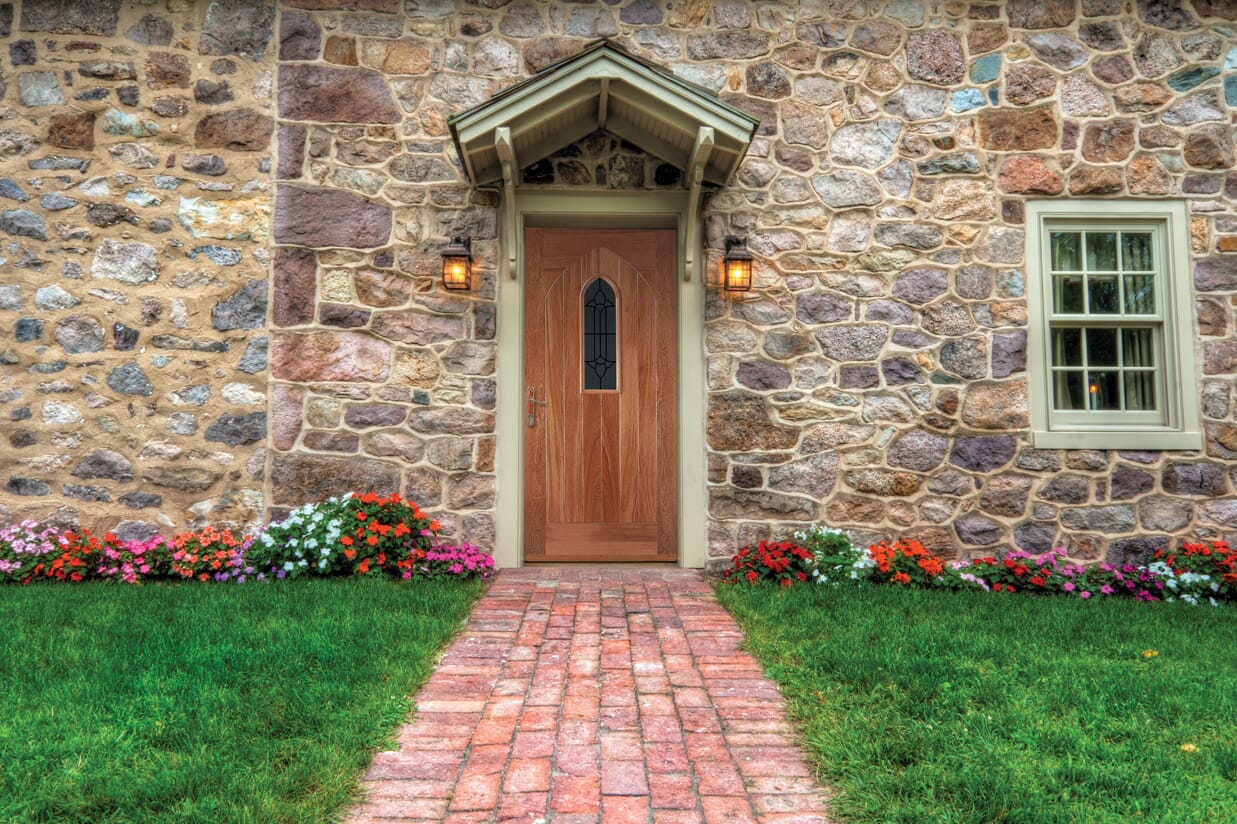
External pine doors will need regular maintenance over the years. Roughly every year or two, a wooden door will need re-varnishing.
If the door has been regularly maintained, usually a rub down with fine sandpaper and a coat of a quality varnish will be enough to successfully retreat the door and protect it against the elements.

To re varnish a pine wooden door you will need to follow these steps:
- Remove the door from the hinges and lay flat on sawhorses
- Remove all the door hardware. If as above, the door has been regularly maintained you will be able to skip this step. Otherwise it would be best to remove the hardware – hinges, door handles, locks etc.
- Sand down the door. Protect any glass with masking tape. Try to work in the same direction as the grain. Start with a heavier grade of sandpaper and then move through to finer sandpaper.
- Get rid of all the sawdust by vacuuming and wiping the door thoroughly. White spirit on a rag is good for this.
- Varnish the door. Depending on the product you have you may need 2-3 coats. You may want to treat the door beforehand.
- Let the varnish dry and refit the door’s hardware.
- Rehang the door.
How to Paint Pine Doors
Finally, let’s look at how to paint new pine doors. This is the approach that’ll allow you to be as brash or subtle as you like in your choice of colours. Wood paints come in several different categories. There are primers, which bond to the underlying wood and provide a great surface upon which to build colour with the rest of your paints. Then there are the ‘real’ paints, which go over the top. Primers come mostly in white, which will allow your colour to ‘pop’, and conceal the natural colour of the wood. You’ll want both primer and paint to be matched; or, to put it another way, they can be both oil-based, or both water-based, but not one of each.

To begin with, you’ll be priming using a two-inch brush. Use long, even strokes, and be sure to go along with the grain. Start with the mouldings, then move to the panels and then the rails and finally the edges. Again, you don’t want to overload the brush – this will cause visible drips to form. When you’re done, allow the coat to dry before sanding down with a fine-grade sandpaper and moving onto the next coat.
Apply one coat of primer before repeating the process with your top-coat. Depending on how happy you are with the result, you might then go on to paint the final coat. Paint can be applied while the door is still in its frame – though doing so makes drips more likely. If you’re going to do this, wedge a sheet of thick cardboard beneath the door to catch any stray bits of paint.
How to Treat Knotty Pine
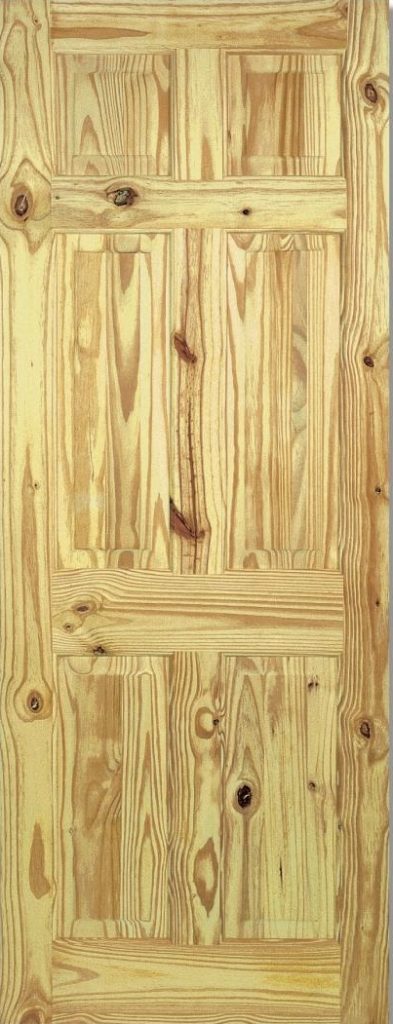
Before we wrap up, let’s take a look at one final problem to which pine is particularly susceptible: knots. These little brown blemishes naturally occur all over a piece of pine, and they’re likely to produce a sap as the years go by. This will push up from beneath the finish and cause it to look distorted. We can get around this by applying a thin coat of sealer before we apply the first coat of primer. This way, the downsides of a knotty piece of pine can be mitigated.
In Conclusion
Pine is a fantastically versatile material that’s capable of accepting a diverse range of finishes. Whichever you’re applying, the same basic principles apply: make sure that you get an even finish between coats by sanding, don’t overload the timber (or your brush), and leave plenty of drying time!
Finishing Pine Doors: FAQs
Yes, you can oil pine doors using a high-quality hardwax oil. This product is designed to enhance and protect the natural appearance of pine and other lighter woods. By applying hardwax oil, you provide exceptional durability and protection, ensuring your interior wooden doors maintain their beauty and longevity.
Staining pine is often better than painting as it penetrates the wood grain, offering more protection against wood rot and UV rays. Stains also enhance the natural beauty of pine and are more versatile for different surface textures. Unlike paint, which can chip or peel, stains adhere better and handle impact well.
Treating pine before staining is recommended to ensure an even and lasting finish. Use a wood conditioner to prevent blotchiness, allowing the stain to penetrate evenly. This enhances the grain pattern and colour. Applying a sealant after staining protects the wood, providing a polished look and prolonging the finish.
The best finish for a pine door depends on your preferences, but the most effective option is an oil-based finish. It enhances the natural beauty of the wood, offers excellent protection, and ages gracefully. Oil-based finishes are easy to apply, making them a popular choice for maintaining pine doors over time without extensive maintenance.