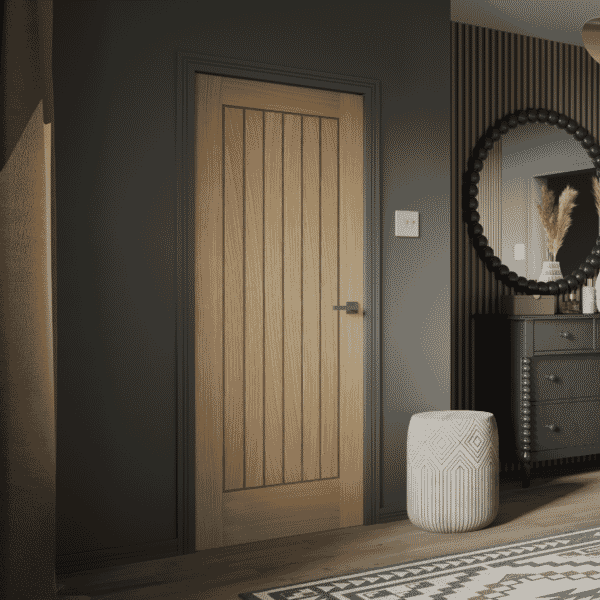
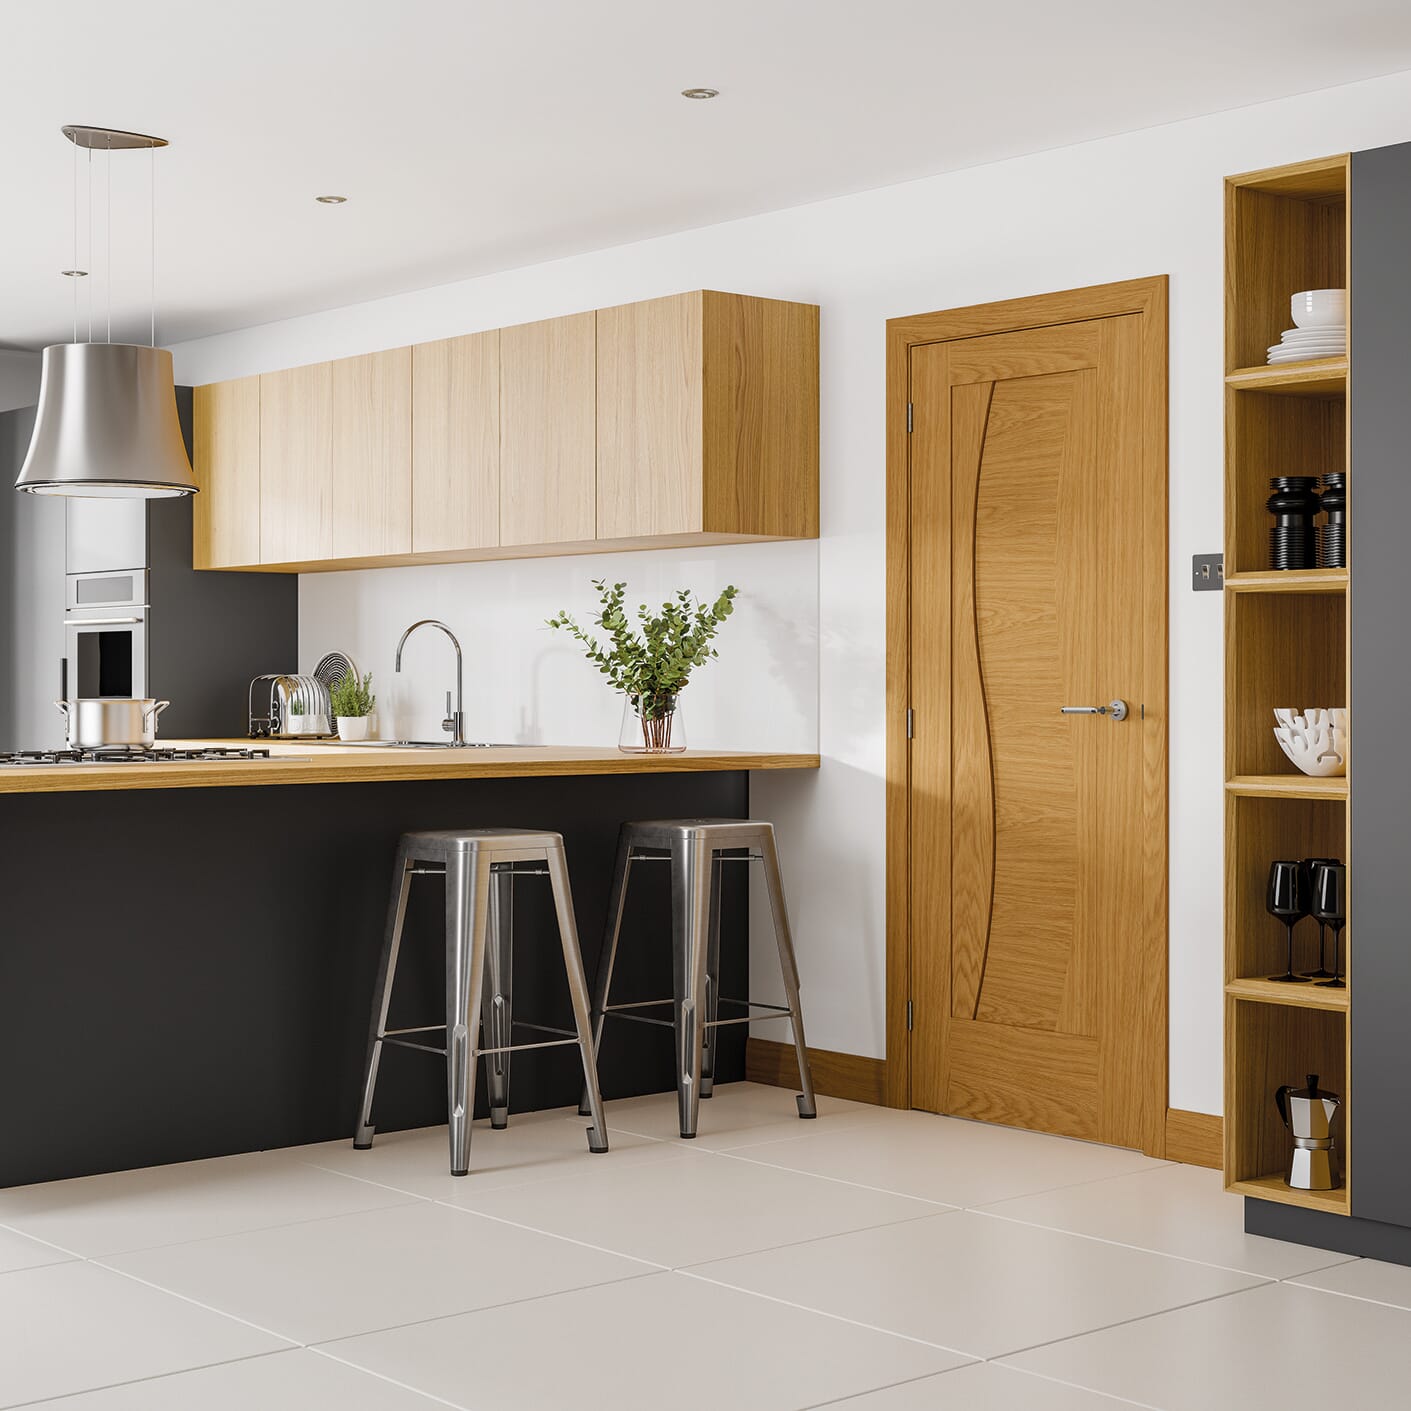
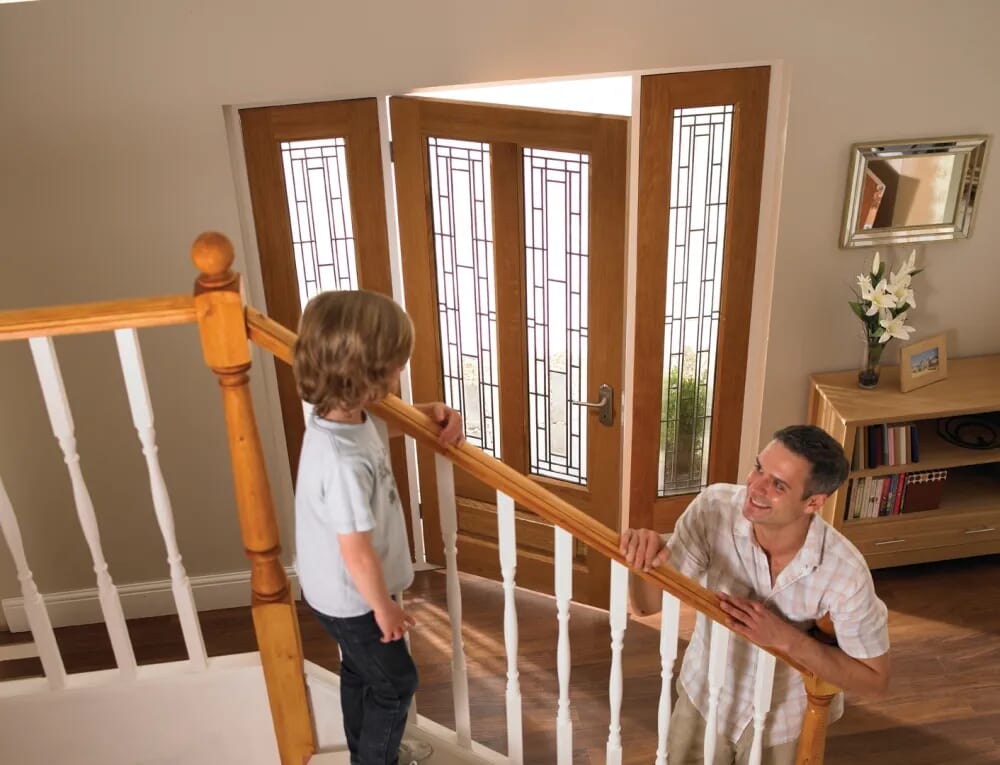
As the gateway to your home, your front and back doors will require more care and attention than your internal doors, particularly when it comes to draught-proofing. Regardless of the time of year, without a decent seal on your external doors, cold air can easily penetrate your home and make an otherwise warm and comforting home feel chilly and unwelcoming over time.
The good news is that draught proofing your home is as simple as making sure the frame and any keyholes and letterboxes, are sealed tight enough to keep the cold air out and the warm air in, but not so tight as to make opening and closing the door difficult.
Of course, rooms that separate ‘cold rooms’ from ‘warm rooms’ might also require sealing (for example if your home contains a spare room that you don’t heat to save on bills, or a conservatory/garage), but in this guide we will be focusing specifically on external doors, which is where the root of the issue will always lie.

Sealing your external doors is a simple and cost-effective way to cut down on energy efficiency/bills and it’s a significantly more affordable solution than buying and installing a brand new door. It’s also a very easy fix to a problem that thousands of people suffer from, but do nothing about because they are willing to accept it. Don’t be one of those people!
Of course, it’s possible that your external doors might already be sealed at the edges, but over time, cracks can form and a seal can break. Fitted as standard, some wooden doors are also not fitted with any weatherproof modifications either, so it might be wise to invest as soon as possible.
That being said, the vast majority of doors fitted in the last decade will be equipped with a rubber seal that sits between the door and the frame. This is often more than enough, especially in warmer regions. So, if you are experiencing any noticeable draught from your external doors, the first thing you should do is check on the rubber sealing.
If it has twisted or depreciated, it’s very cheap and simple to replace. Before going any further, you should check if you actually do have a draught problem.
If you do, then it could probably be alleviated quite drastically by sealing your external doors, particularly your front door. To check if your doors are letting in some rogue cold winds, start by examining the edges of your door and inspecting if any light is making its way through.
Even if there is no light making its way through, however, you might still have a break in the seal so run your fingers or a loose thread over the edges and feel/look for a breeze. If you can spot a crack of light or feel a breeze, then the seal is probably broken and might require either an adjustment or a completely fresh draught-proofing job. Mercifully, it’s a very easy job in the vast majority of cases.
The most common way to seal the top and sides of an external door is to use self-adhesive strips, which can be made of rubber, foam or brush. Installing these strips can be as simple as peeling off the rear layer of tape and pushing the strips up into the corners of your frame, forming a tight seal between the door and the frame.
The adhesives used with these strips can be temperamental, however, so make sure the door and the frame are both clean. When installing these strips, the top and sides of your door frame must first be measured to ensure a tight fit.
Once you have made your measurements, cut the strips to suit and begin fixing to the frame. Once the seal has been fixed and you’ve left in to dry for a few minutes, close the door and inspect it for leaks using the methods explained earlier.
In these places, go over the seal and make sure it is airtight, making adjustments where necessary. At this point, also consider checking the hinge screws on your door to make sure they are as tight as possible. There are other options available besides weatherproof strips, of course.
If you’re in a hurry you could always use silicone sealant, though we would definitely recommend something a little more stable. Whatever sealing option you use, however, you should always remember to inspect it annually (particularly in the months leading up to winter) and make adjustments where necessary.
This is also true if the door is too tight and difficult to open and shut, as the extra force you’ll be using to use the door could result in the sealing being damaged.
If there are no draughts escaping through the inside of the frame, there could be a crack or a gap on the outside of the frame. Sealing this will require the use of building caulk or foam, silicone, sand or cement. Be careful not to overdo it if you opt for the foam, however, as it will expand over time and could cause problems if you use too much.
The two most common fixes for sealing the bottom edge of an external door are hinged flap draught excluders and brush strips.
Installing a brush strip to the bottom edge of your door is often as simple as screwing the strip in question to the bottom edge of your door. The strip will be attached to a metal bar, which can be cut to suit using a hacksaw.
Measure the gap between the bottom of your door and the floor and then cut the strip to a suitable length, making sure that the bristles of the brush reach the floor before screwing the bar in place.
Rubber, hinged flap draught excluders are installed in a similar fashion, but the brush strip is replaced by a flexible rubber excluder. Another option for the bottom of your door is door sweep weatherstripping, which fastens to the bottom of your door via a metal groove that you simply slide on before screwing into place.
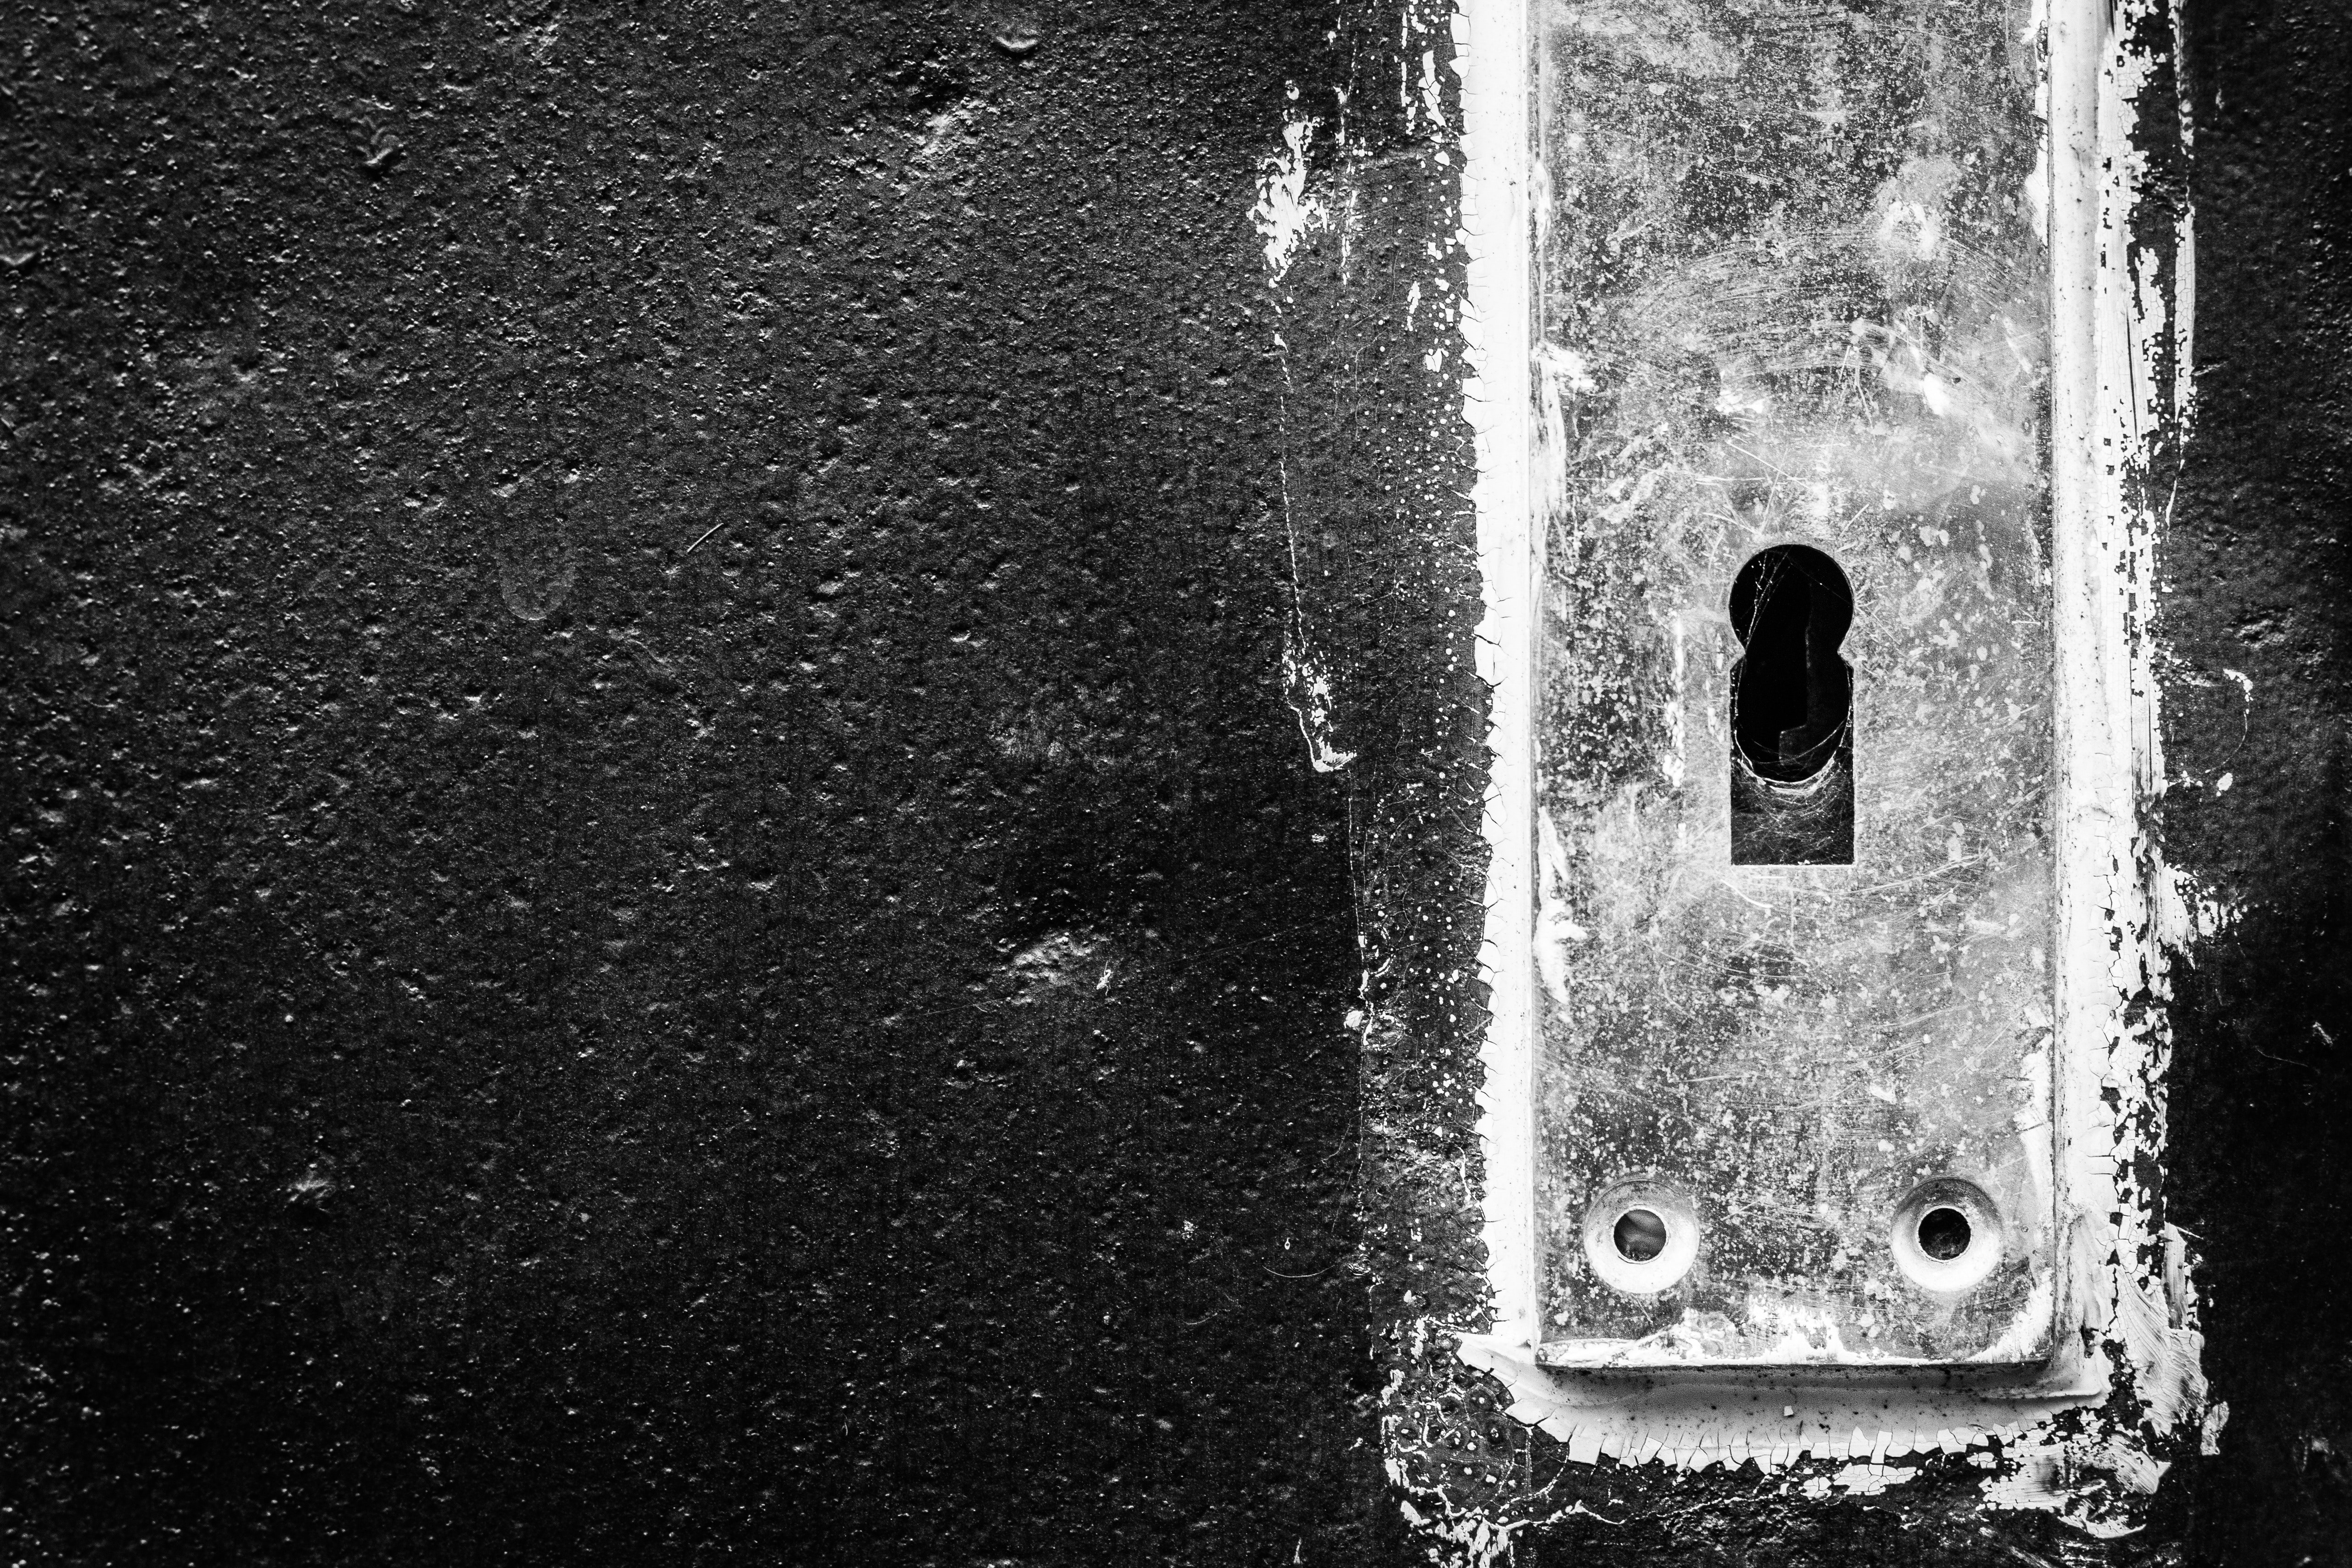
The last place many homeowners check when examining how to minimise draught, is also one of the most obvious culprits; the keyhole.
It might be a small hole, but there is still plenty of room to let in cold air, so you’ll want to install an escutcheon plate if possible. This is little more than a metal plate on a latch that swings to one side to allow access.
These are installed quickly and simply by placing the plate over your keyhole, marking where the screw fixes need to sit with a pencil, drilling the requisite holes and using the supplied screws to fix the plate over your hole.
Another major draughty culprit is the letterbox.
The fix here isn’t quite as simple, but it isn’t anything a casual DIYer won’t be able to handle. Your primary options are installing a brush strip or an ecoflap. The brush strip works in the same manner as it does on the door’s bottom edge and can be installed by simply screwing it in place. The ecoflap, meanwhile, acts as a barrier between the letterbox and your home (a conservatory for your mail if you will) and can be mounted with sealant or screwed into place.
Now you've made everything cosy, it's time to think about how to decorate your hallway to create a warm and welcoming environment.
Proud stockists of....
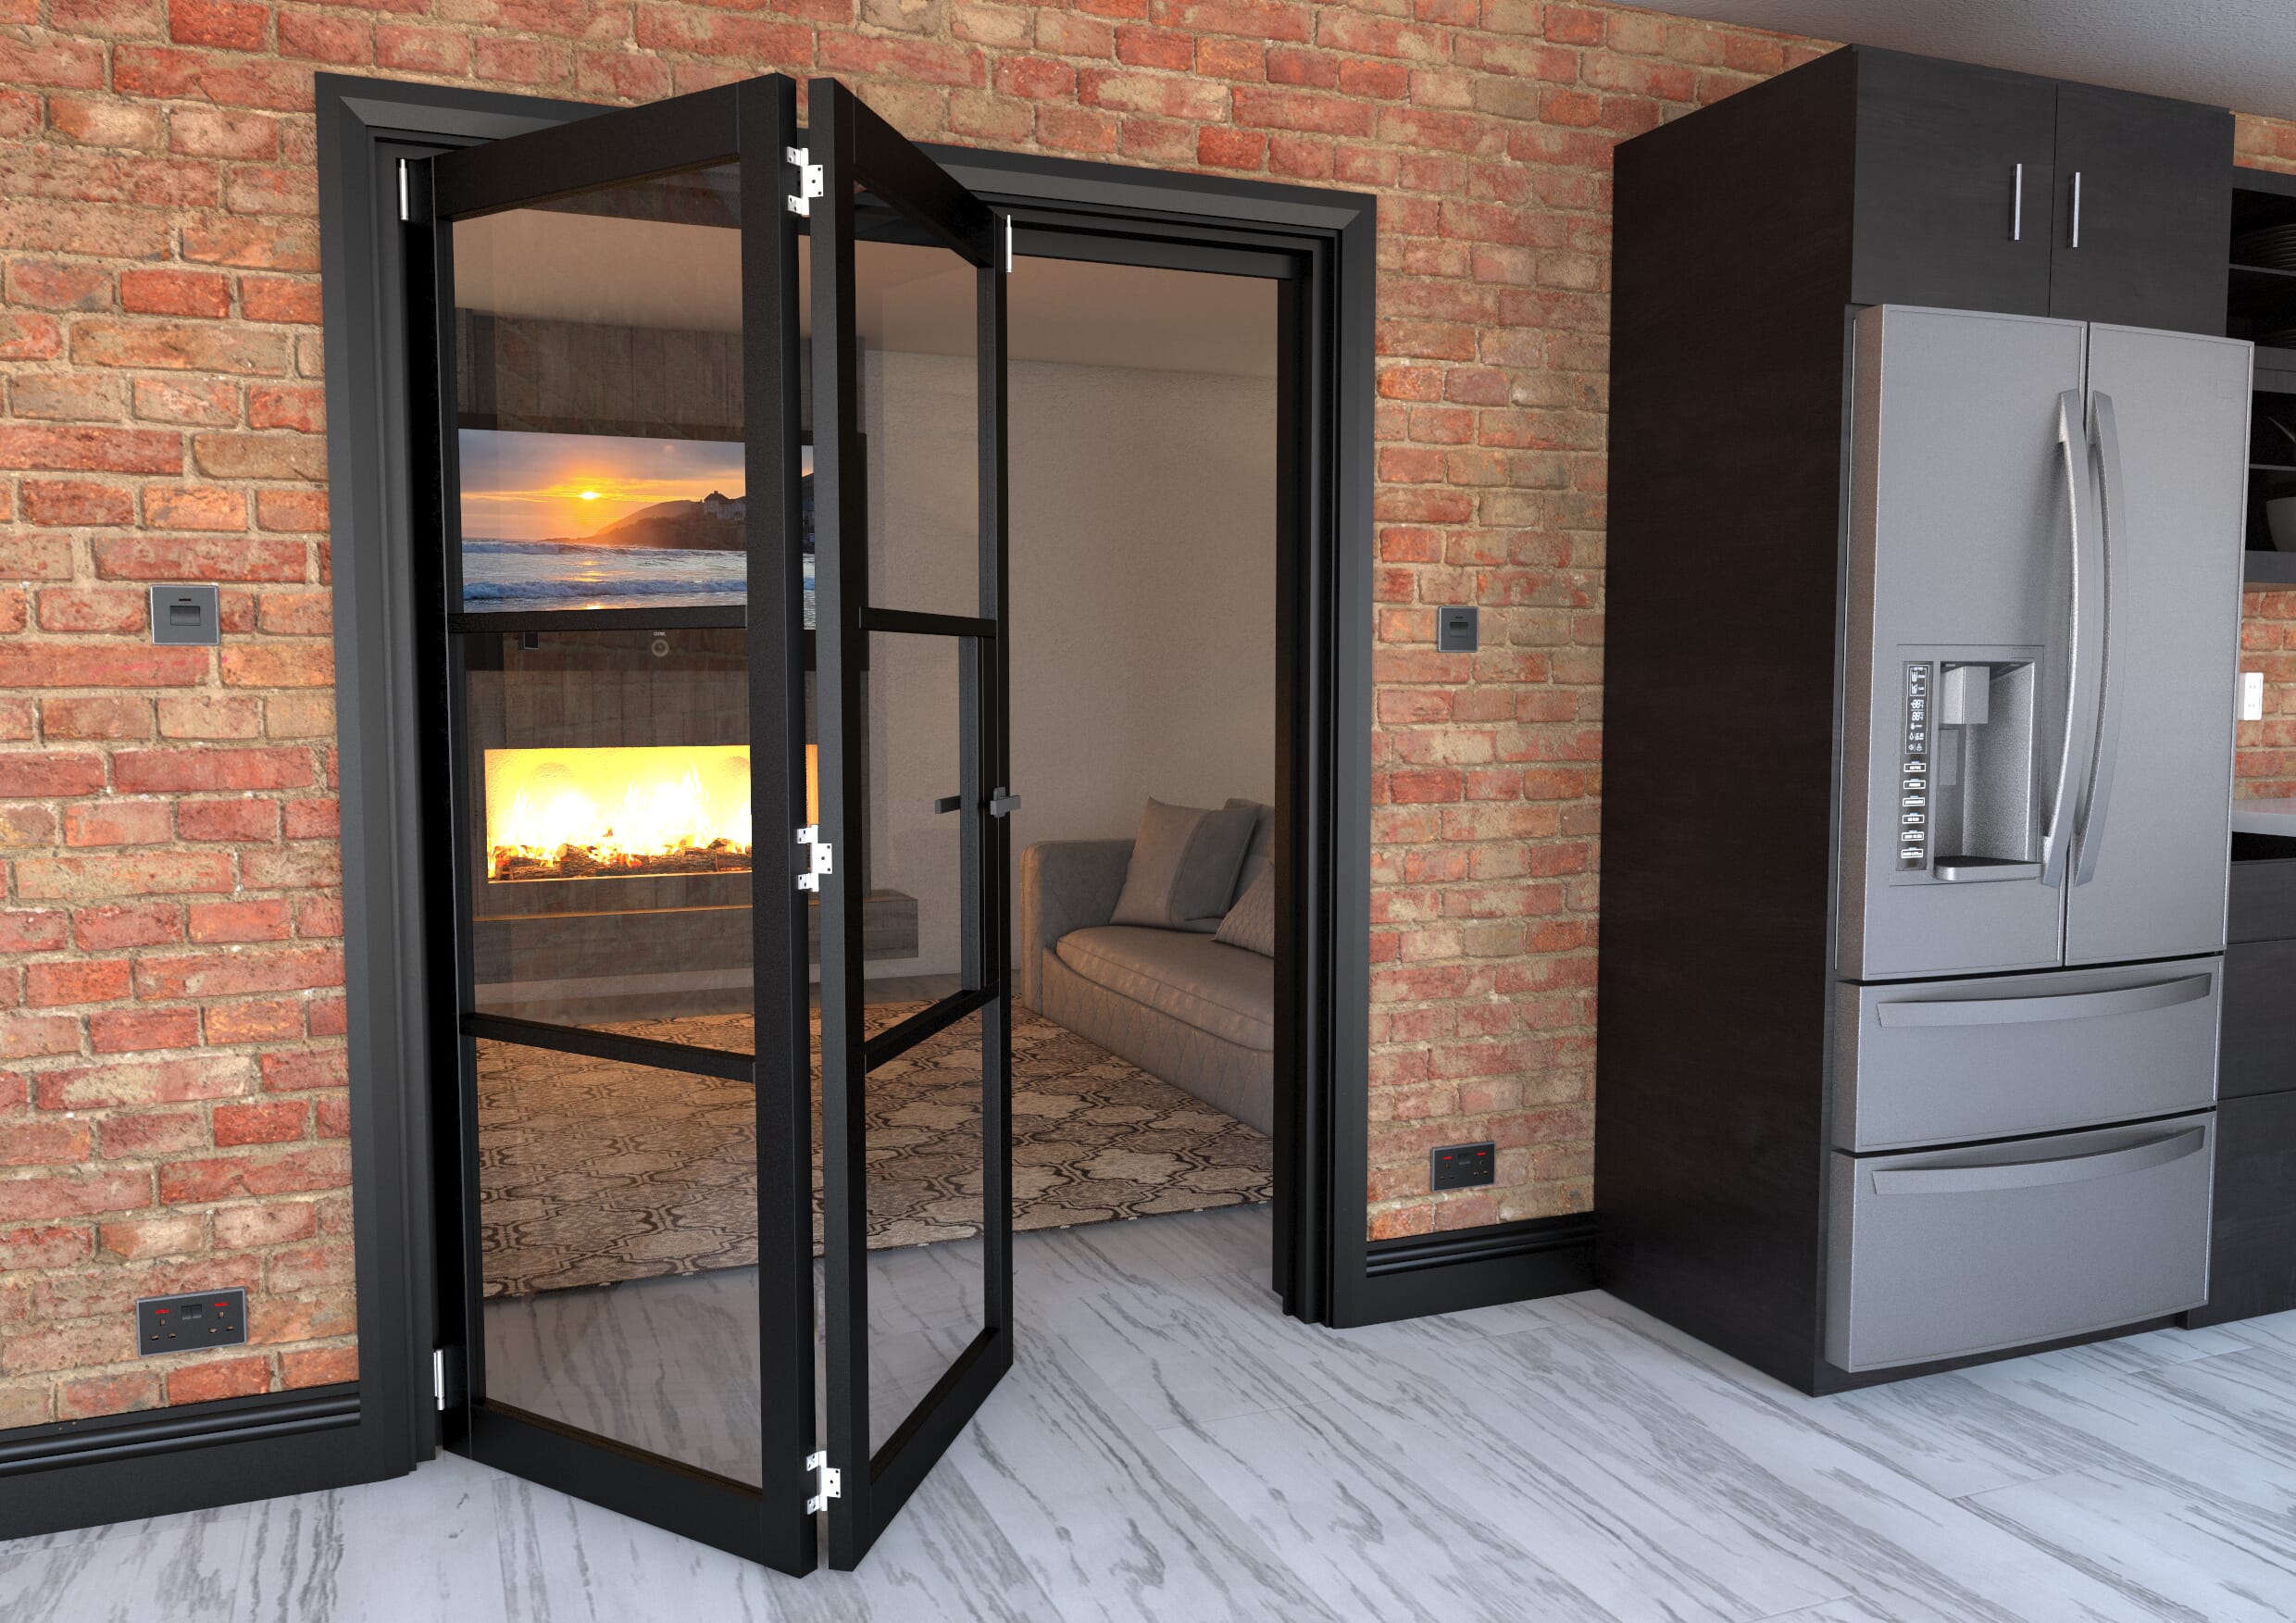
Bring industrial-inspired design into your home with our collection of heritage steel-look doors. Available in bifold, French and internal door options, these on-trend designs offer the distinctive appearance of traditional steel doors with the practicality of modern materials. Browse our range today and transform your living space with striking heritage style doors.
Trusted stockist of Climadoor; the Folding Doors brand.
© Express Doors Direct 2026. All rights reserved.
Company number 11557039.