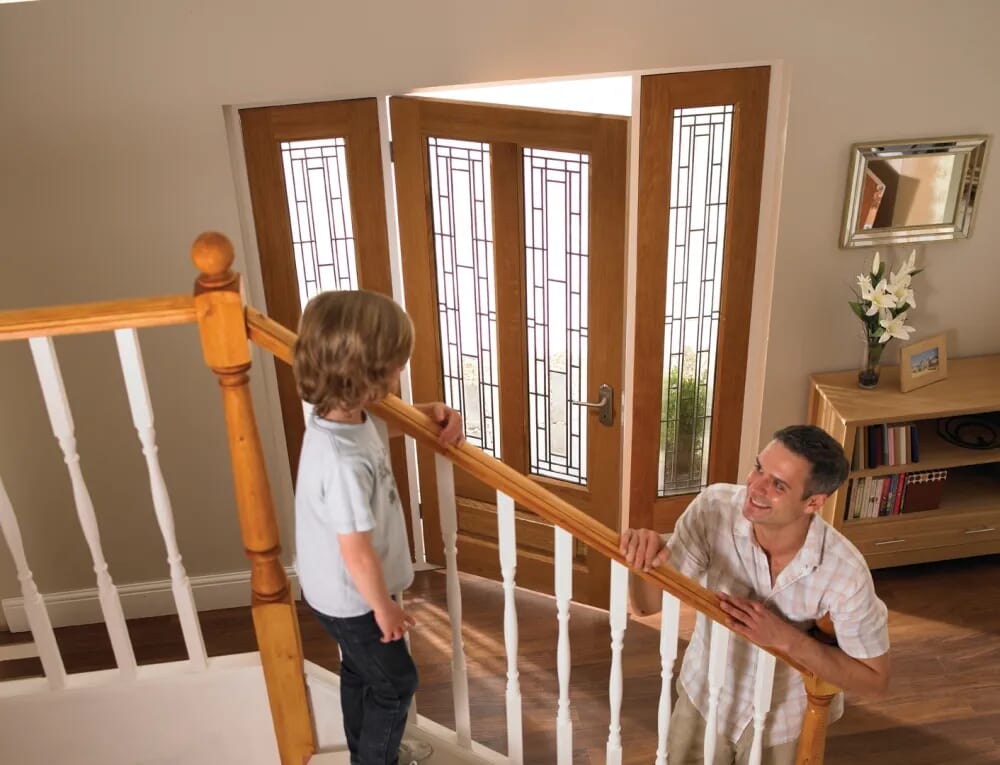
There are many reasons a homeowner might decide to give the gateway to their home a fresh lick of paint.
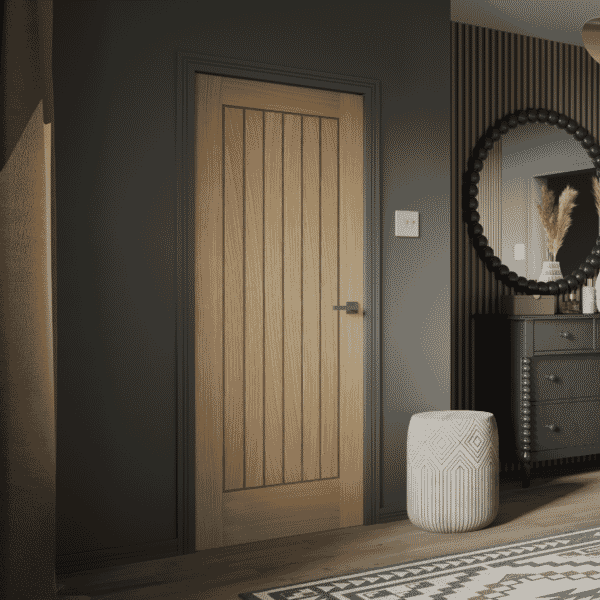
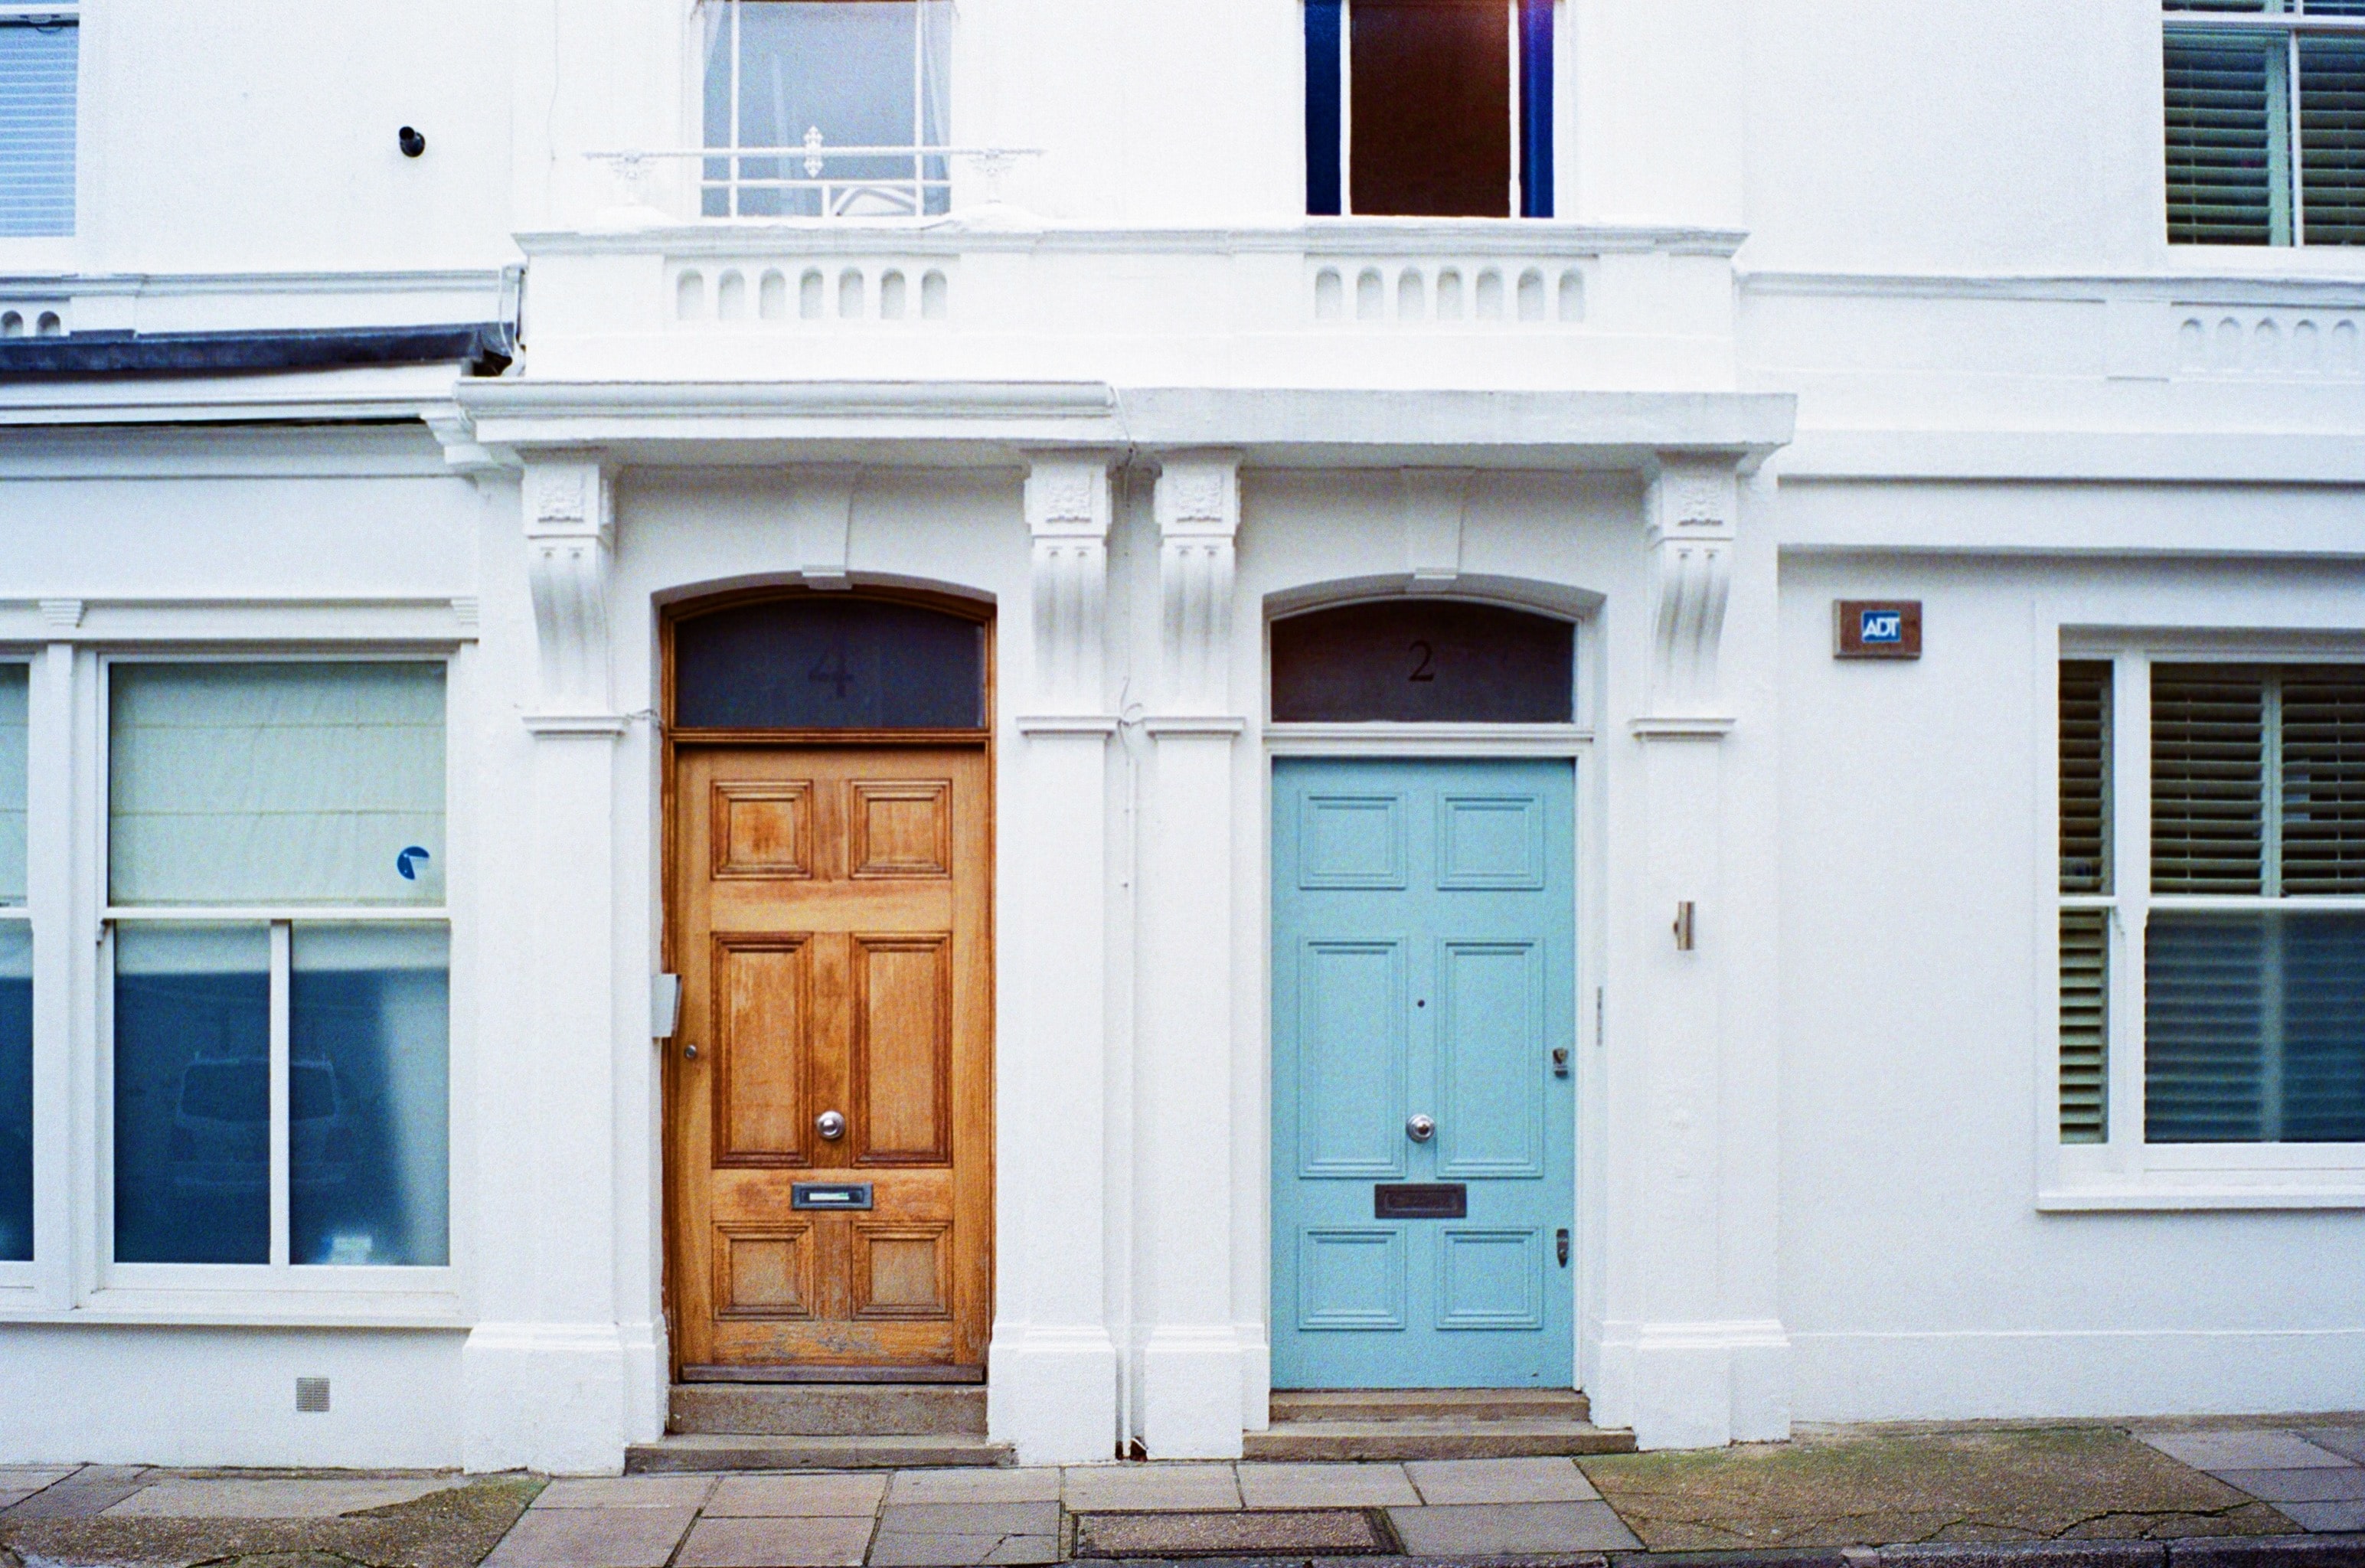
These are the doors that serve as your first impression for visitors and guests. An external door is an introduction to your home and if it's looking worn and shabby, then it might be doing your home a disservice.
If you’re thinking of selling your home and want to make a great first impression, you should take a look at your front door. Whilst you might have thought about how to decorate your entrance hall, the finish of the external doors is really important. External doors are also more convenient to paint because there is less chance of leaving a mess.
Here, we’ll take all budding DIY enthusiasts (and reluctant DIY sceptics) through the job with care and attention. We'll focus on timber doors and uPVC or composite doors.
Before you even lift your paintbrush it is important to carefully prep your door.
The necessary steps will depend on what material your front door is made from. It will also depend on whether this is the first time your front door is being painted.
When it comes to a uPVC or composite front door, you may only need to remove dirt from the surface of your door. Grab a sponge, some dish soap and give the surface a mighty scrub.
When it comes to a wooden door, this will be the time to fix any niggles in the door surface. Take the time to assess your front door, grab some bondo or wood filler and address all the small issues in the door's surface.
Whilst it might lack the vintage, ‘real’ glamour of wood, uPVC is a popular choice for front doors. It's easy to maintain and lower cost compared to wooden, glass and composite doors. The material is undeniably less attractive than wood, but you can mask the plain looks with a fresh coat of paint if you want to refresh its look.
However, uPVC is not the easiest material to paint over. Do it wrong and you can end up with a streaky patchy finish that makes you wish you'd never bothered to paint your front door at all. The one important tip is to:
Follow the paint manufacturer's instructions
uPVC is such a difficult material to paint that many manufacturers will lay out very specific steps to take before you start. Make sure you carefully read and follow the instructions on your particular brand of paint.
These instructions may include going over the surface of the door with a mild solvent or fine sandpaper to give the paint something to grip on. It may even recommend a primer, particularly for oil-based paints, as these won't stick to uPVC at all.
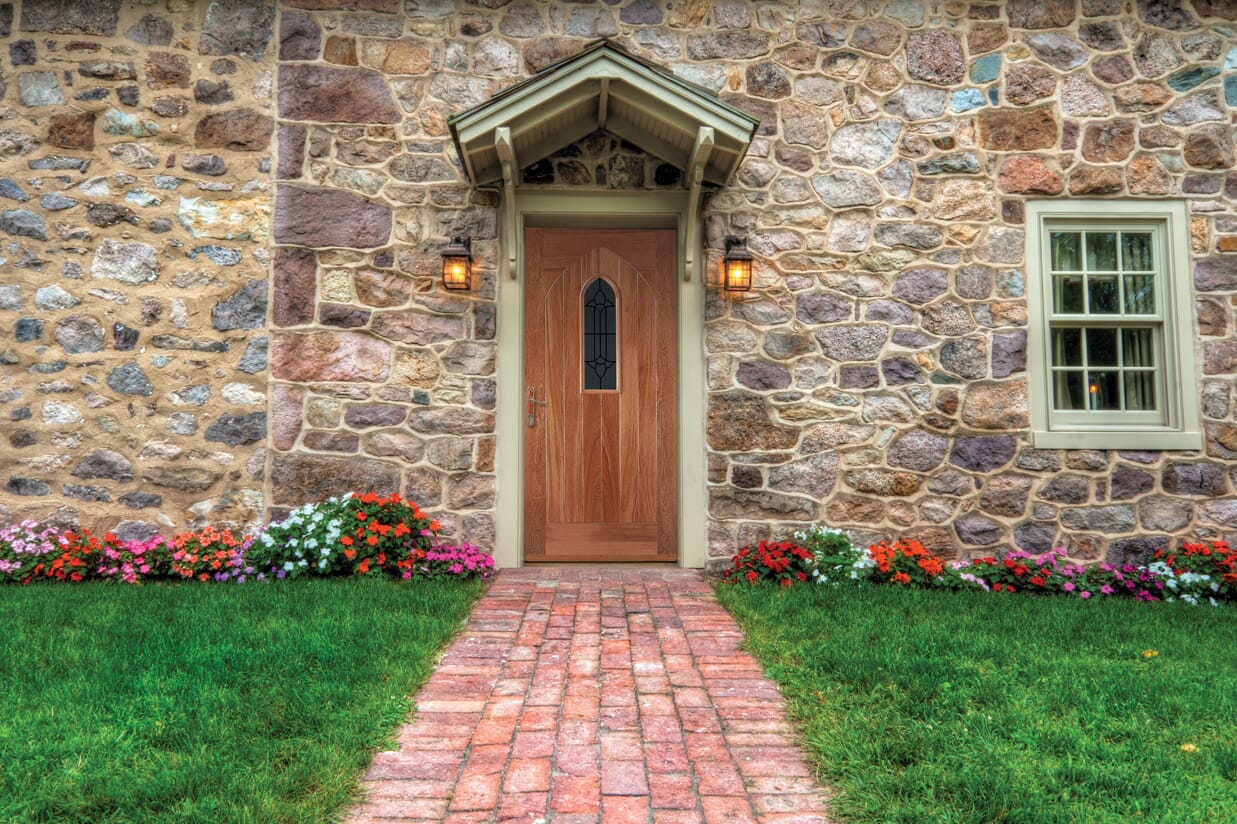
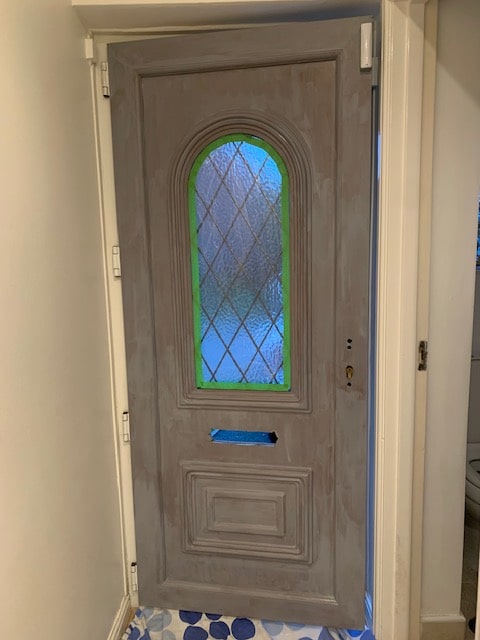
When you paint a front door made of wood, the success of your paint job is usually decided before you even pick up a paintbrush.
Prepare the door Before You Start.
This is even more important when the door has an existing paint job. You’ll need to completely remove all traces of flaking paint before applying a new coat. A second coat on top of old paint will look sloppy and uneven.
Start by using a flat scraper to peel off any large bits of paint. If you really want to get the paint off, you can always use a paint stripper but make sure you get one specifically for wood.
Next, use medium-grade sandpaper or hand sander to go over your exterior door until the door has an even, smooth look. Finish off with some fine-grade sandpaper if the door still feels a little rough.
Once the door is looking ready, go over any cracks or nail marks with wood filler and work it in with a putty knife. Leave it to dry for a few hours, then sand off the spots until they are flush with the rest of your exterior door.
Finally, make sure you remove any rogue sawdust from the scene and wipe the door with a slightly damp cloth to remove any traces. Once that’s dried, you’re ready to paint your front door!
If possible, remove your door from its frame before you start.
Arrange a replacement door in the interim whilst the paint dries, particularly if it’s slow-drying. To remove your door, use a screwdriver to remove the door at the hinges. Alternatively, using a chisel or flathead screwdriver, you can remove the hinge pins by wedging your chosen tool between the pins and tapping the handle of your tool until the pins pop loose.
Once the door is off its hinges, you should remove the rest of the door furniture where possible. If it's not possible to take off the door handle, knocker or all the hardware from the door, cover them with masking tape to keep the paint off.
Any time you're painting, you'll get a better finish if you clean the surface to remove any dirt first.
When the door is clean, you may need to take other steps to prep the surface. The steps you will need to take will depend on what the front door is made out of, so check our tips above for specific support.
If you have a glazed door, you will need to tape off the door edges and frames for the glass as well as any remaining hardware. Use painter's tape or masking tape, to stop the paint leaking or glue smearing on your door furniture.
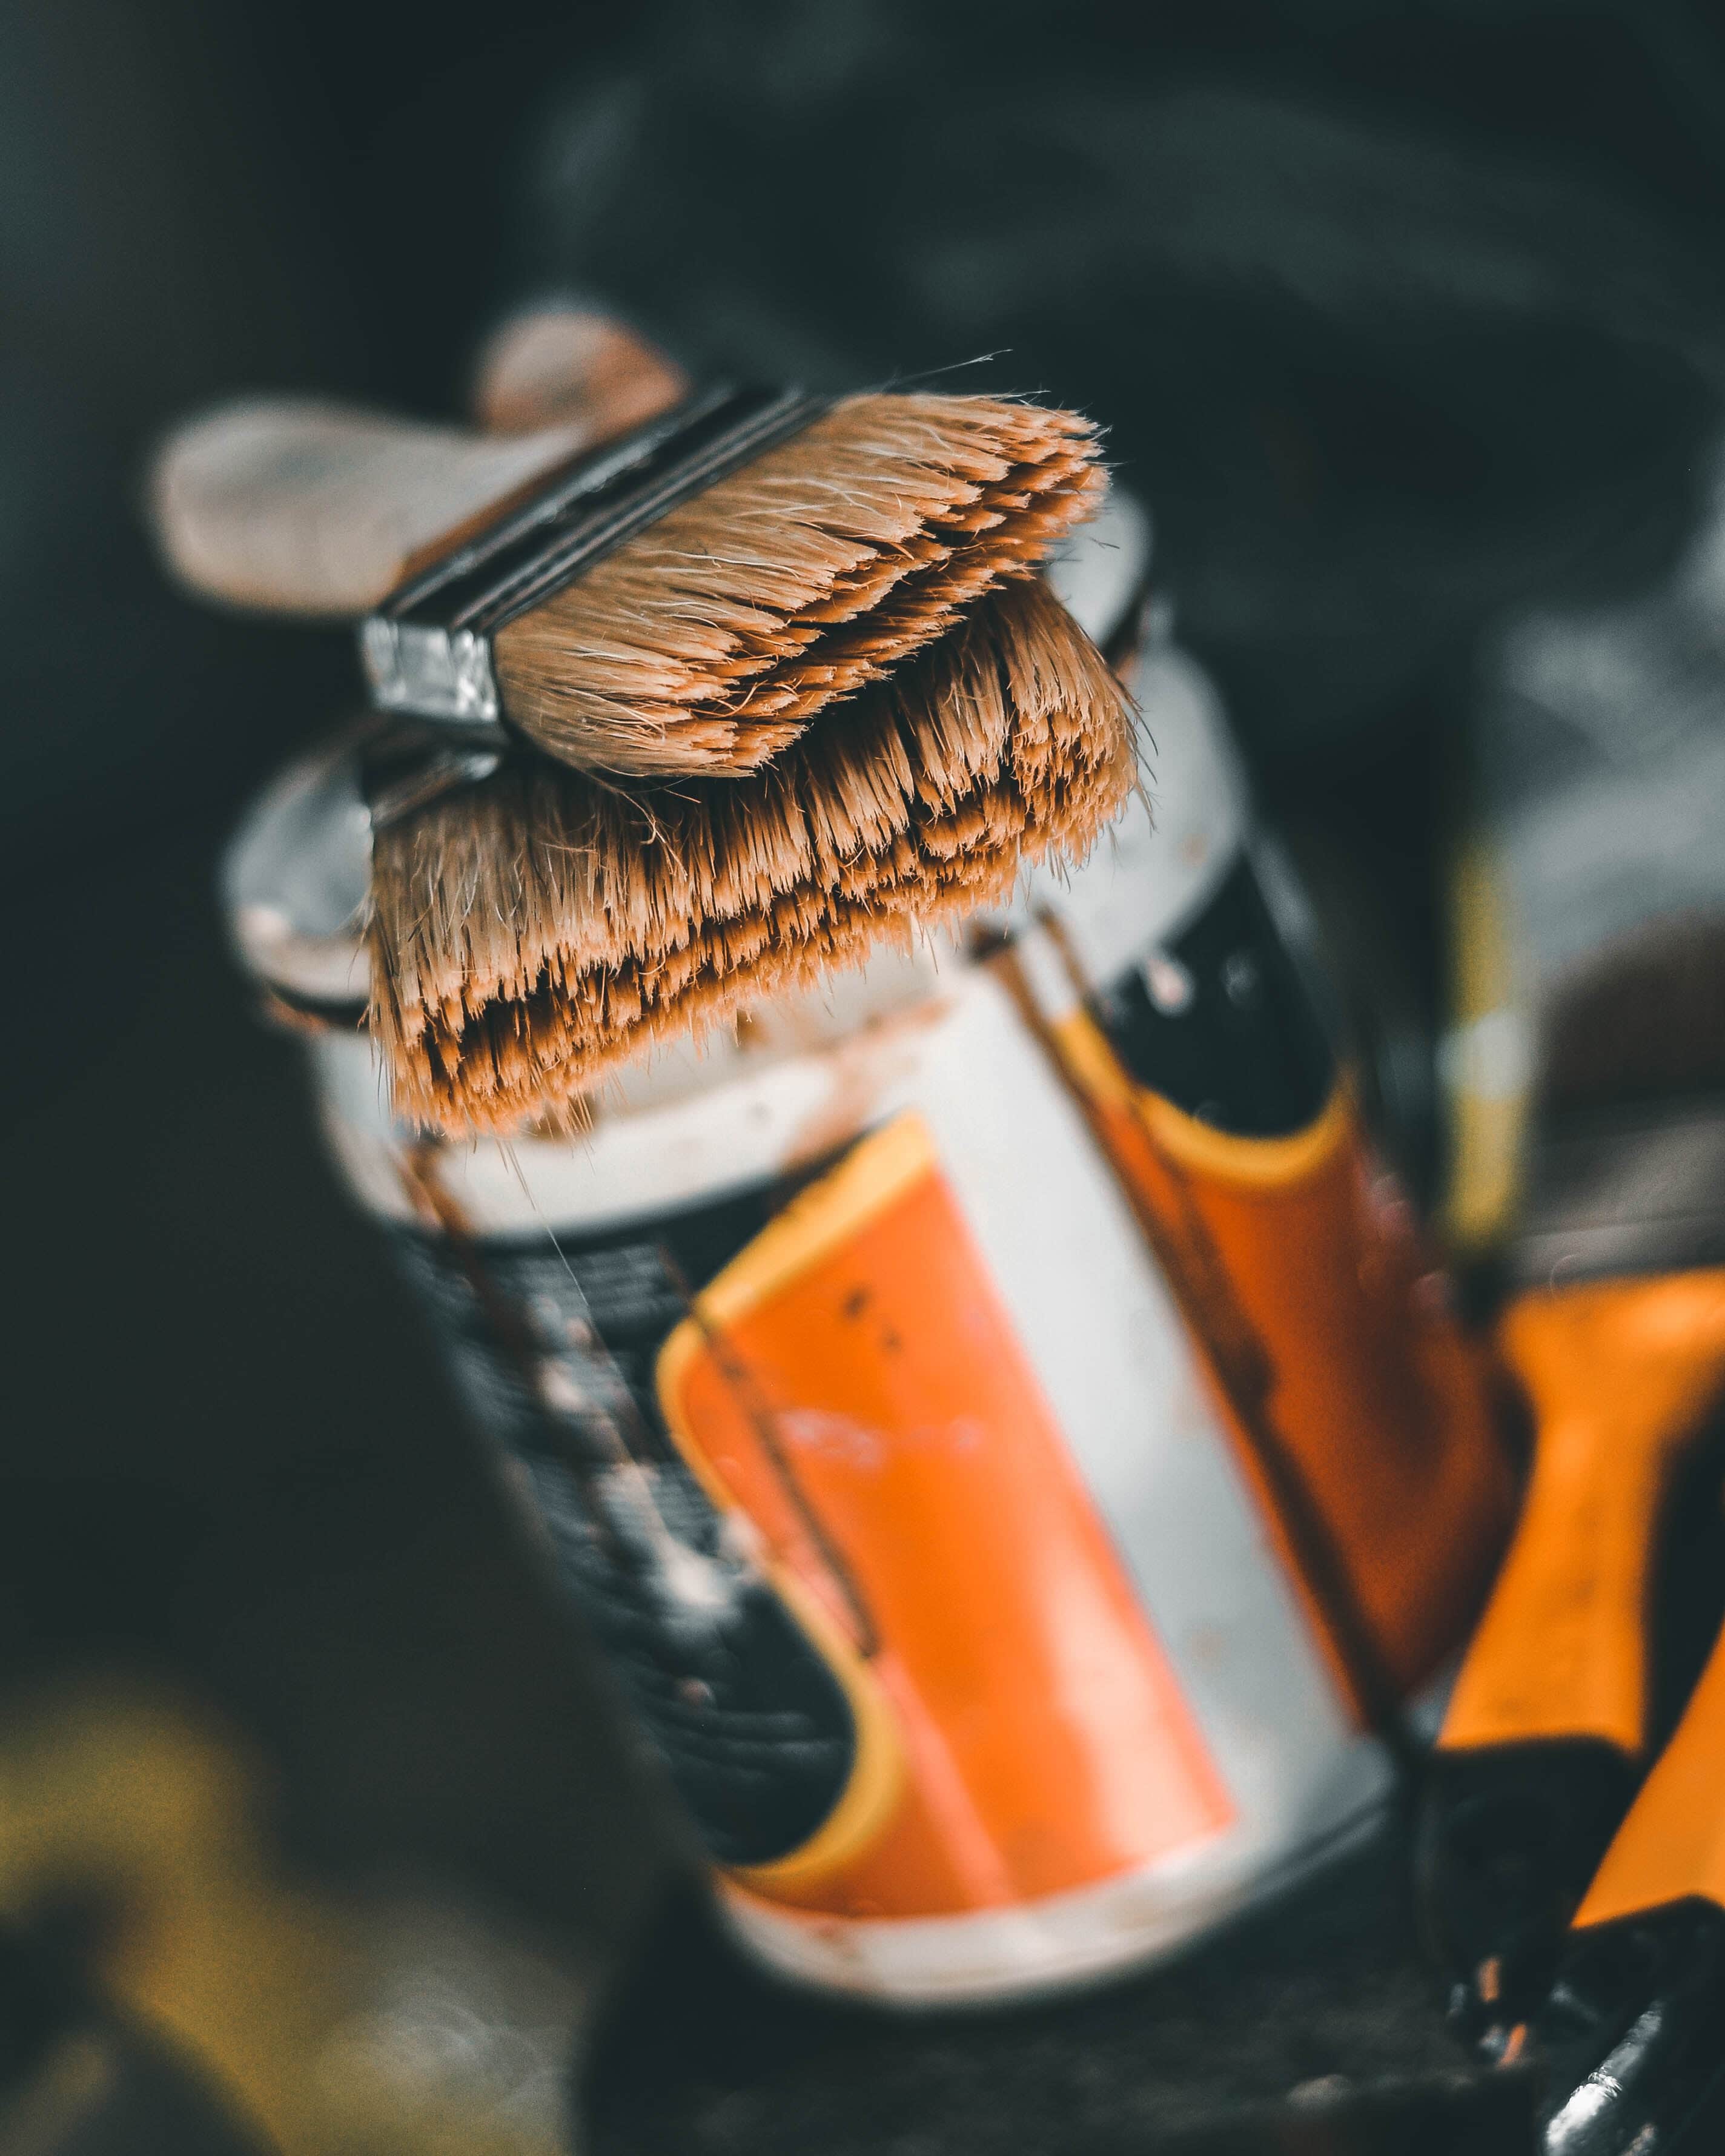
Now you are ready to start painting your door.
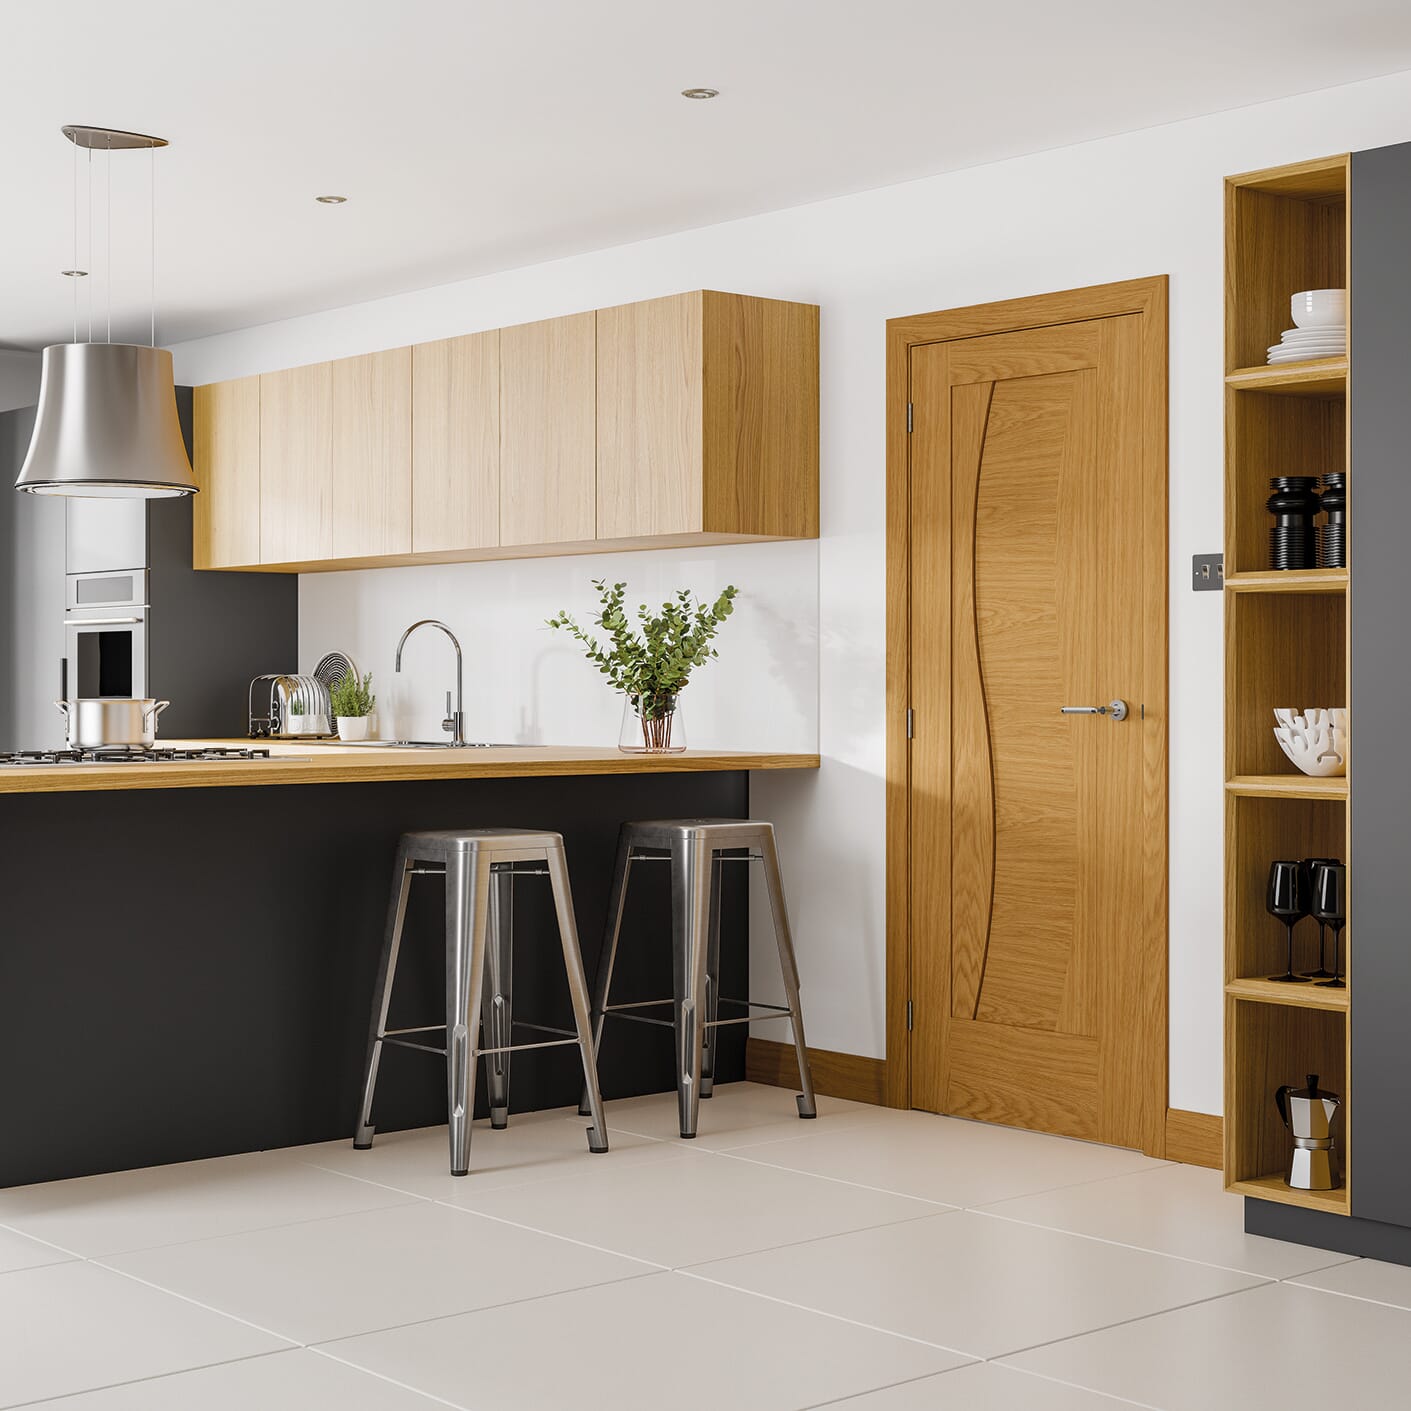
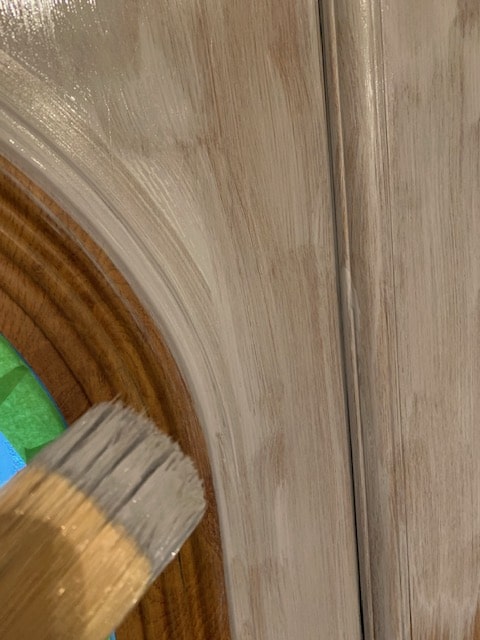
If you have an external panel door, start with a small paintbrush or small foam roller. Carefully paint around any beading or crevices on the door panels.
To cover the rest of the door a foam roller is preferable to a paintbrush as it will regulate the paint more. This makes it easier, quicker and gives a better finish. If you have a flush door, you can just jump straight in with the roller.
If you prefer the look achieved by using a brush, make sure you use firm vertical strokes. Even on a carefully primed or sanded door, you will struggle to get a completely smooth finish using a paintbrush. If you prefer a more rustic look a brush might be the right tool for you.
The number of layers you need for a perfect finish will depend on the type of paint you use, so check the instructions on the paint can before you start. If you use a primer, you might only need one coat.
If you do need to do two coats or more, make sure you let the front door dry before you apply a second coat.
If you've removed your front door, let the paint dry before you rehang it. Otherwise, make sure you leave the door open to dry so that the exposed door edges don't stick or smudge against the door frame.
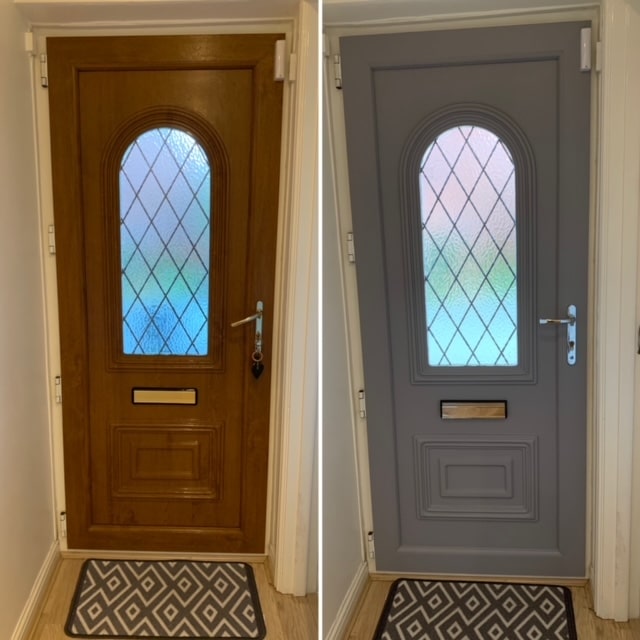
Your front door is finished when the door paint no longer feels sticky to the touch. Once you're comfortable with the finish, remount your door with the help of a friend or family member (those things can be incredibly heavy after all!) making sure the hinges are aligned and the door sits comfortably in its frame. Congratulations.
Admire your handy work, luxuriate in the added kerb appeal of your home and make yourself a cup of tea.
Unfortunately, there is no single easy answer on what paint you should use to paint a front door.
Different door materials require different types of paint. Just grabbing any weather-resistant exterior paint for your front door can lead to a patchy finish. The best paint for each door will vary, but you'll always need something durable to paint a front door.
Your exterior paint should be UV resistant for any exterior door so that it can stand up to direct sunlight and heavy rain. But the choice between oil paints, latex paint or water-based acrylic paint will depend on whether you've got a uPVC, composite, wood or metal door.
When it comes to uPVC or composite doors, water-based paint will usually be your best bet.
Wooden front doors will do better with an oil-based primer or oil paints as they help create a waterproof surface for the door.
If you've found a chosen colour for your front door but can't find the correct type of paint, you can always use the first coat of primer instead. Make sure your primer is specific to the material of your door, and you can use whichever oil or water-based paints over the top that you want. You may even need fewer coats.
When you're eager to start a DIY project such as painting exterior doors, it can be tempting to start the moment you have the materials ready.
But as keen as you are to paint your front door, it's important to pick the right time of year to do it.
The weather conditions on the day you decide to do the job are important, particularly if you are planning to remove your door to paint it. However, you do need to look further ahead than this.
Though one coat of new paint or primer will usually be touch dry in two hours, it will take much longer for multiple coats. You also need to try and make sure the entire door is completely dry before any heavy downpours start.
In the UK, the best time of year to paint your door is late spring, so that your door can settle before the extreme challenges of wet, cold, winter weather.
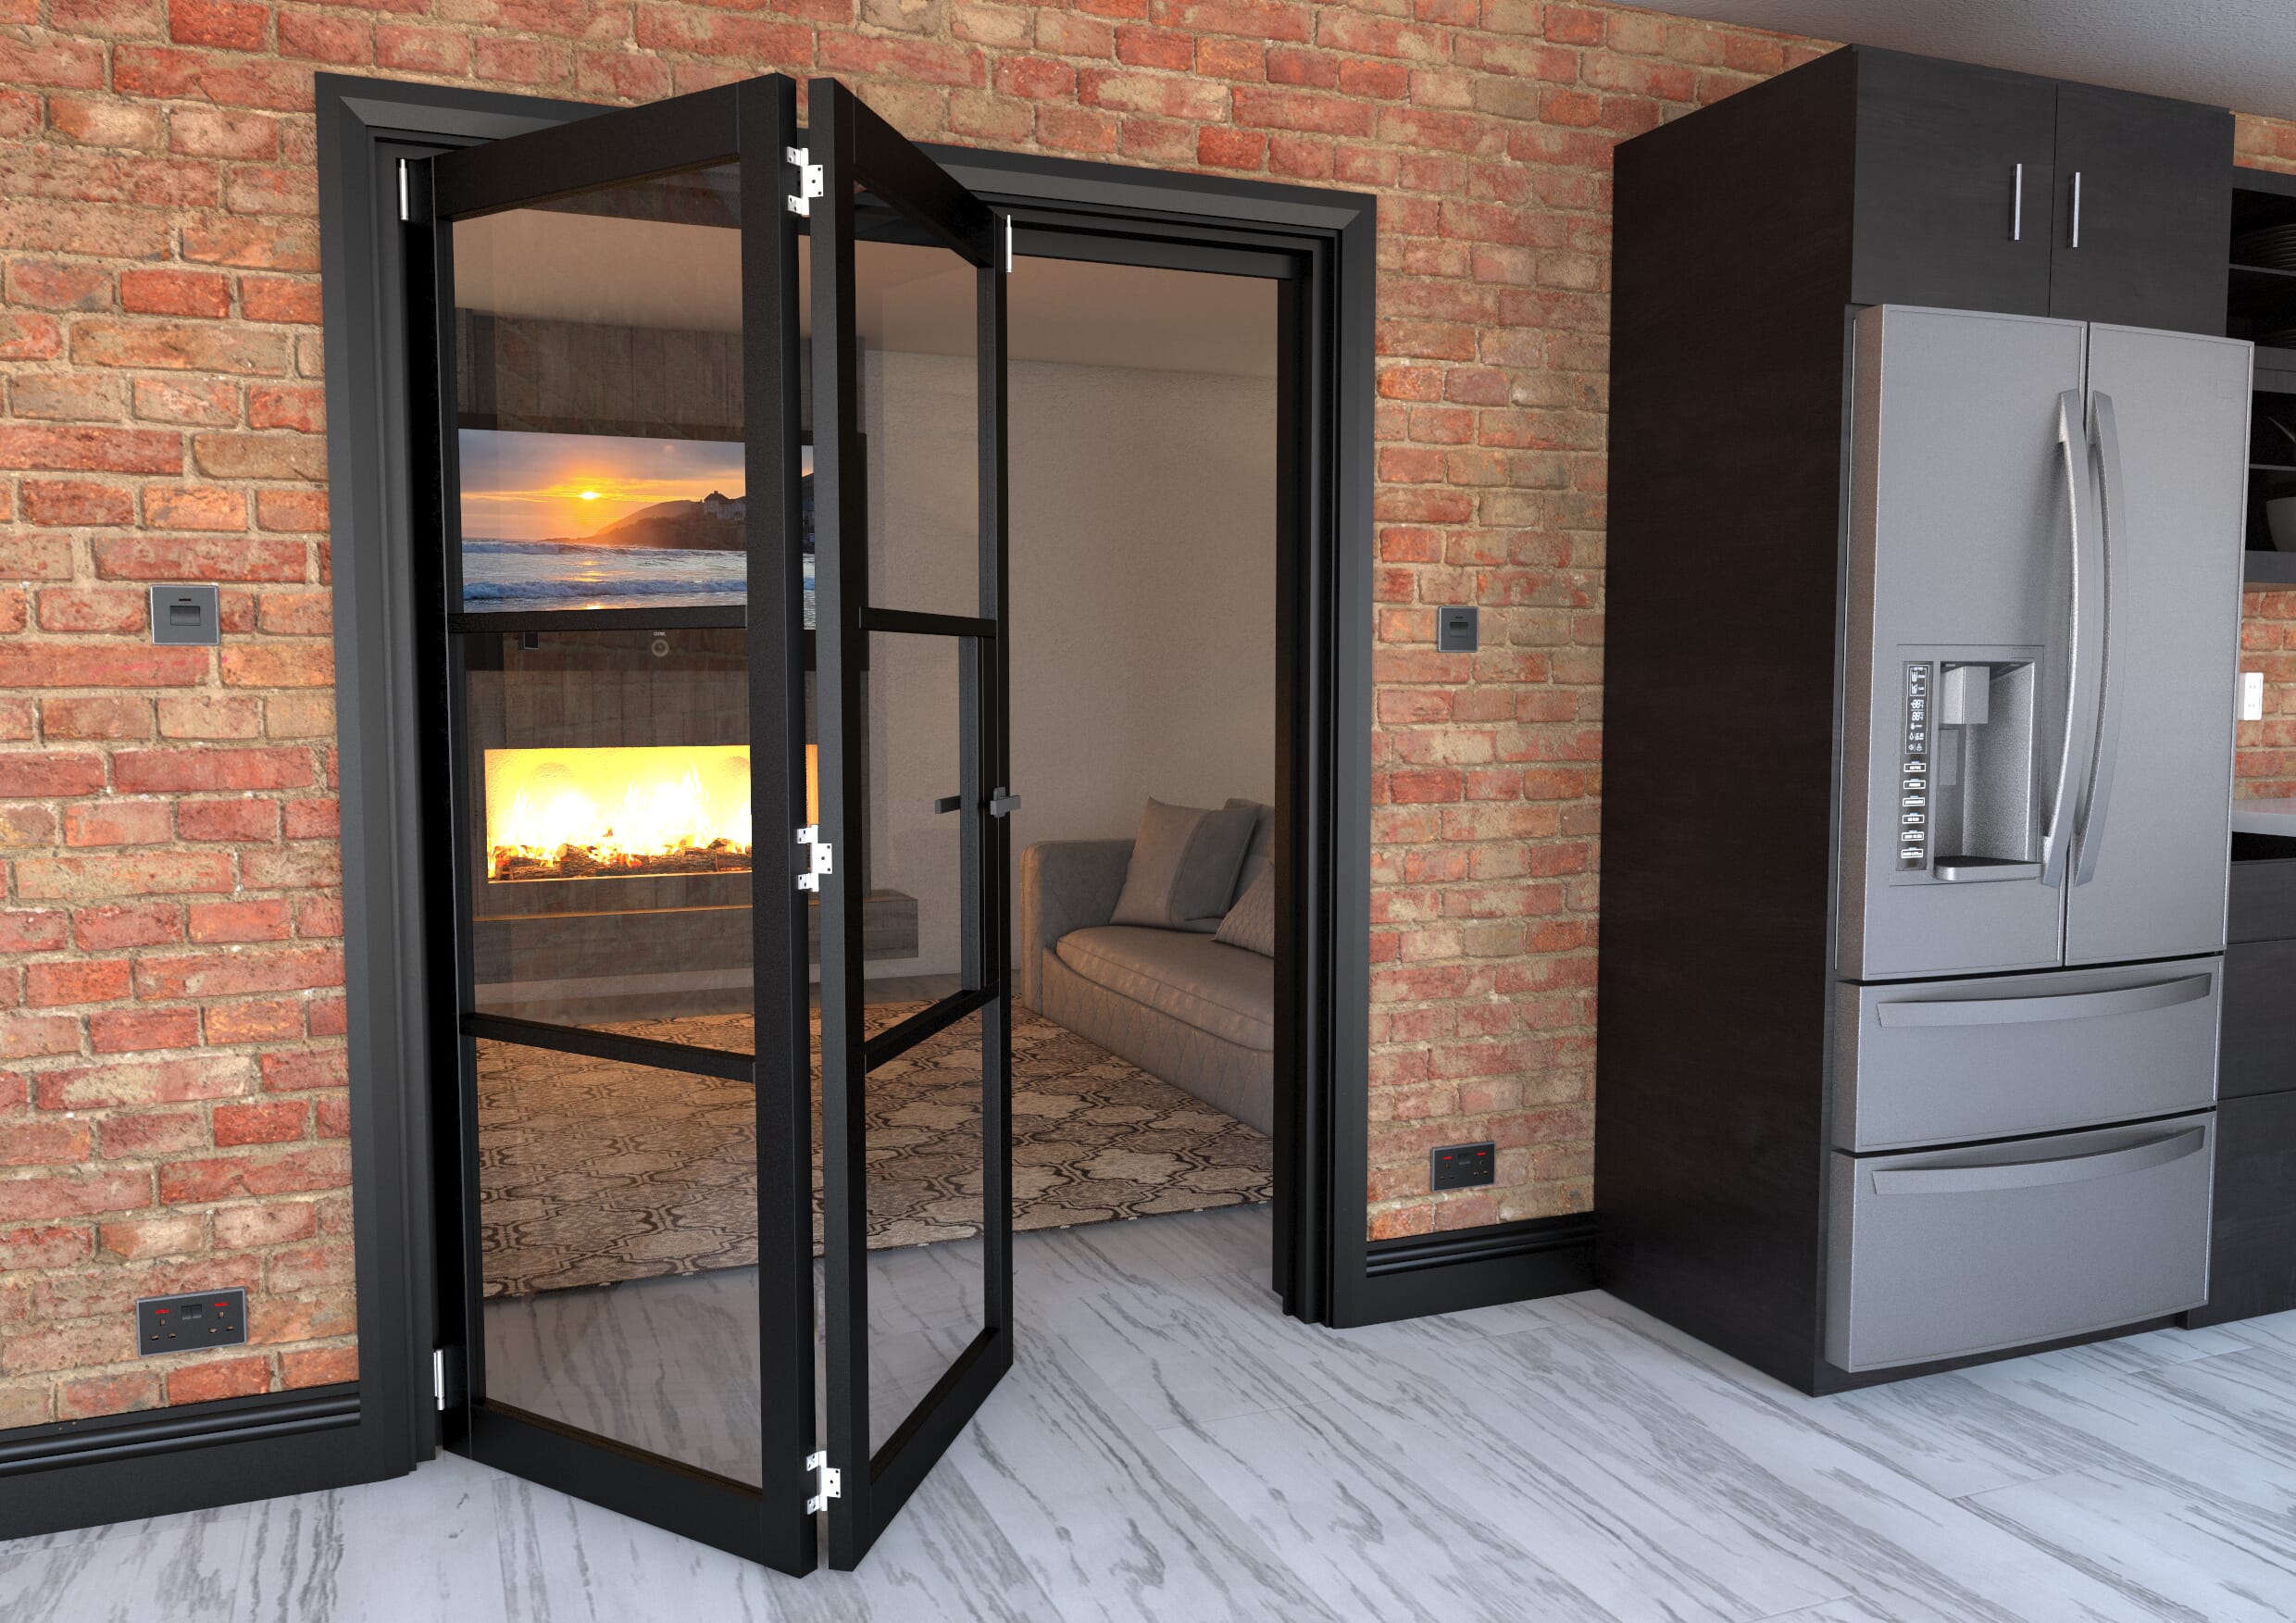
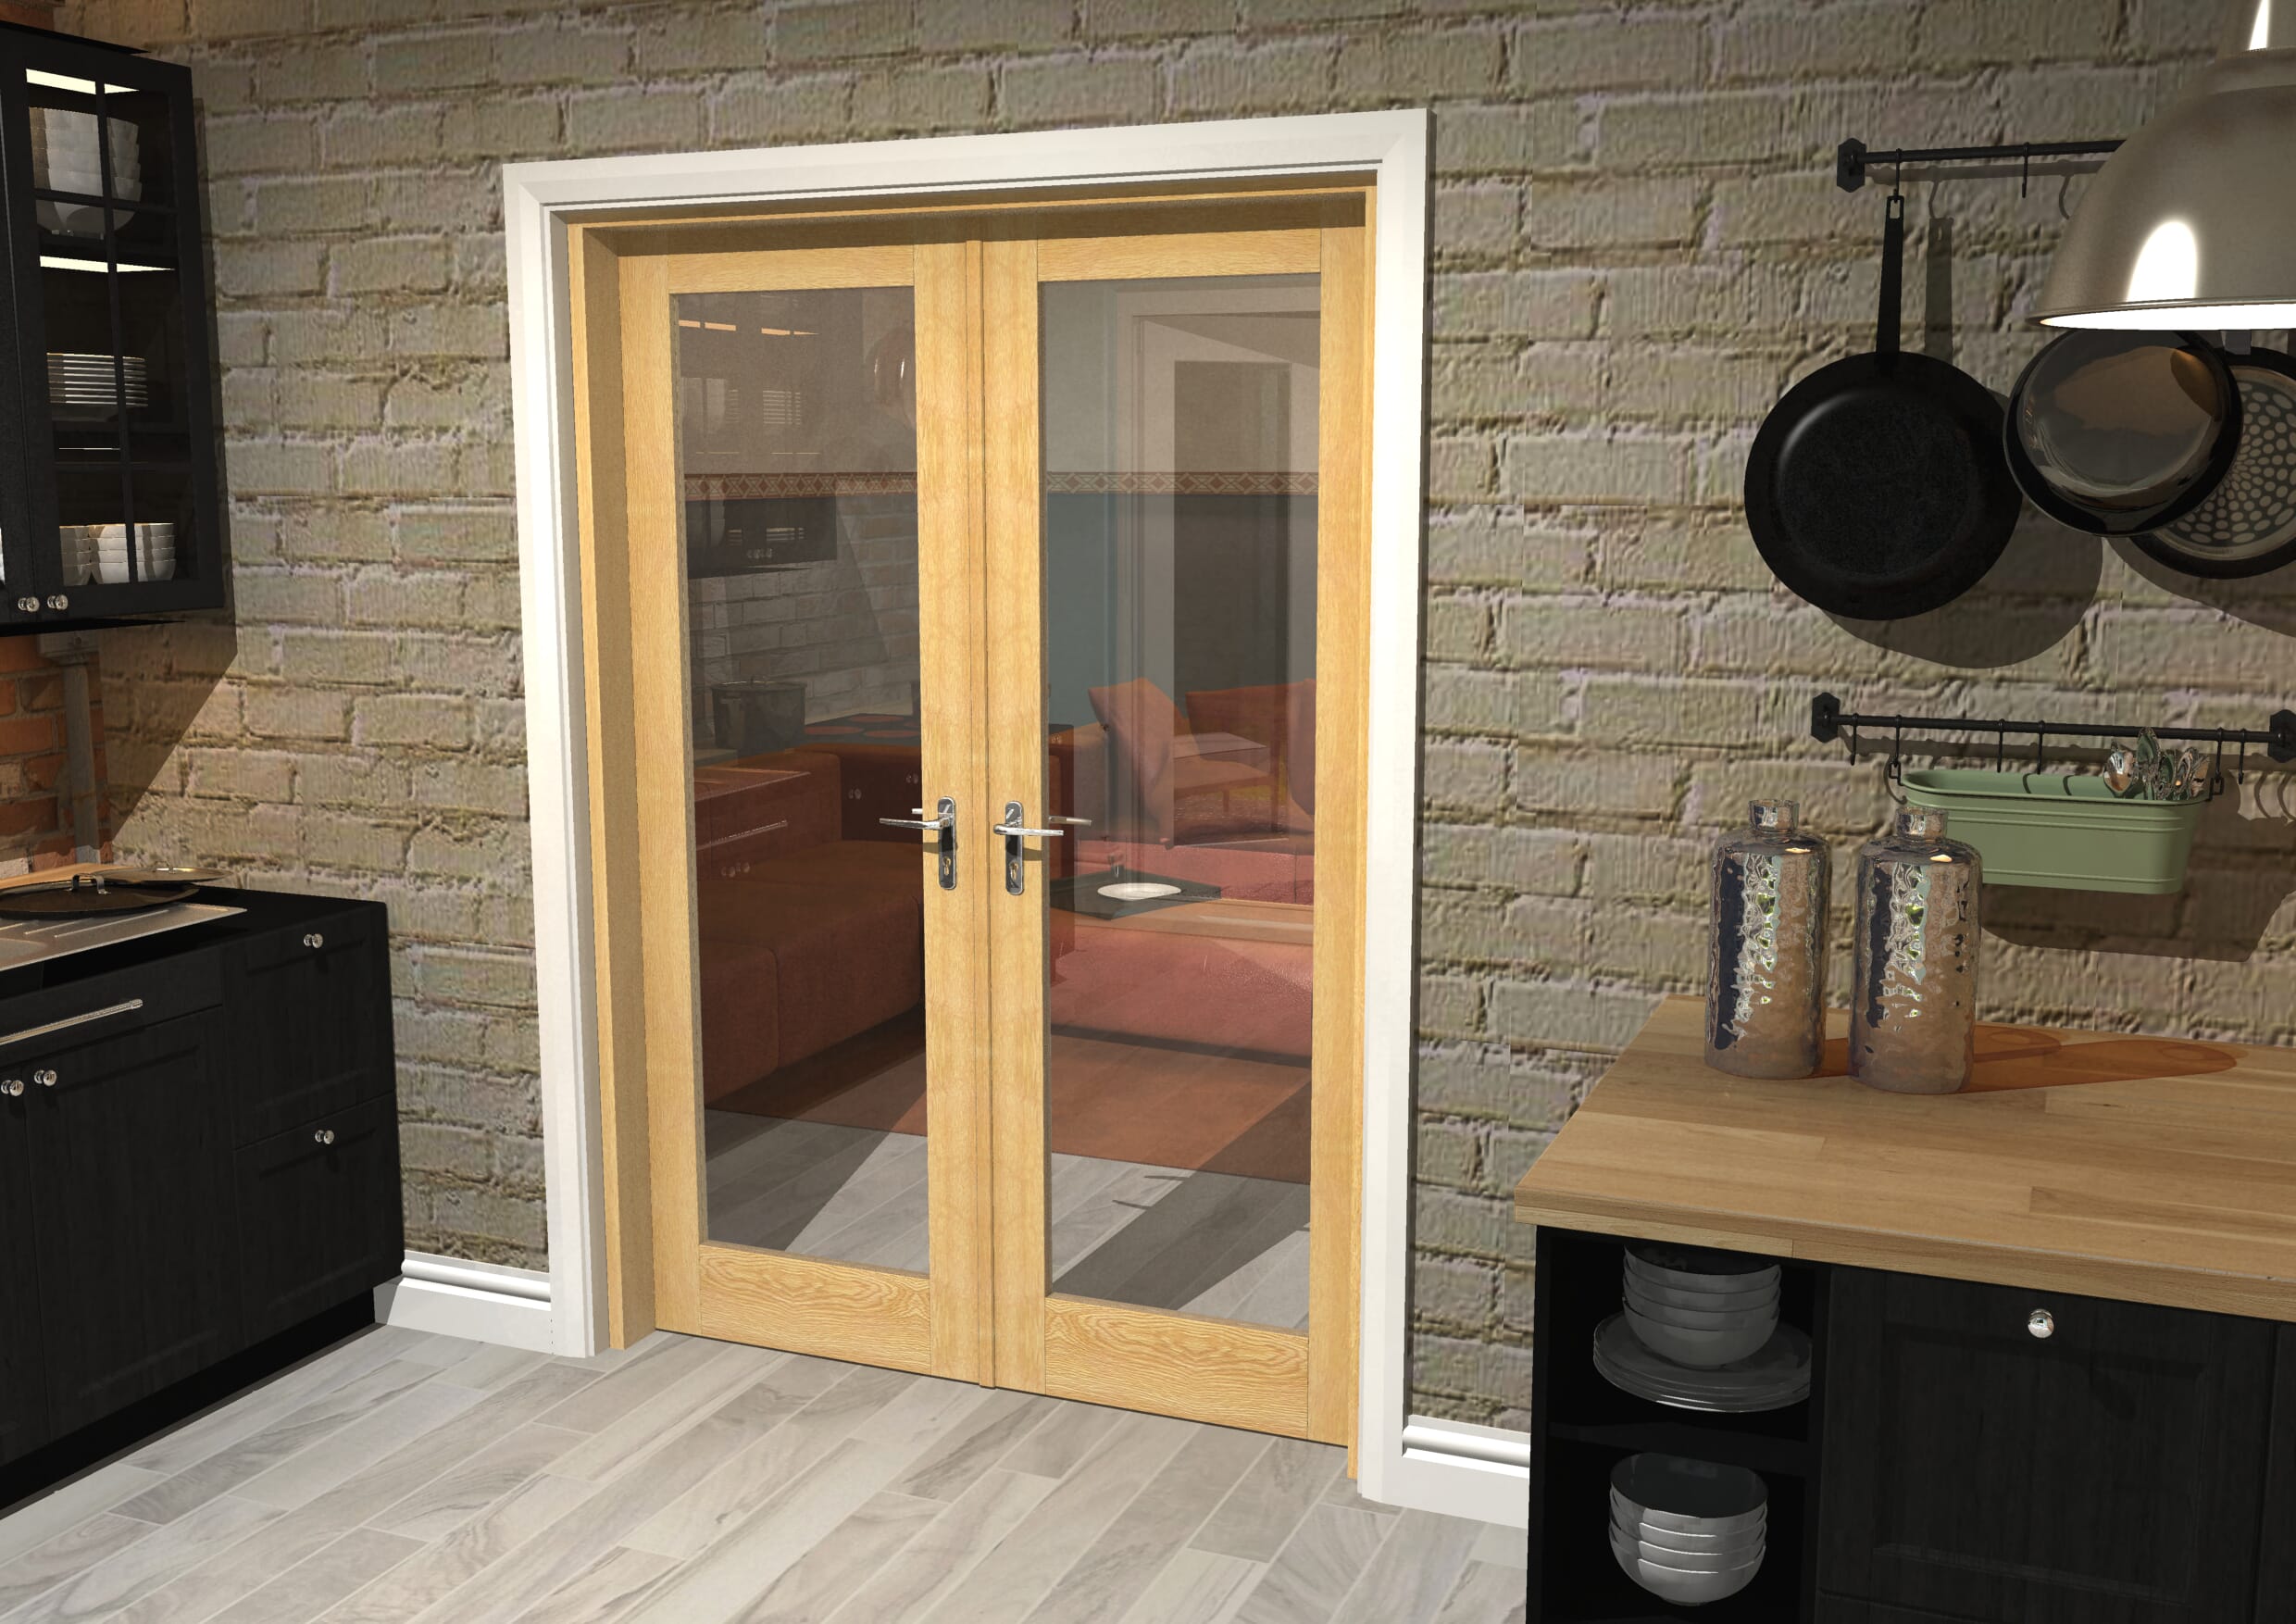
Proud stockists of....
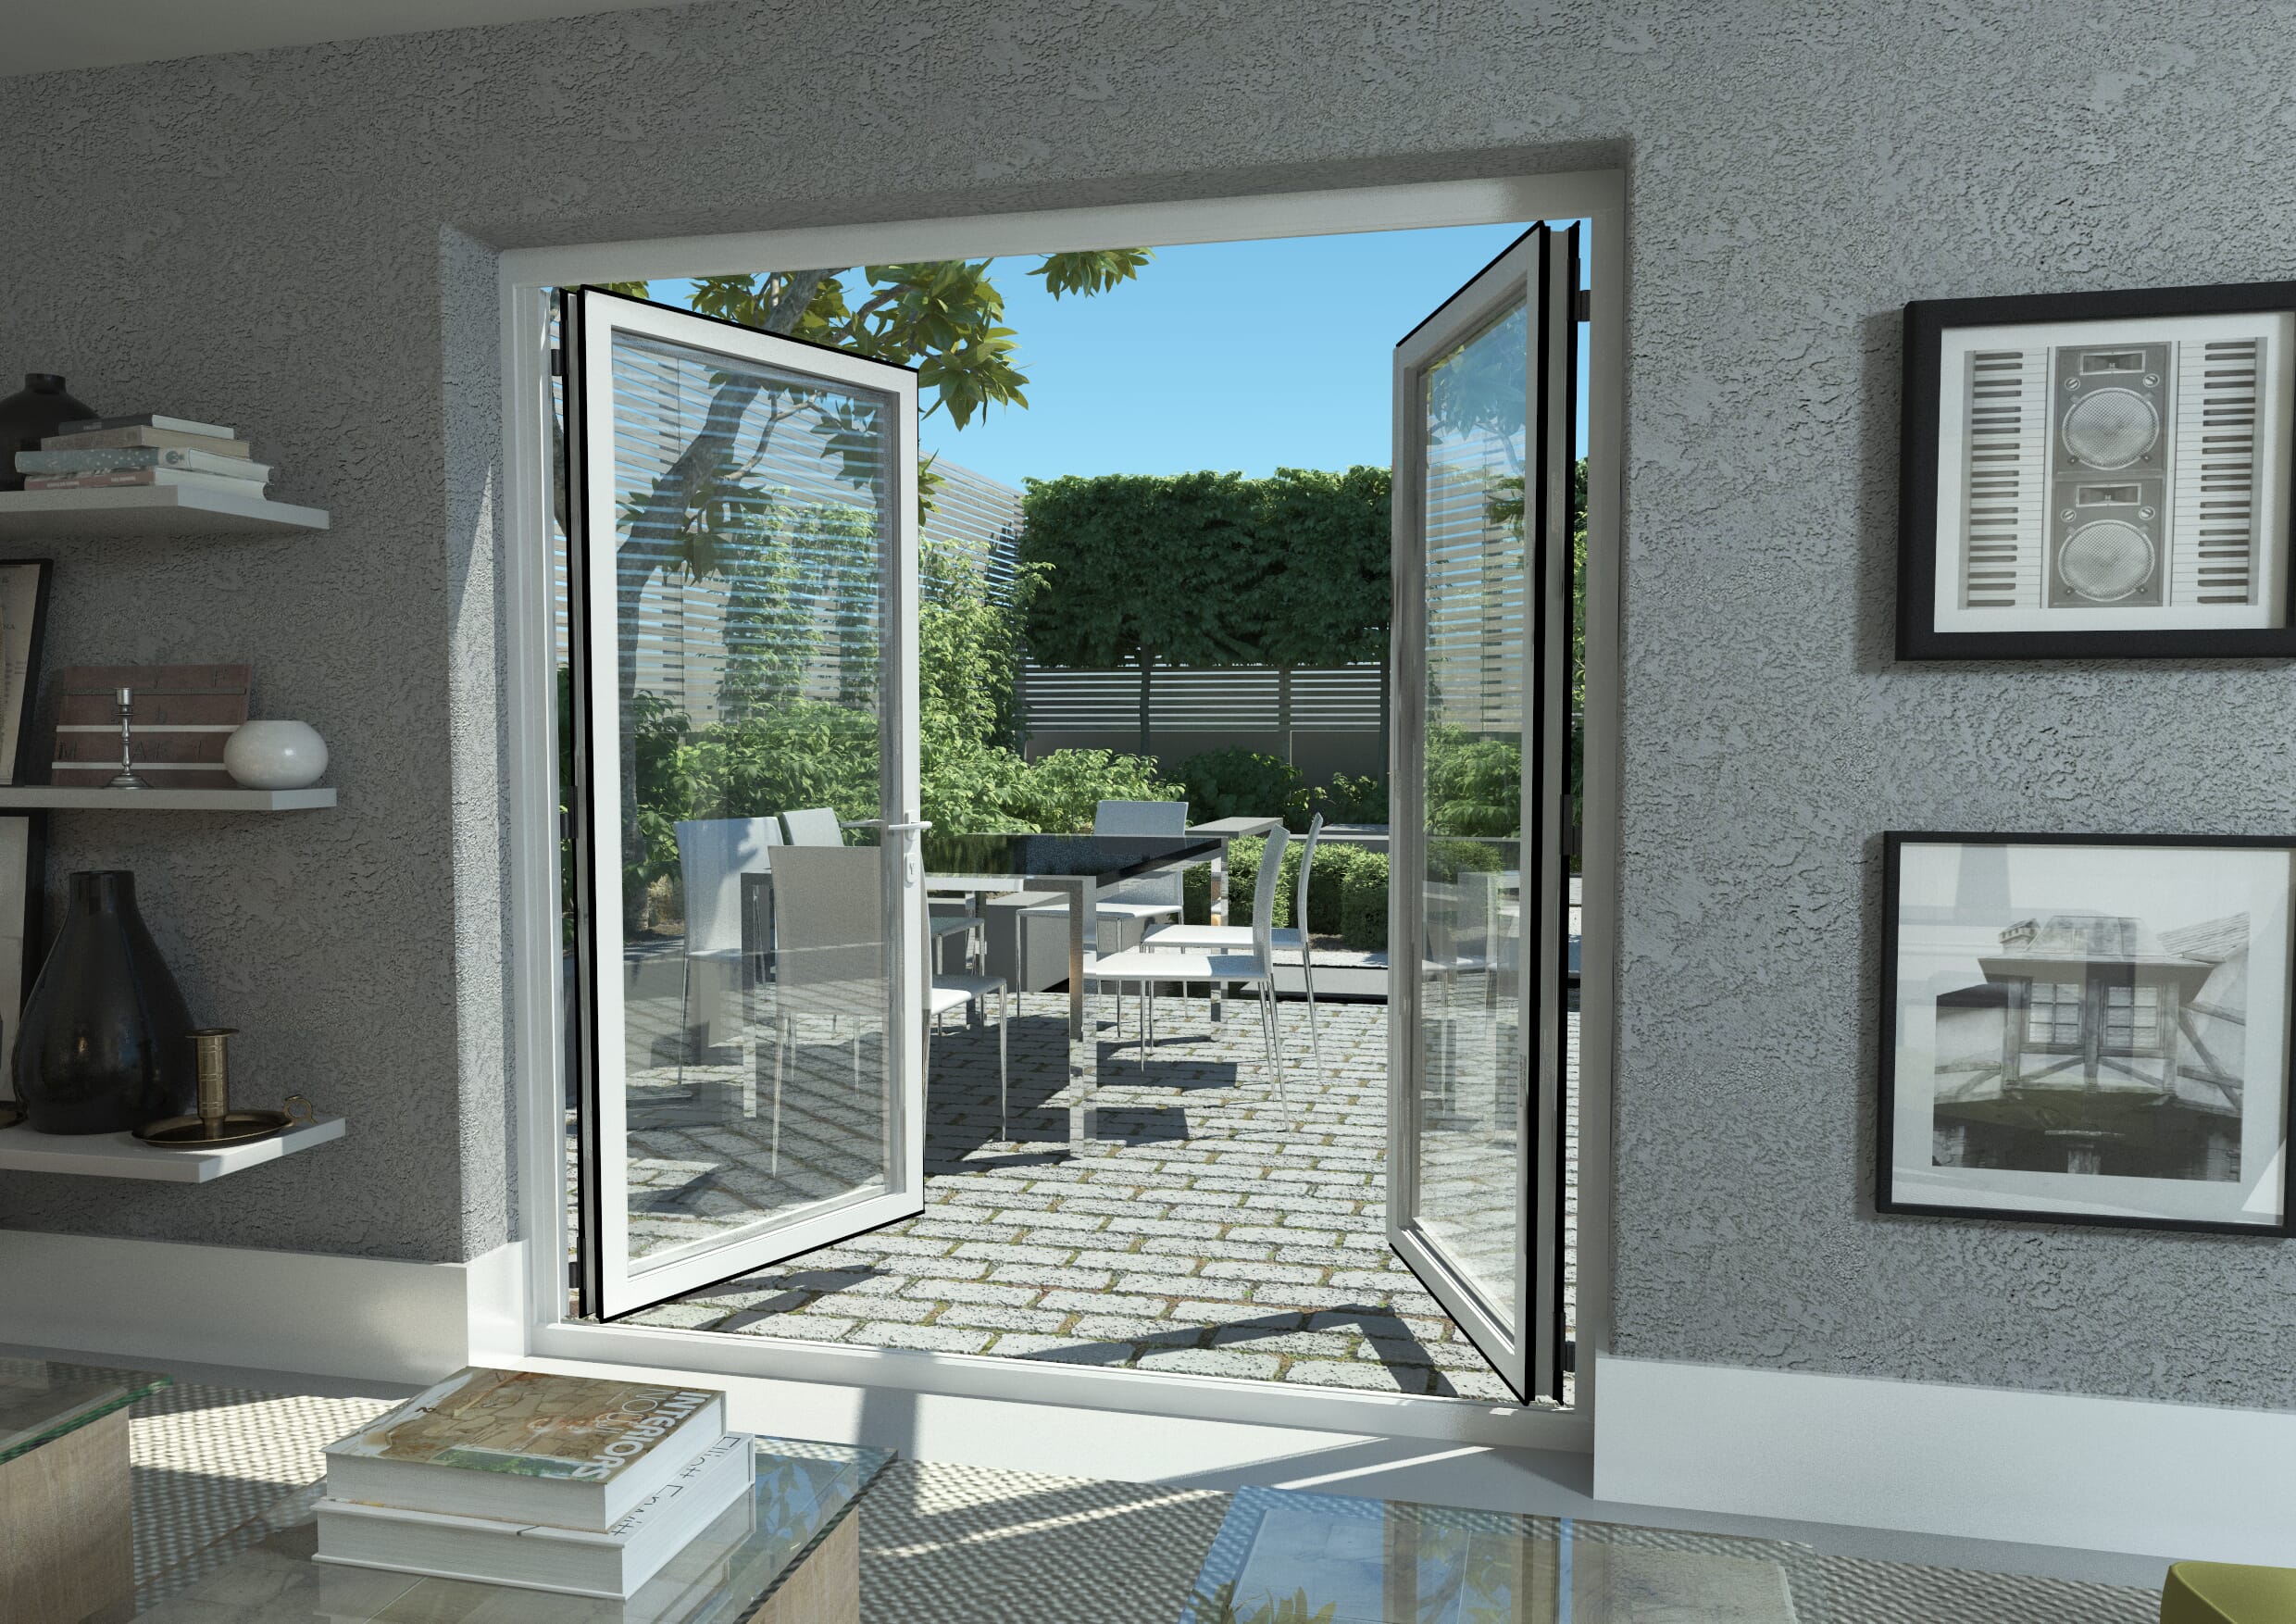
Bring industrial-inspired design into your home with our collection of heritage steel-look doors. Available in bifold, French and internal door options, these on-trend designs offer the distinctive appearance of traditional steel doors with the practicality of modern materials. Browse our range today and transform your living space with striking heritage style doors.
Trusted stockist of Climadoor; the Folding Doors brand.
© Express Doors Direct 2026. All rights reserved.
Company number 11557039.