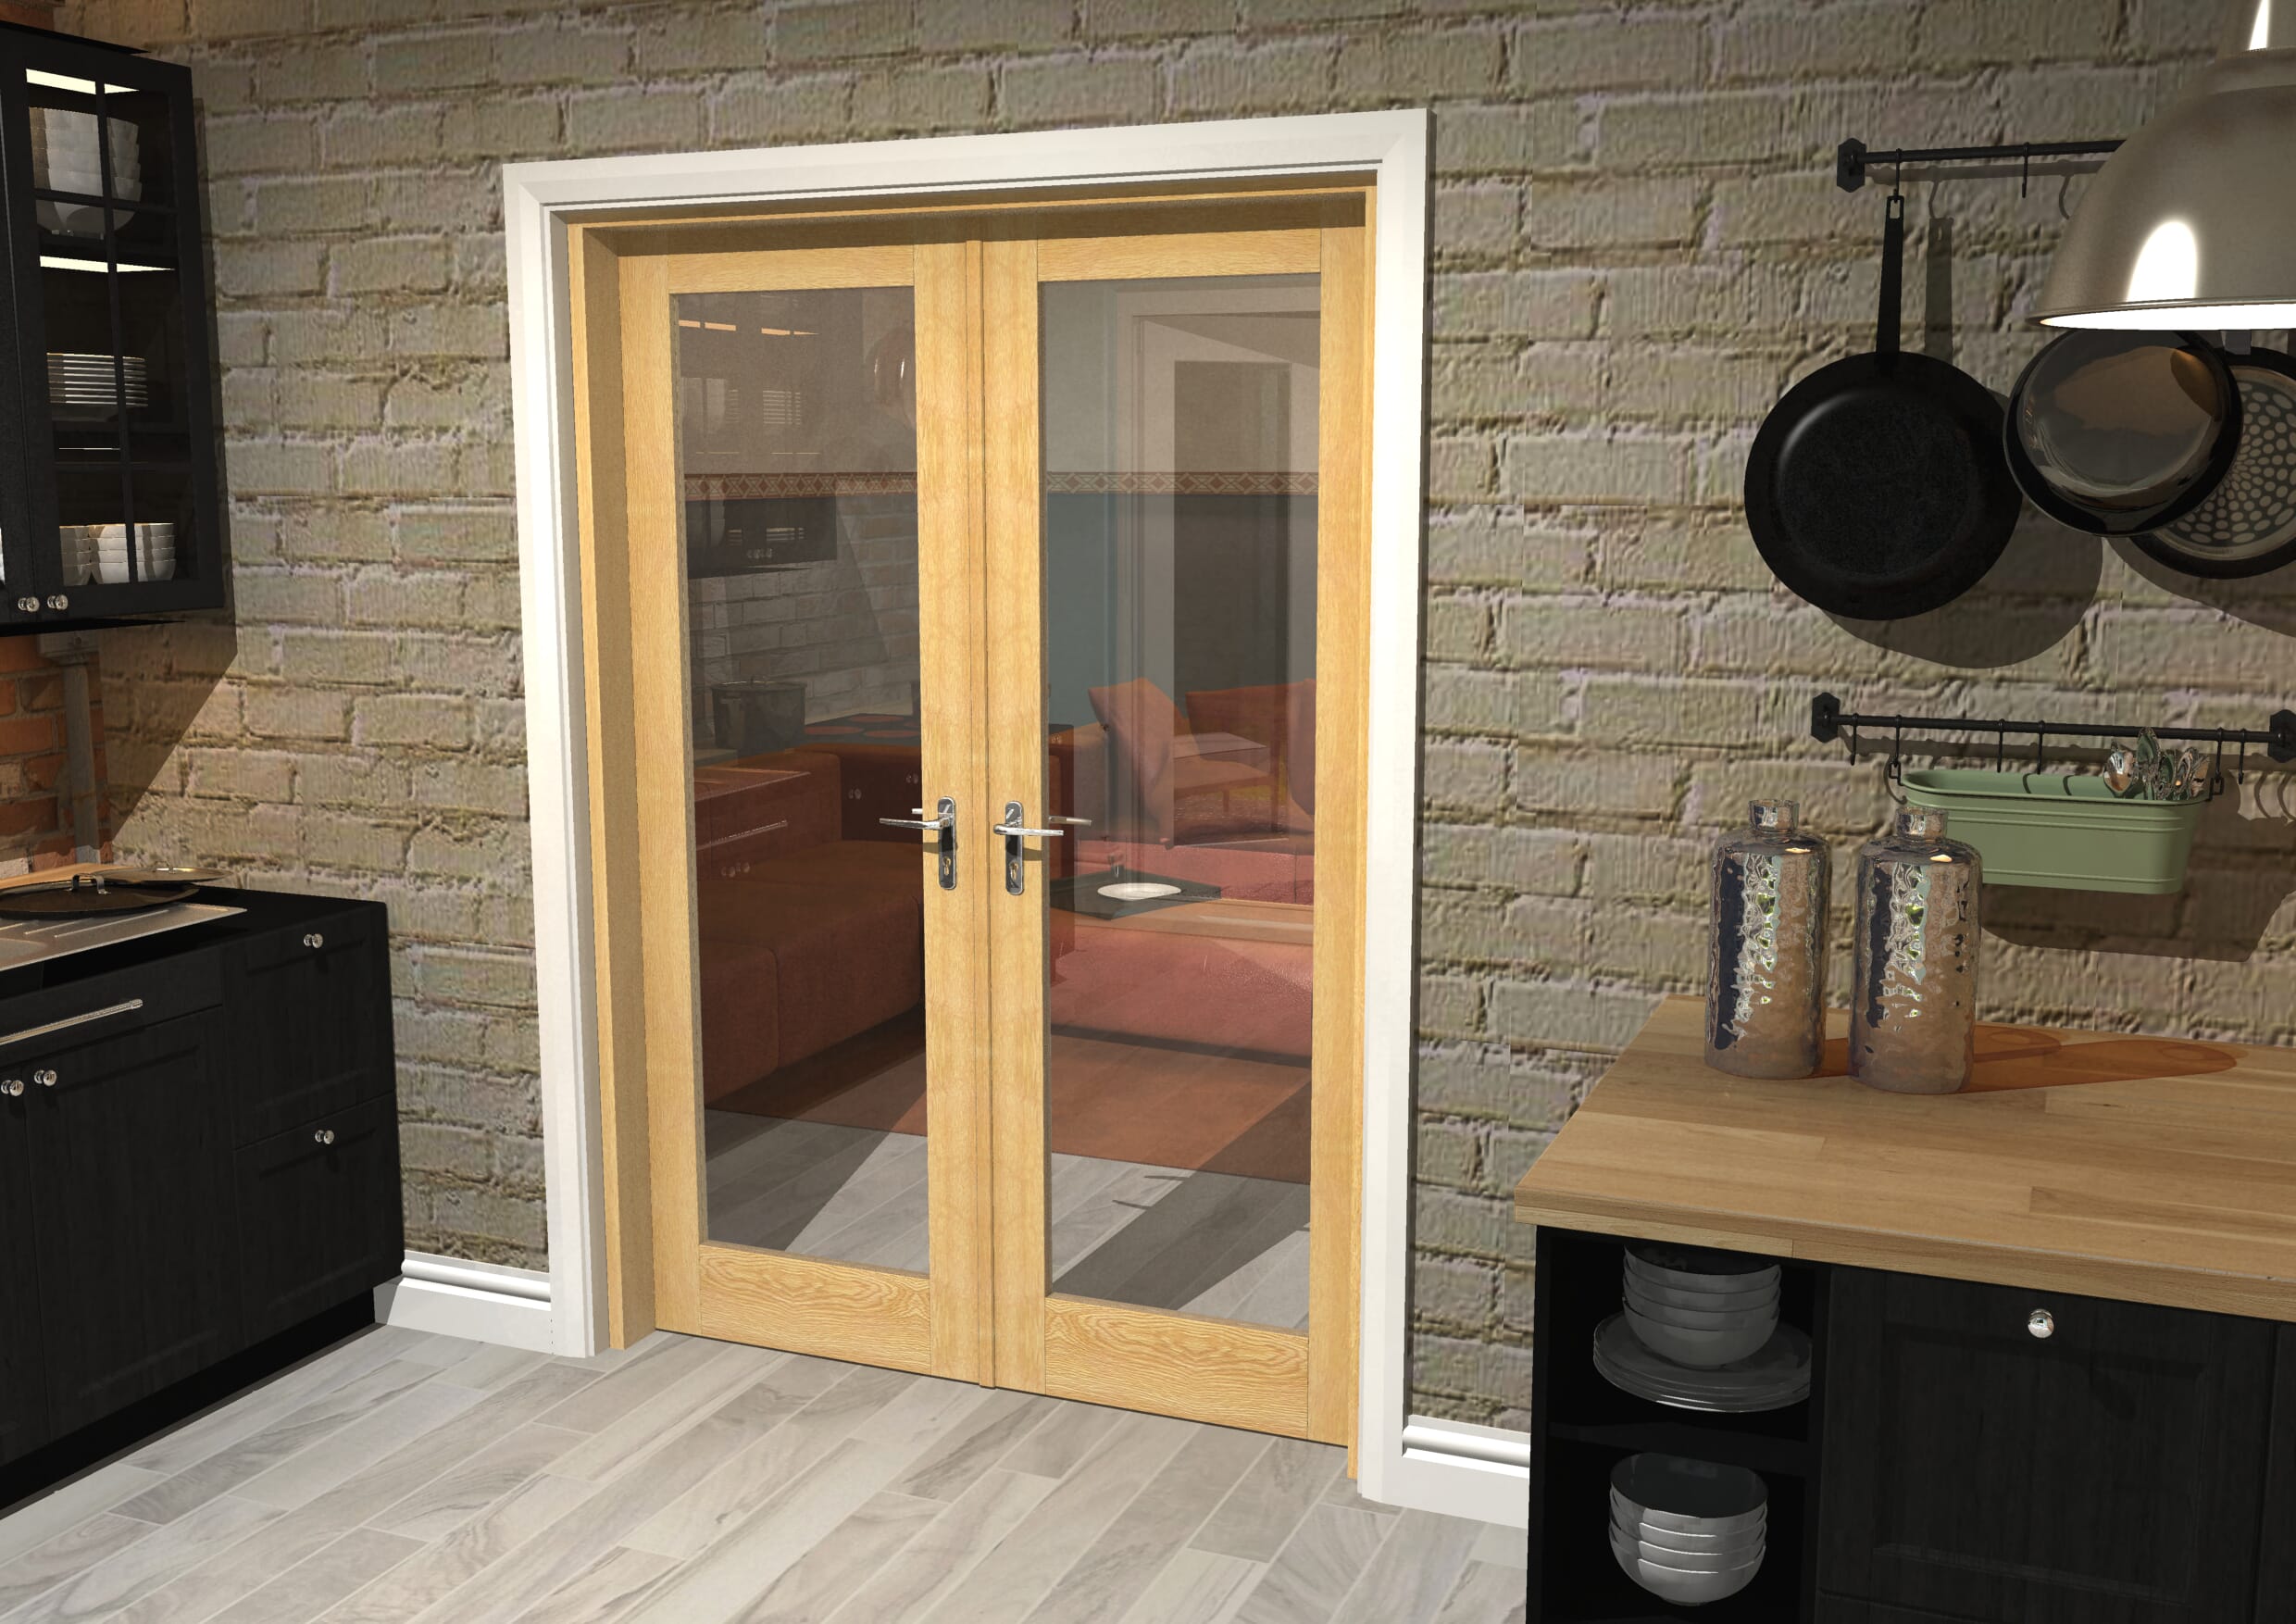
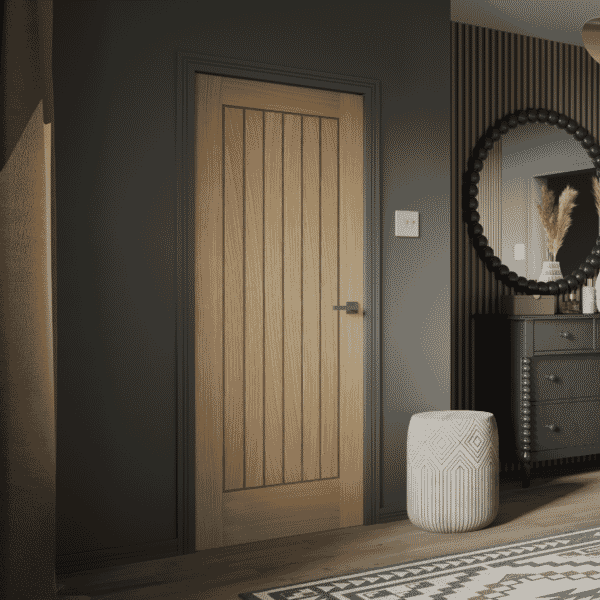
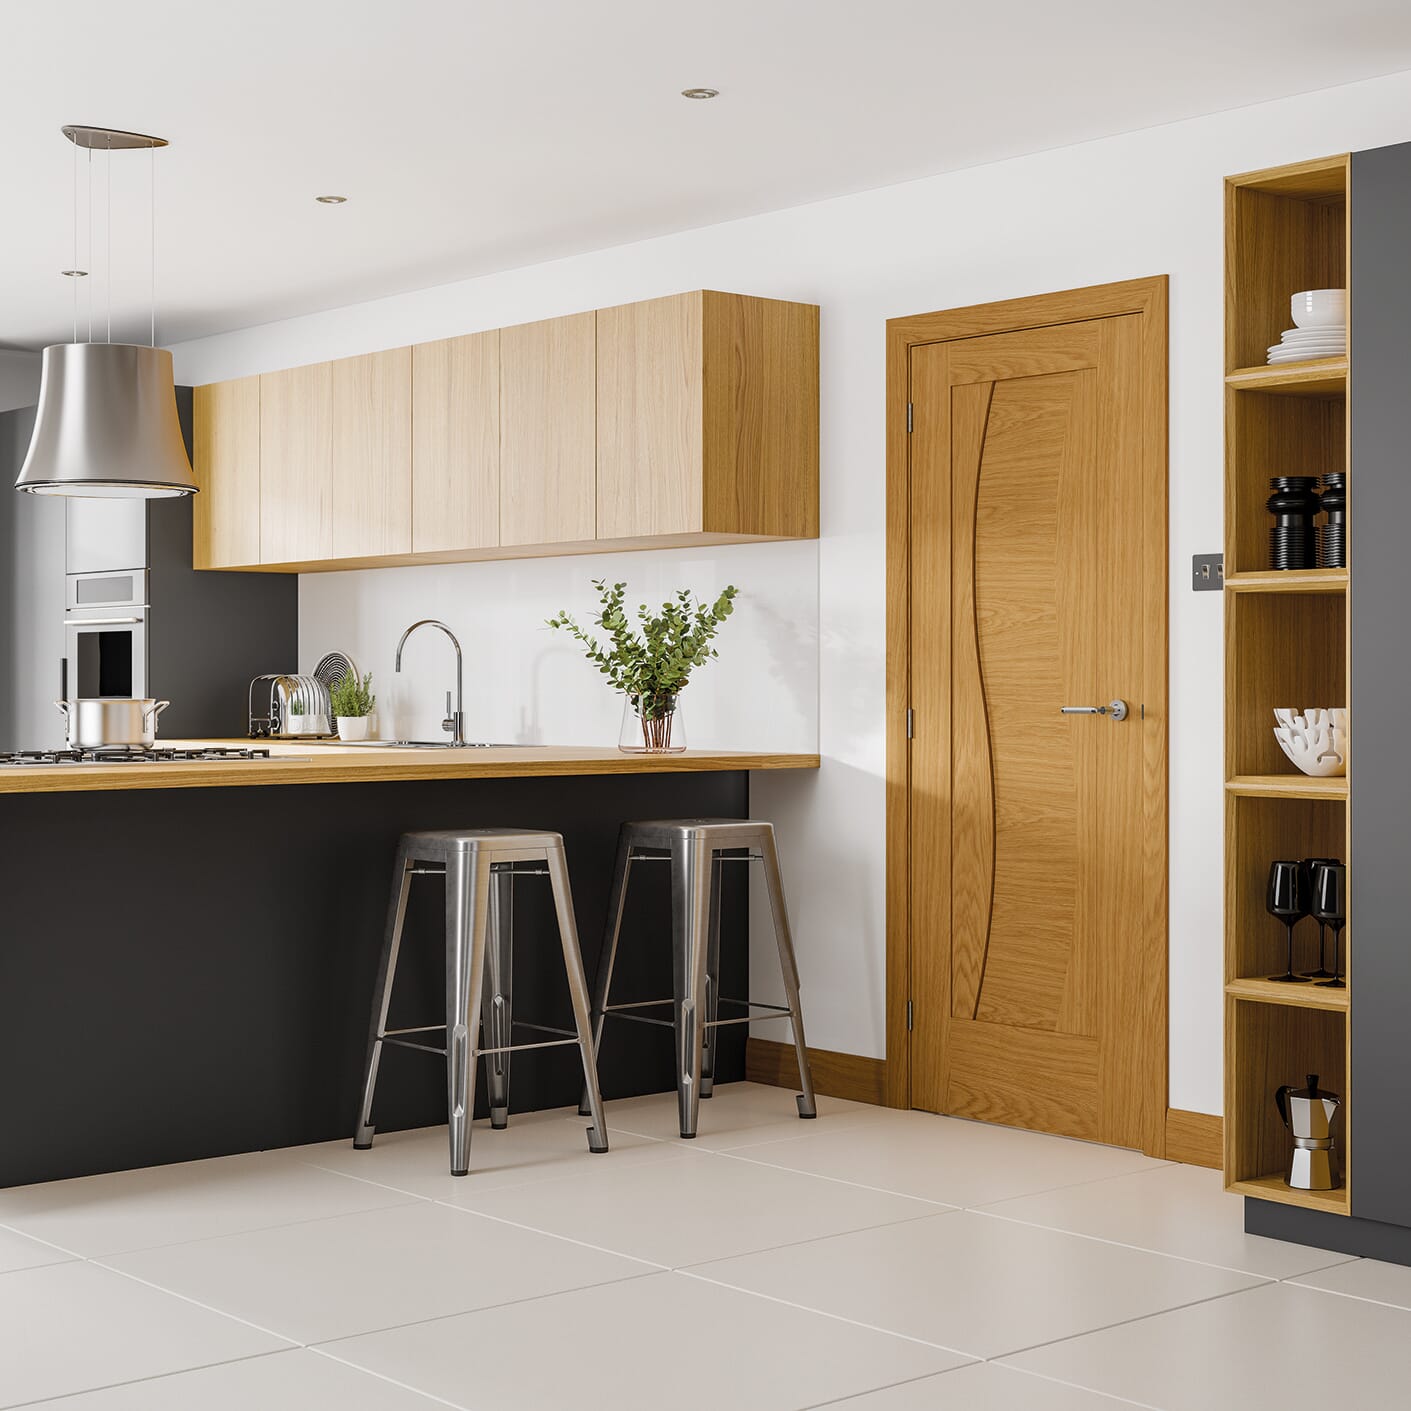
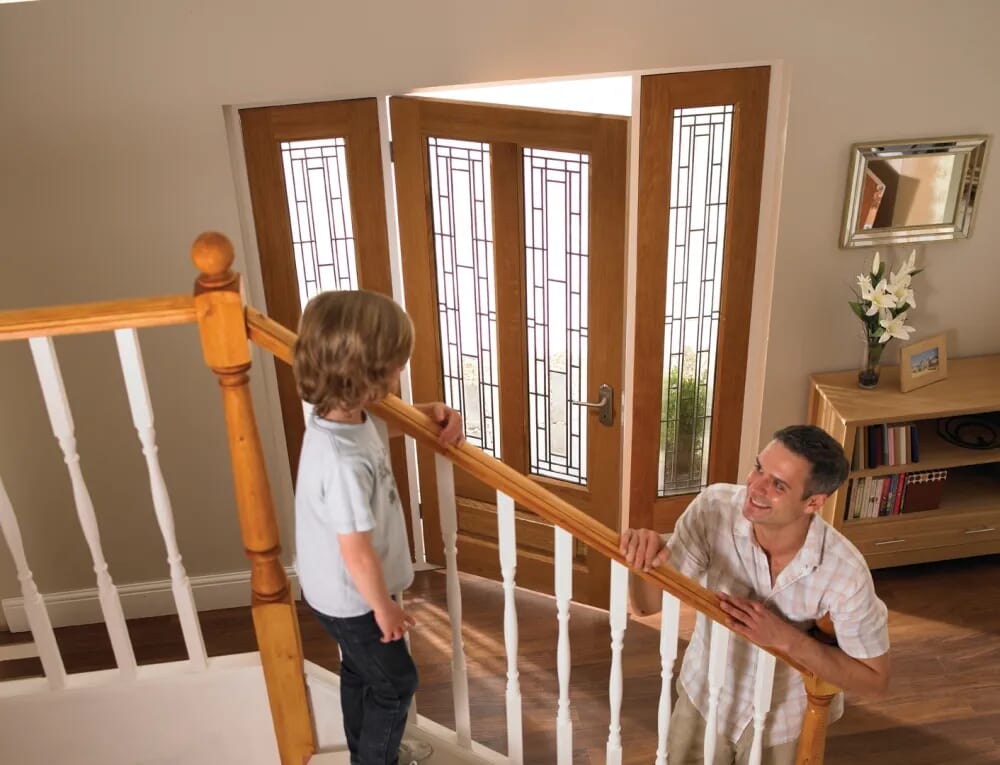
An interior design secret: replacing your internal doors can gift your room with a new lease of life, giving it character and helping with thermal and sound insulation.
We’ve recently written a guide on how to measure for new internal doors. If you’ve found that your door doesn’t quite fit into your frame (perhaps one side is sticking or there’s just a few millimetres difference) you may need to trim it. This is a lot more common than you’d think, most doors need a little trim here or there.
It may feel a little scary to start chipping away at a beautiful new door, but it’s a solution we often recommend to people who have purchased a standard door and found that it doesn’t fit properly. With the right tools and by working slowly and methodically, there’s nothing to worry about. We’ll take you through exactly how you trim internal doors, what materials you can and can’t trim and more.
Yes, you can trim most internal doors, including hollow core doors. In fact, there's a high chance you will need to do so to get the exact fit you need.
While there isn’t a ‘standard’ legislation for door size, there is a set of common door sizes that many brands adhere to. However, it’s important to take precise measurements and purchase a door that’s as close to true as possible. But with varying frames, rough openings and floor coverings, minor adjustments are often necessary.
While it is possible to shorten a new interior door to fit into your old frame (more on that later), you don’t want to cut away too much of the door, wasting the material and creating more work for yourself than necessary.
There is the option to order a bespoke door that shouldn’t require any trimming (so long as your measurements are correct) but if your frame is close to ‘standard’ it may be easier to buy a pre-finished door and simply trim the sides, top and bottom down a little so that it fits perfectly. The parts you plane or saw will need to be touched up with the same stain or paint colour, but the entire project is a relatively easy one.
We will discuss the different door materials that can or can’t be trimmed later, but for now, let’s walk through the trimming process.
We recommend referring to your product fitting instructions to ensure you don’t take off too much material, ultimately ruining the door. If you’ve purchased your internal door from us, feel free to get in touch with any questions about your particular product.
Trimming is much easier than you might think, and you’ll likely already own most of the tools you’ll need. Here’s what you need to do.
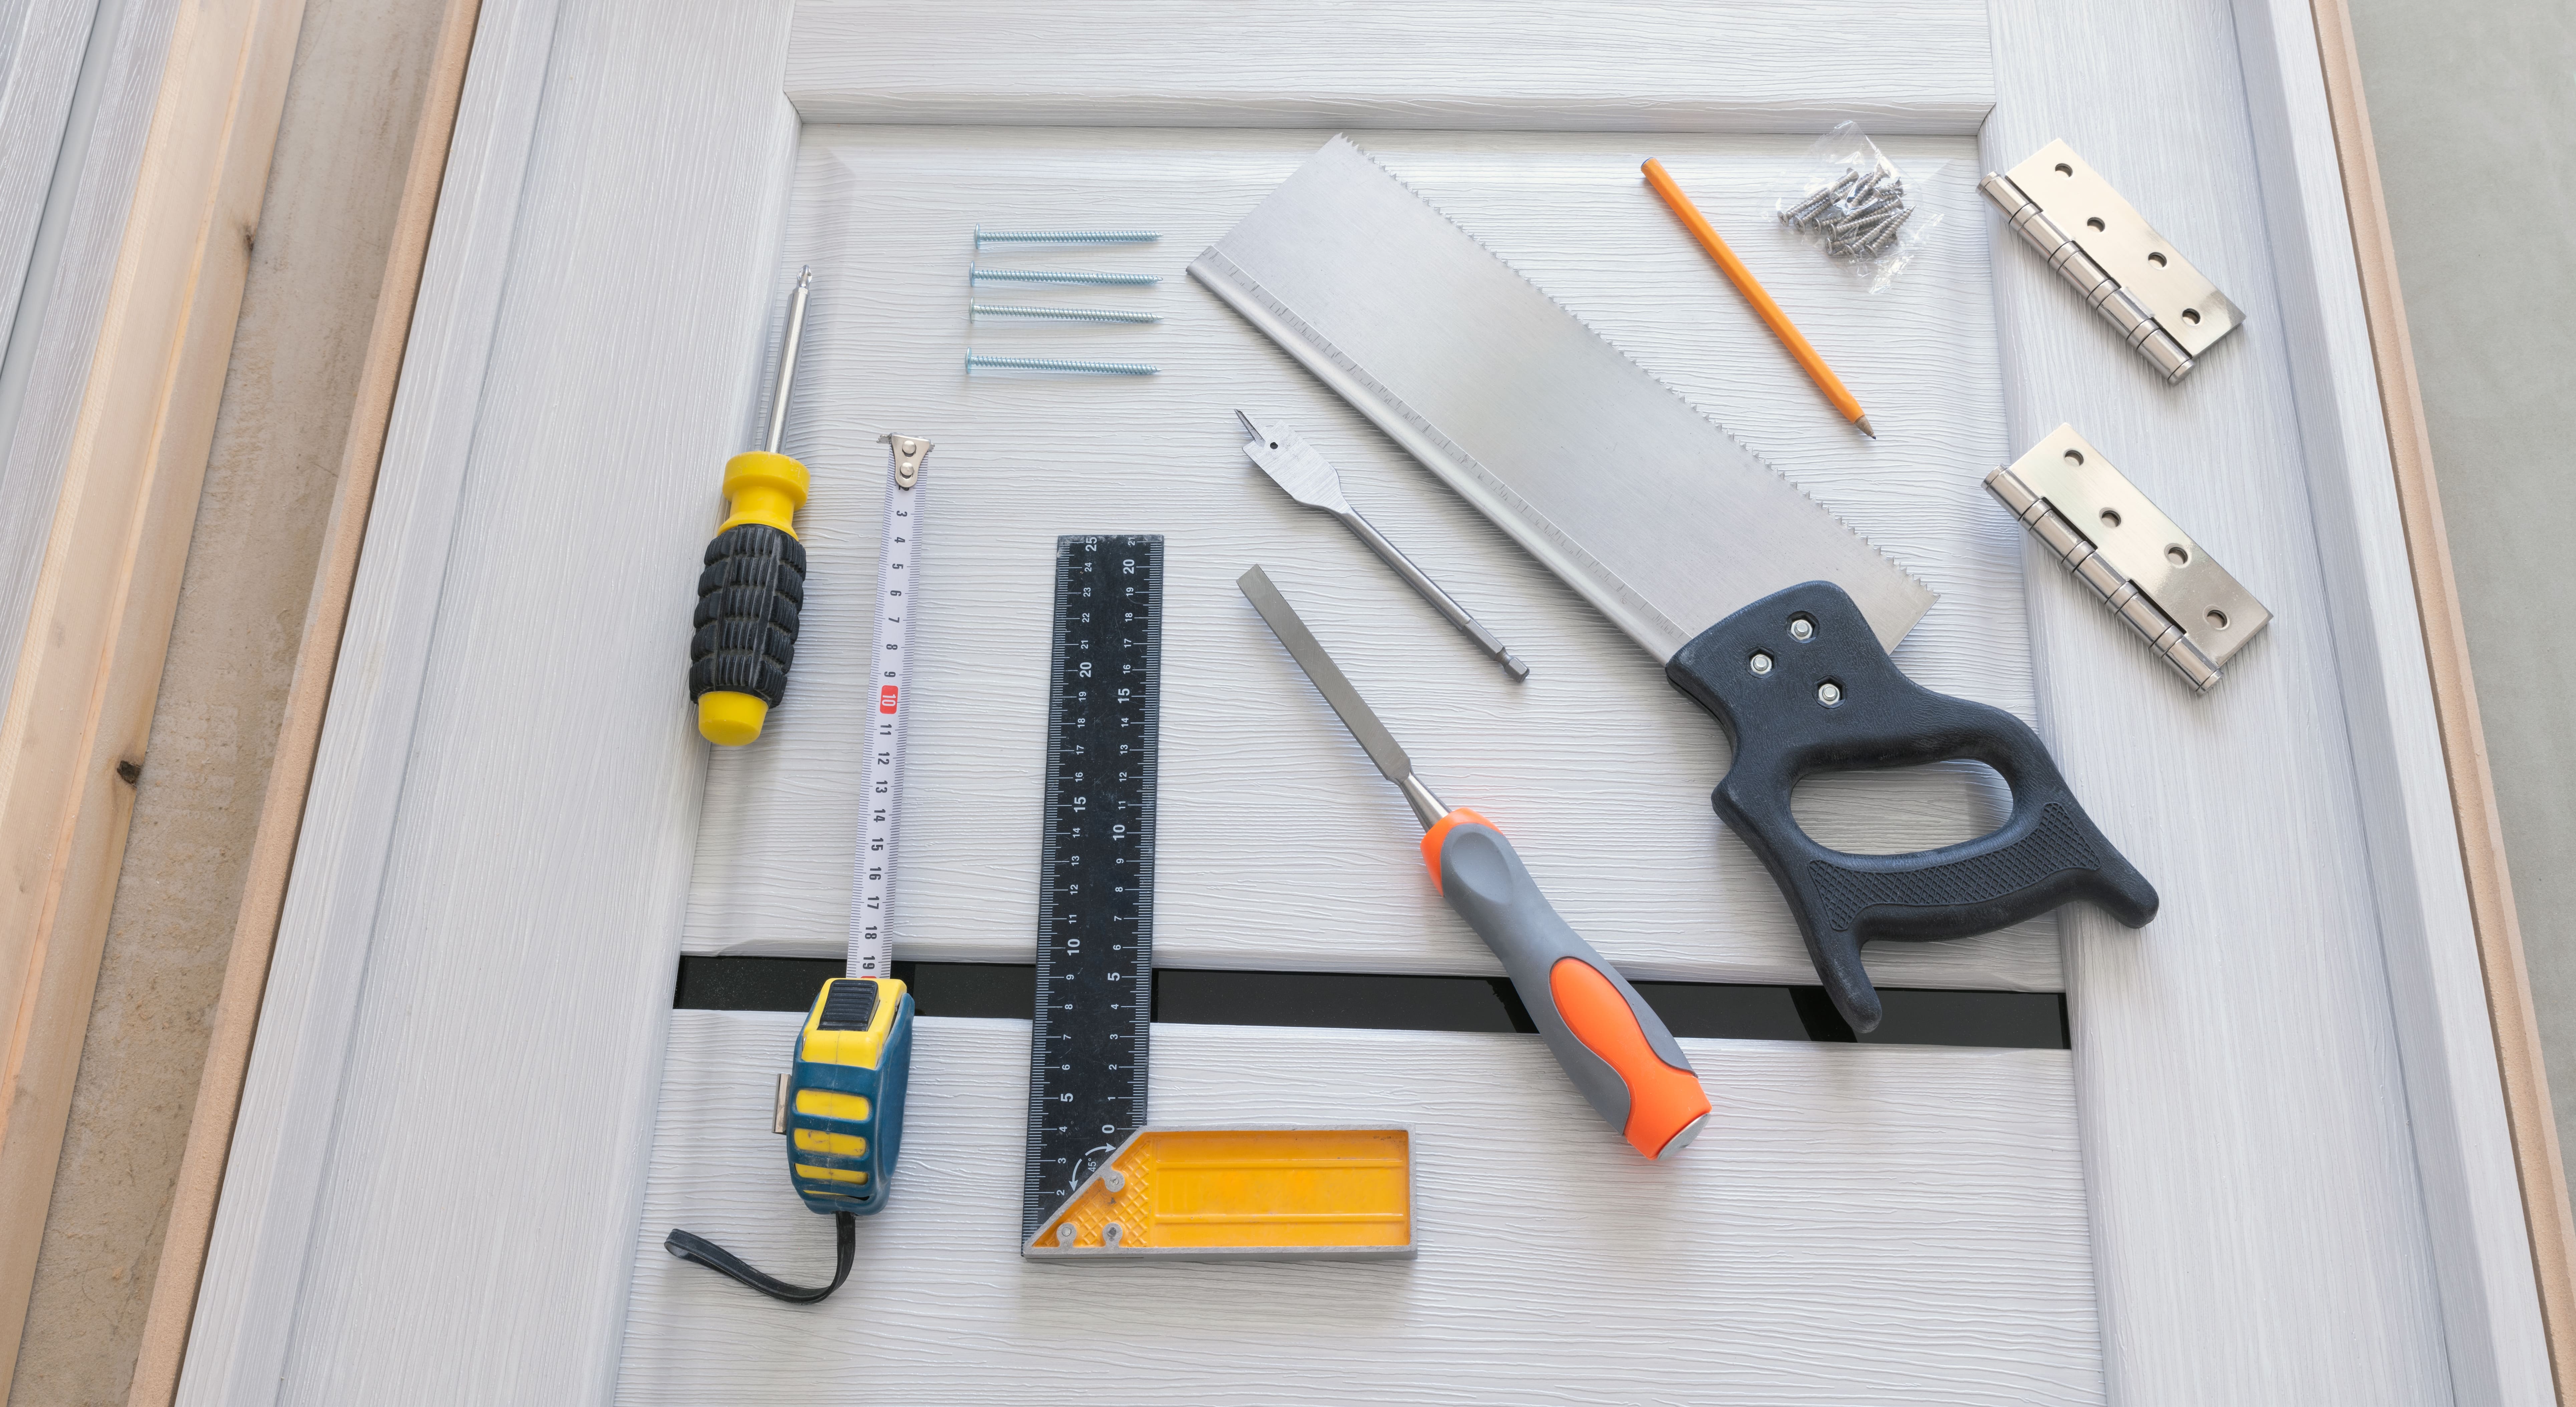
1x door wedge.
1x hand saw or plane power tool (see step three for more detail).
Face mask (one per person).
Goggles (one per person).
Masking tape or painters tape.
1x pencil.
1x utility knife.
Straps/clamps (to secure the door to the workbench so it doesn’t move in situ).
1x tape measure.
Sandpaper
1x workbench.
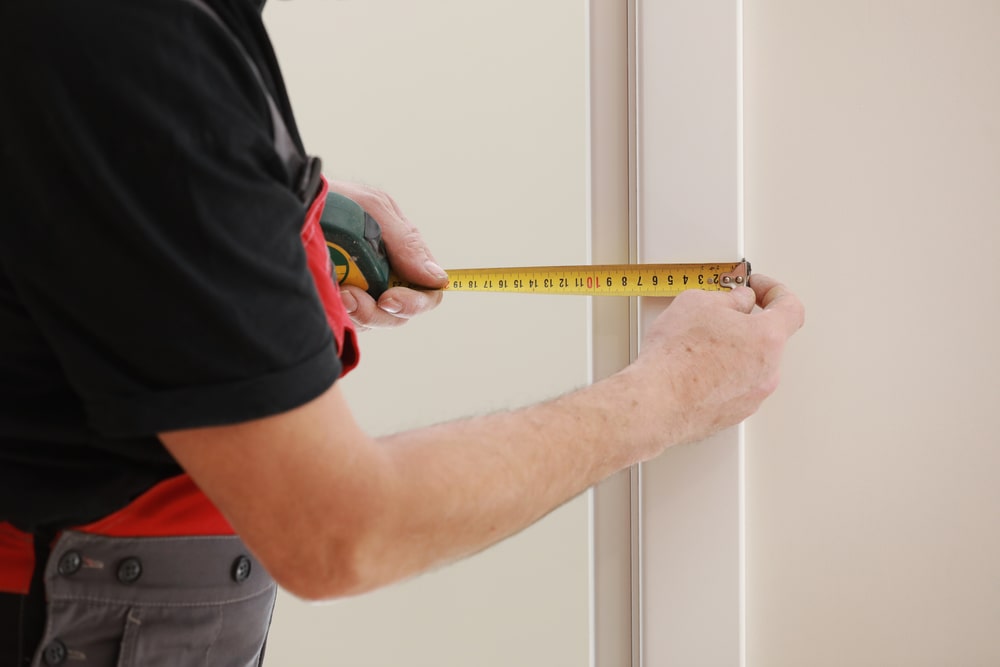
This first step is incredibly important. You need to accurately measure your door frame using a tape measure to ensure your door will fit snugly in place, assisting with noise reduction, heat insulation and protecting your flooring when opening and closing your door. It needs to be fully functional as well as stylish. We’ve written a very detailed guide on how to measure your door frame here.
Next, use your pencil to mark out on your door exactly what needs trimming. Use something with a straight edge to create a pencil line. It's useful to score this line with a utility knife, too. This cut line will be your guide. At this stage, consider how much you need to take off from each side. You want the panels to be as even as possible so it’s not obvious you’ve trimmed the door to fit.
Alternatively, if your old door fitted seamlessly in position, you could place it on top of the new one and draw around it with your pencil. That may get you close to perfect, however, we highly recommend also measuring your door frame and using that as a true guide. It’s better to be safe than sorry!
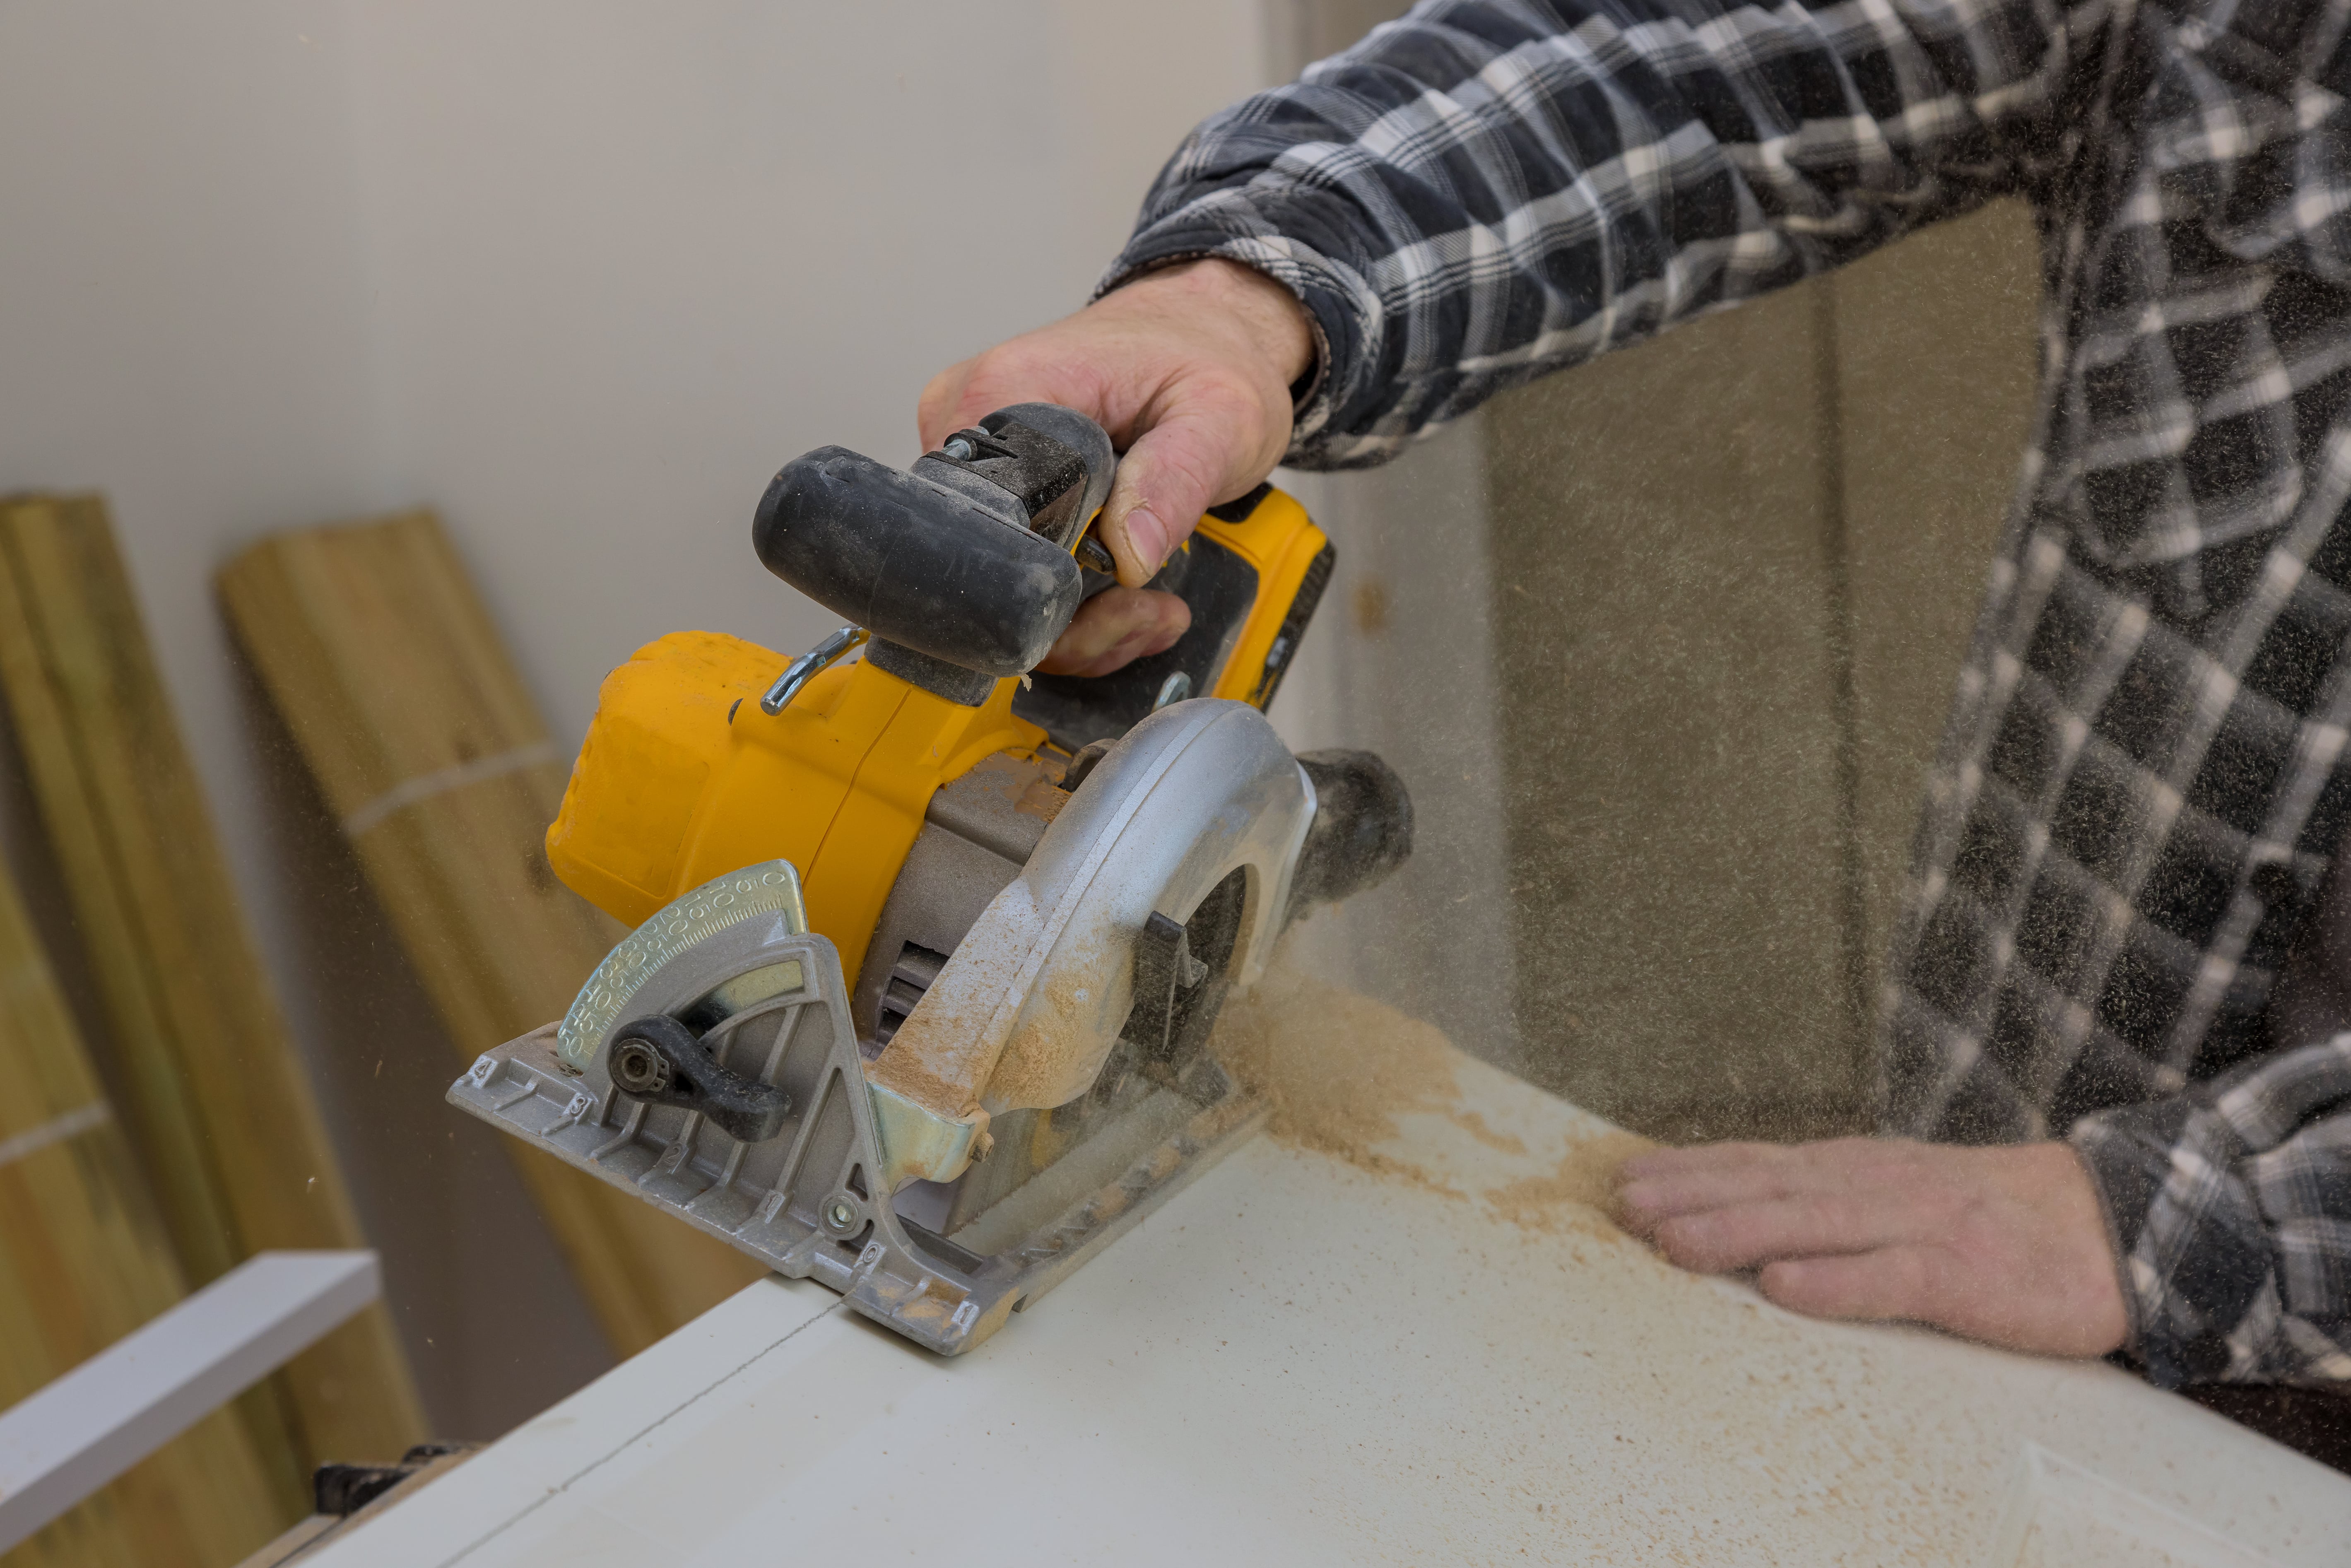
Lay your door on a workbench and secure it using straps or clamps. It’s vital that it doesn’t move once you start cutting, or you may end up taking too much off or having an uneven finish that lets in draughts and noise.
At this point, we recommend putting masking or painters tape around both sides of the door to stop any splintering when cutting. It’s worth taping up to six inches high so that your equipment doesn’t scratch, scuff or bang the door.
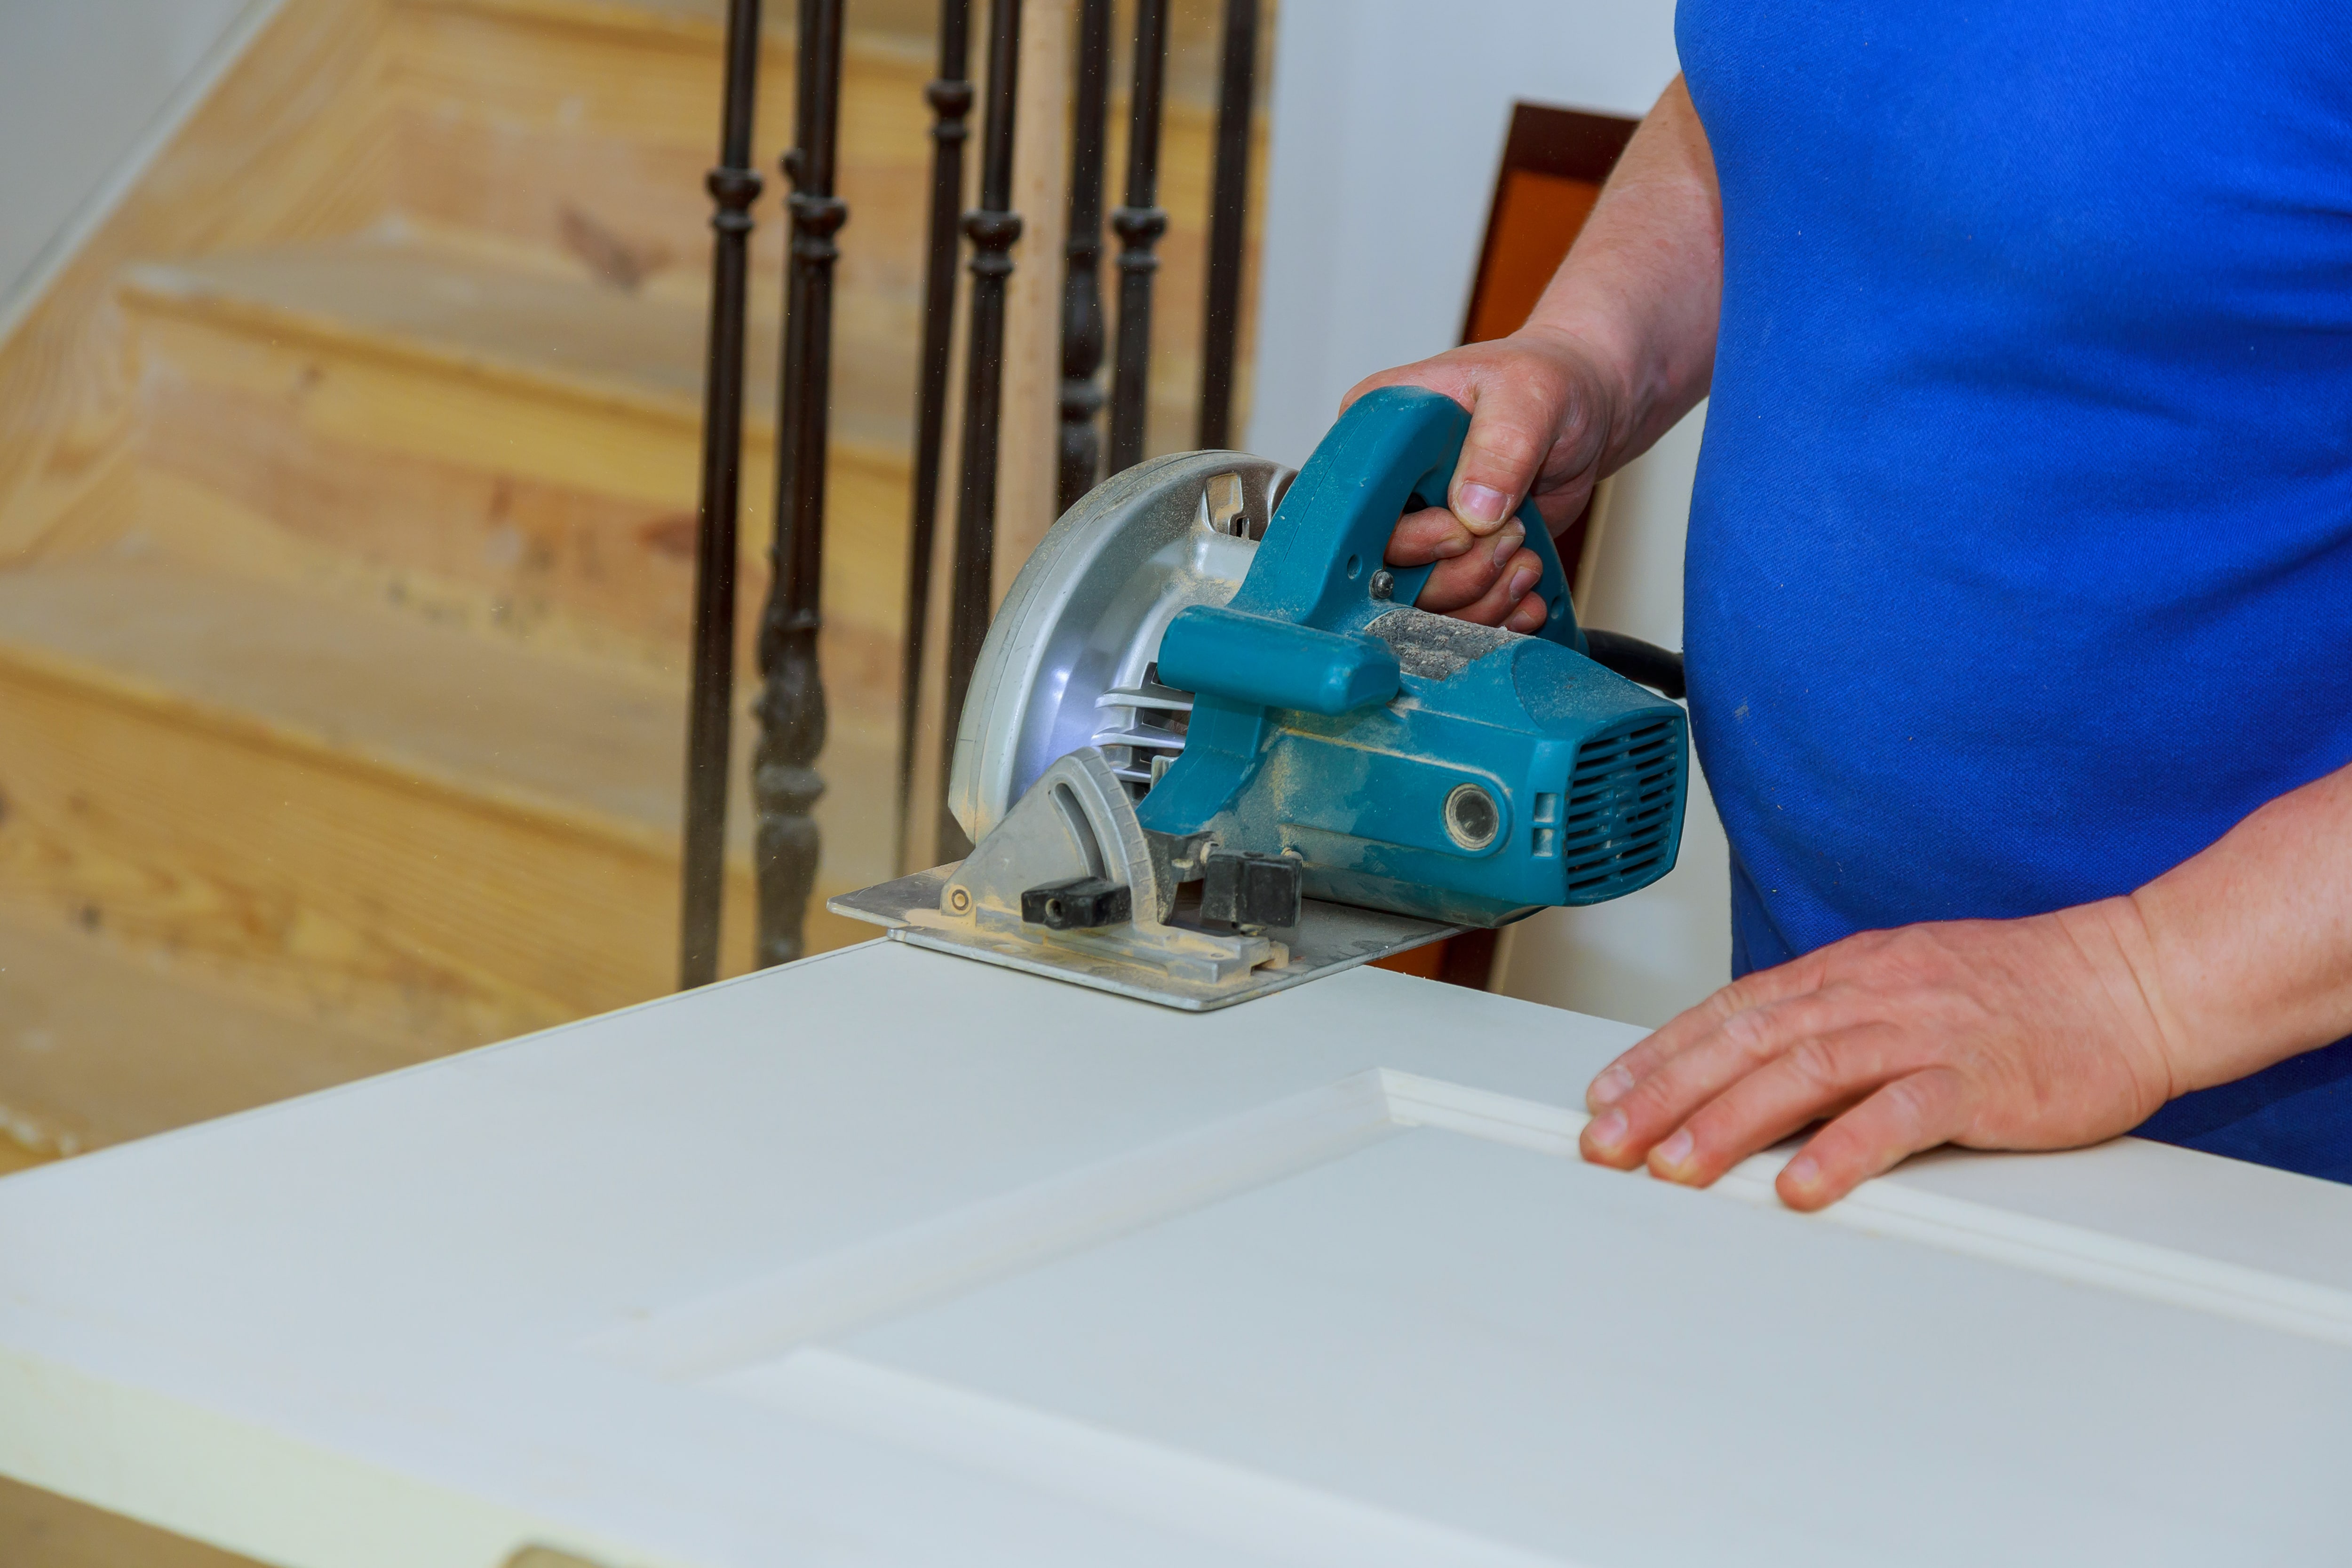
You should wear goggles and a mask for protection for this next step.
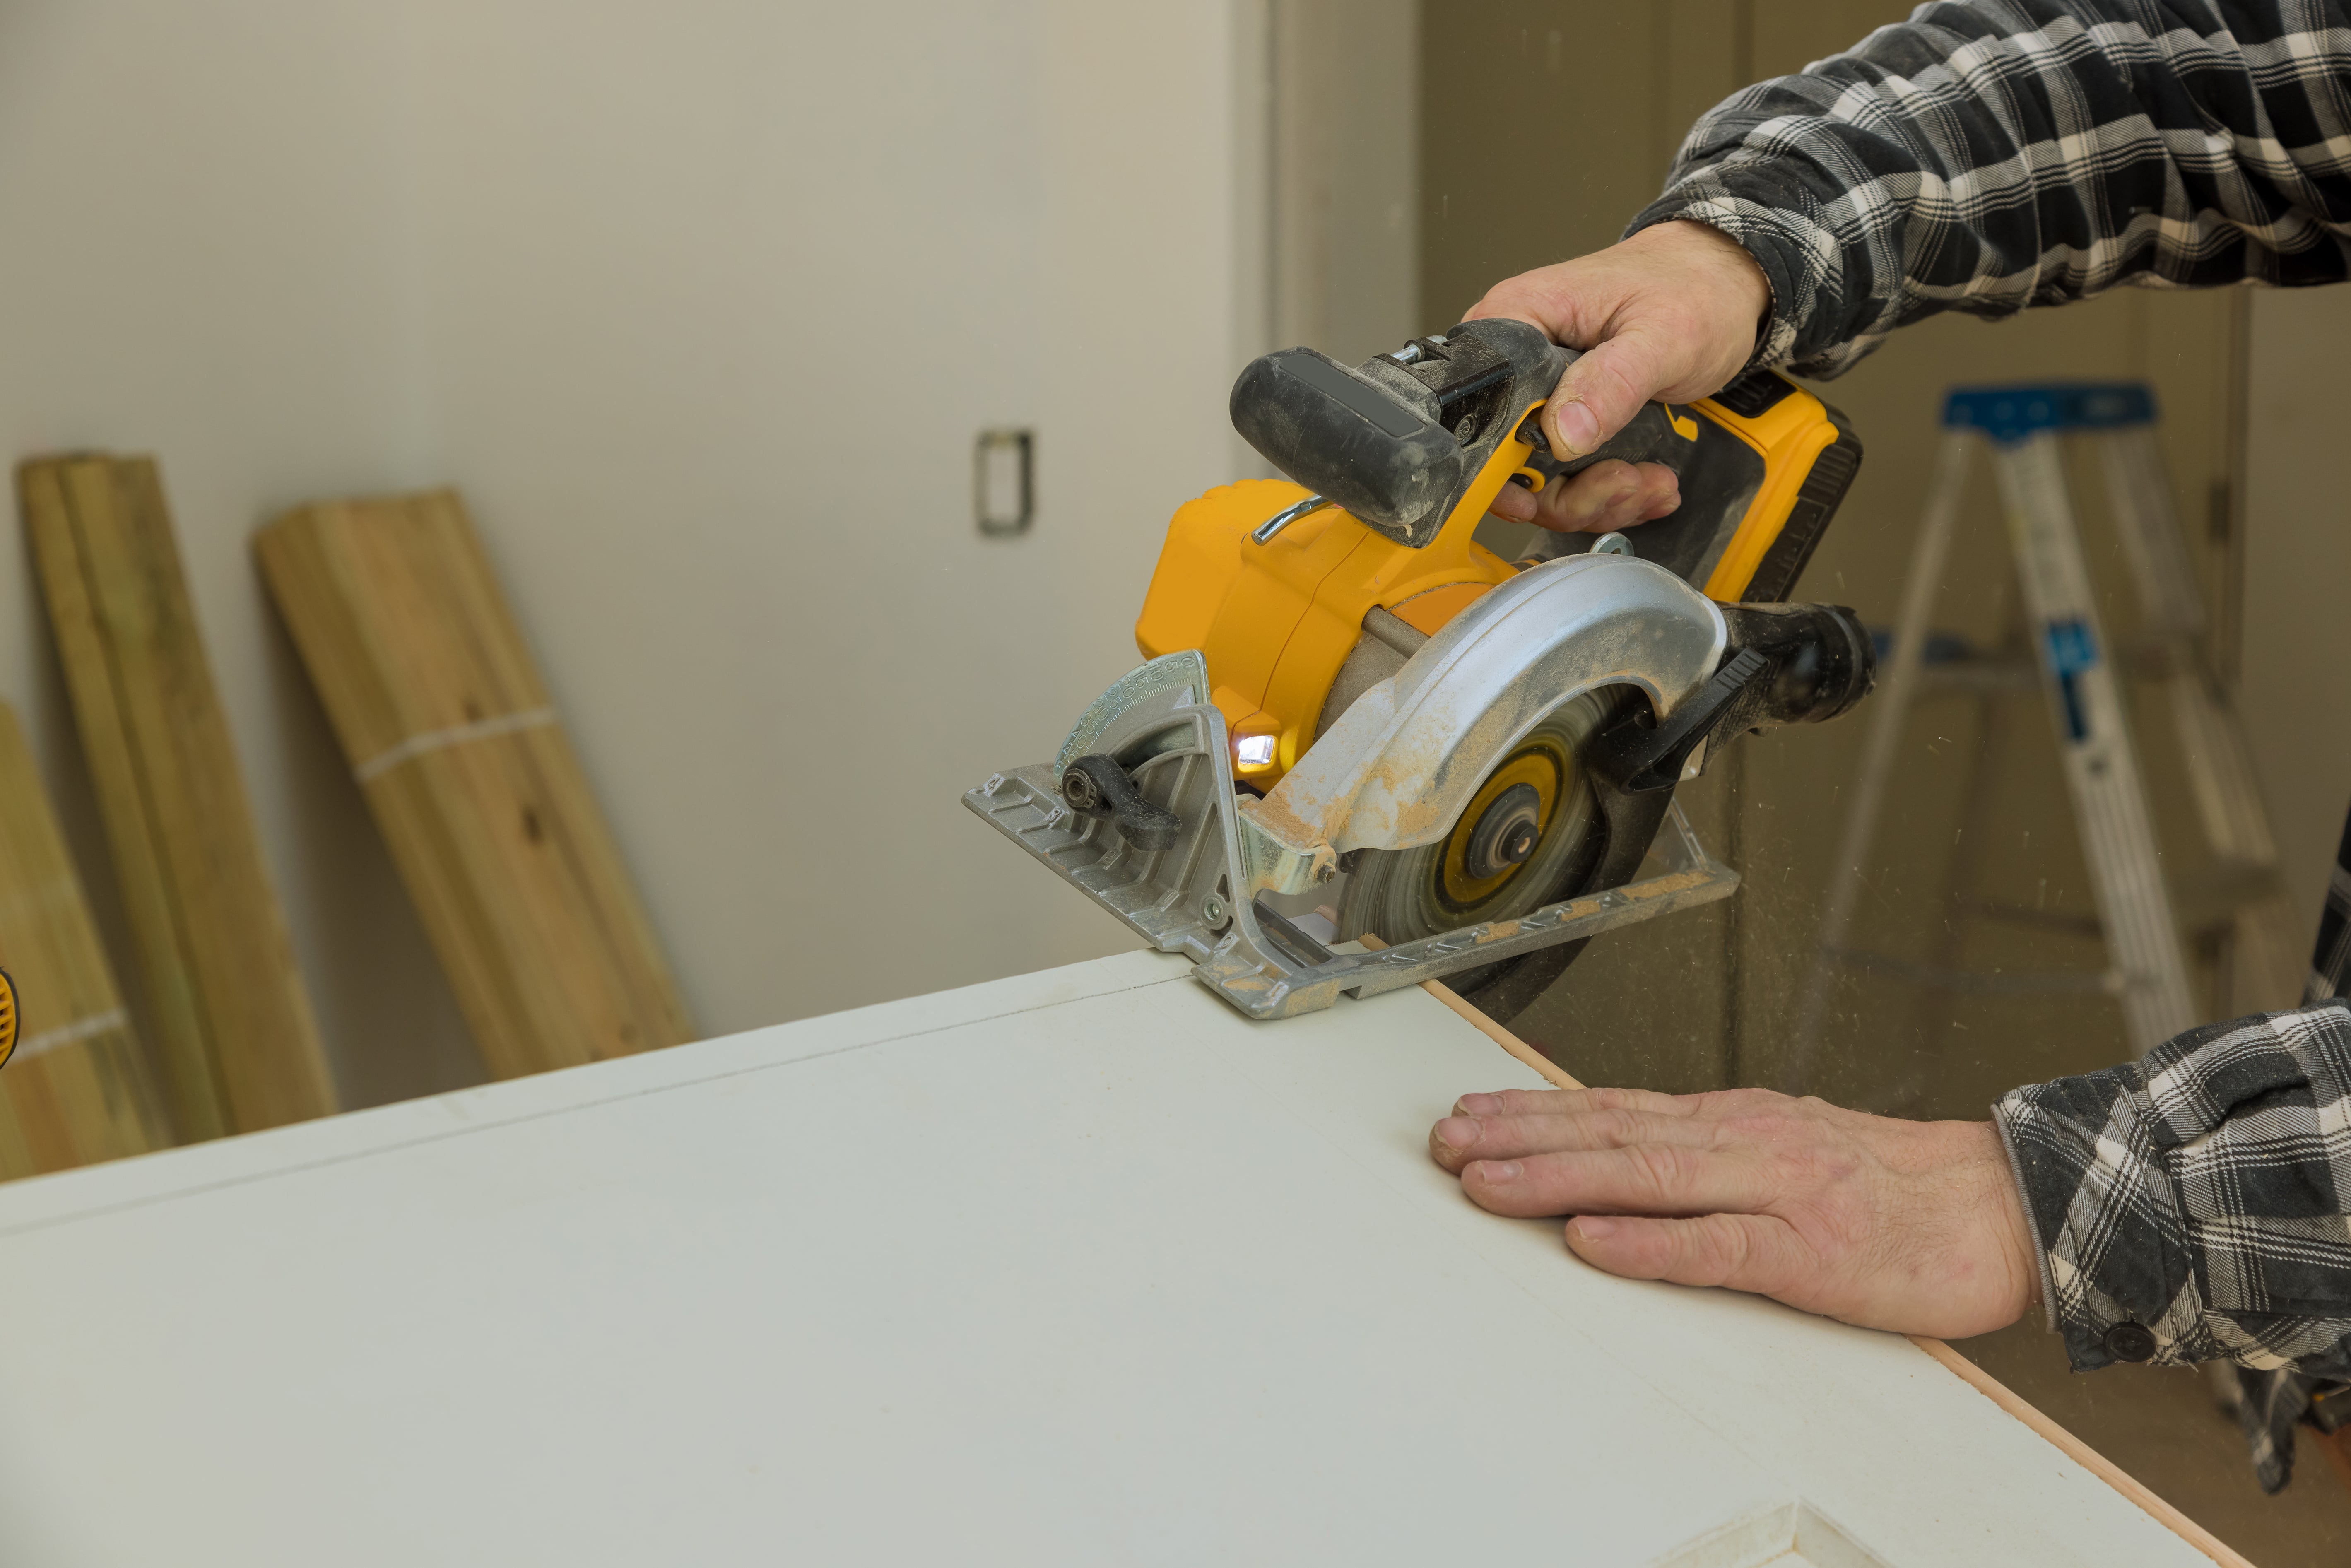
How much needs to be trimmed will impact whether you use a hand saw, circular saw or plane power tool. If there isn’t much that needs to come off, you’ll probably be better off with a plane. If you need to get rid of a considerable amount, a saw will likely be your best bet here.
If you are using a plane, be sure to adjust the angles so that it trims gradually and evenly. Slow and steady is your best course of action here. Also, remember to run the plan in the same direction as the wood grain for a smooth result.
We also recommend regularly stopping and positioning your door in its frame as a point of reference. This works as a sort of troubleshooting in case your calculations are a little off.
It would be helpful to ask a friend or family member for help at this stage, so someone can assist in putting the door in position and holding it so that you can step back and review whether more needs to be trimmed and where.
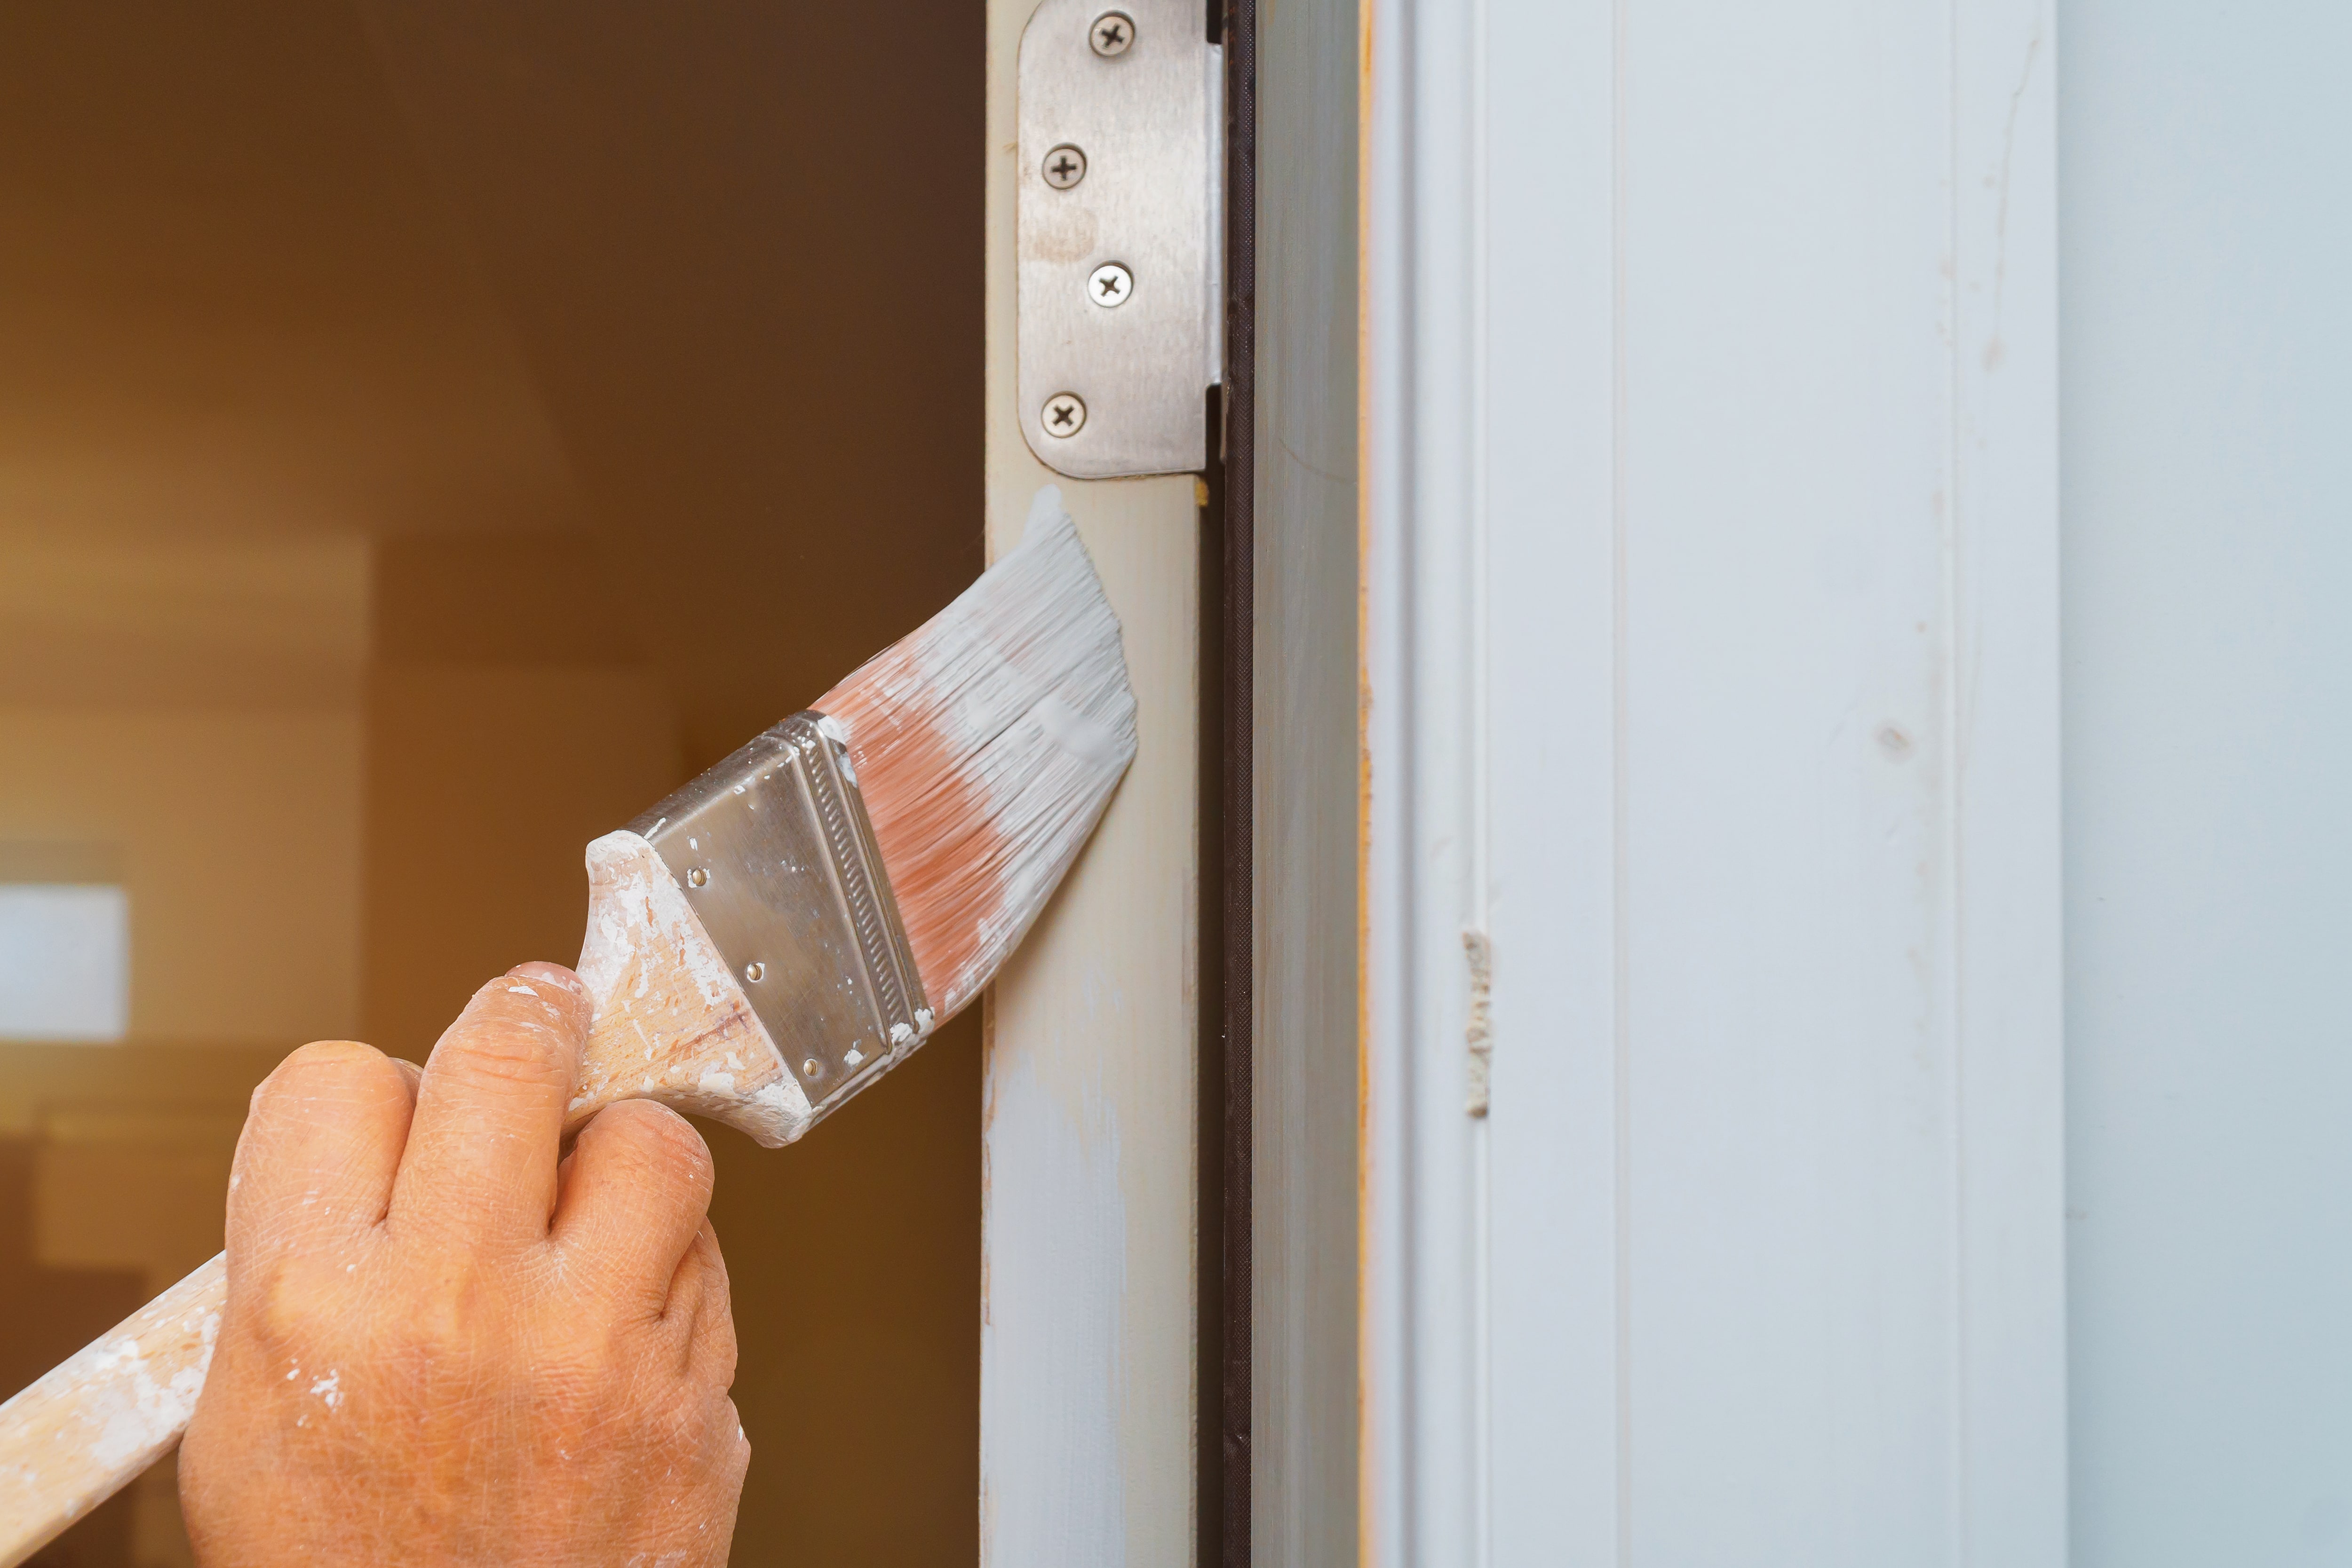
When you’ve perfectly trimmed the door (well done!) use fine sandpaper to lightly sand the cut edge. There will be exposed areas that need restaining or repainting to match the rest of the door (more on this further down). You should sand the wood first to ensure a smooth finish once the stain or paint has dried.
Once you’ve applied the stain or paint, wait for it to dry fully before hanging your internal door.

This is the moment where all your hard work pays off. It’s time to arrange the door in the frame, position the hinges (use the door wedge to help with this stage), and add the hinge pins. Next, use the hinge screws to secure the door in place. You should be able to open and close the door with ease.
You may find our guide on how to hang a door in an existing frame helpful.
And there you have it, in five easy steps, you’ll have a fully functional and beautiful door.
It may be that your internal door fits seamlessly into position, with the only exception being the bottom of the door which drags across the floor, for example. In this situation, it is possible to sand the bits that are catching without taking the door off its hinges:
As with the instructions above, be sure to regularly check the impact so that you don’t remove too much wood.
Another situation where you may want to adjust the size or shape of a door without taking it off its hinges is if the frame has warped slightly. This can happen over time due to extreme temperature or moisture changes or even as a result of age. In this case, you may want to plane the door. It’s possible to do this with the door in position, but we only recommend trying this if there’s a very small amount that needs to be taken off.
If you need to take off a larger portion or the top of the door, we don’t recommend doing so with the door in situ. The angles will be particularly difficult, increasing the risk of injury and it's far too easy to go askew and damage the door beyond repair.
That depends on the material your door is made out of. Solid wood doors are easier to trim because they are the same all the way through. Not all doors have a solid core though, some may only be so for an inch around the sides, before becoming hollow. We will go into specific materials below, but a general rule of thumb is that you don’t want to be trimming more than two inches off any door or you may risk damaging it.
Hollow-core doors tend to have a strong outer frame at the top, bottom and sides, which means that they can be trimmed. Again, you don’t want to cut too much away or you’ll risk damaging its structural integrity and have to replace the outer frame. It's generally recommended not to take more than a quarter-inch off the sides.
However, you should refer to your product finishing instructions or consult the manufacturer to ensure you don’t trim off so much that it causes significant damage, meaning you have to buy an entirely new door.
The majority of oak veneer doors have lippings on each side made from solid wood, however, they will only allow for approximately 10mm to be taken off from the sides. You must get your measurements right when ordering a door of this material as there’s far less room for trimming than if you were to invest in a hollow core door, for example.
Yes, you can, and you can trim all of the edges (top, bottom and sides) without worrying about splintering or cracking. However, laminate doors are the most unyielding out of the three. You can only trim up to 5mm, any more than that and you risk damaging the integrity of the door.
We mentioned ‘finishing’ the door in step four of this guide. This isn’t just for aesthetic purposes. Finishing, either by treating or painting the wood adds a protective layer. You won’t have to worry about moisture seeping into and wear and tear will take longer to become a problem.
You generally have four options:
The type of seal you opt for will depend on the material you’re working with. For natural, wooden doors, you’ll be looking to use stain or varnish, whereas if your new door has been painted you’ll be looking for the same colour to ensure a seamless finish.
Again, we recommend referring to any guides that come with your door, speaking to the manufacturer or getting in touch with one of our team members if you are unsure; it’s always better to be safe than sorry.

While most interior door manufacturers will work as closely to ‘standard’ door sizes as possible, it’s incredibly rare for a new door to fit seamlessly into a frame without some trimming. The important thing is that you measure your door as accurately as possible, check the fitting as you progress so that you don’t take too much off and ensure you finish the door with the correct treatment or paint to maintain that fresh new look and protect the door in the long term.
Proud stockists of....
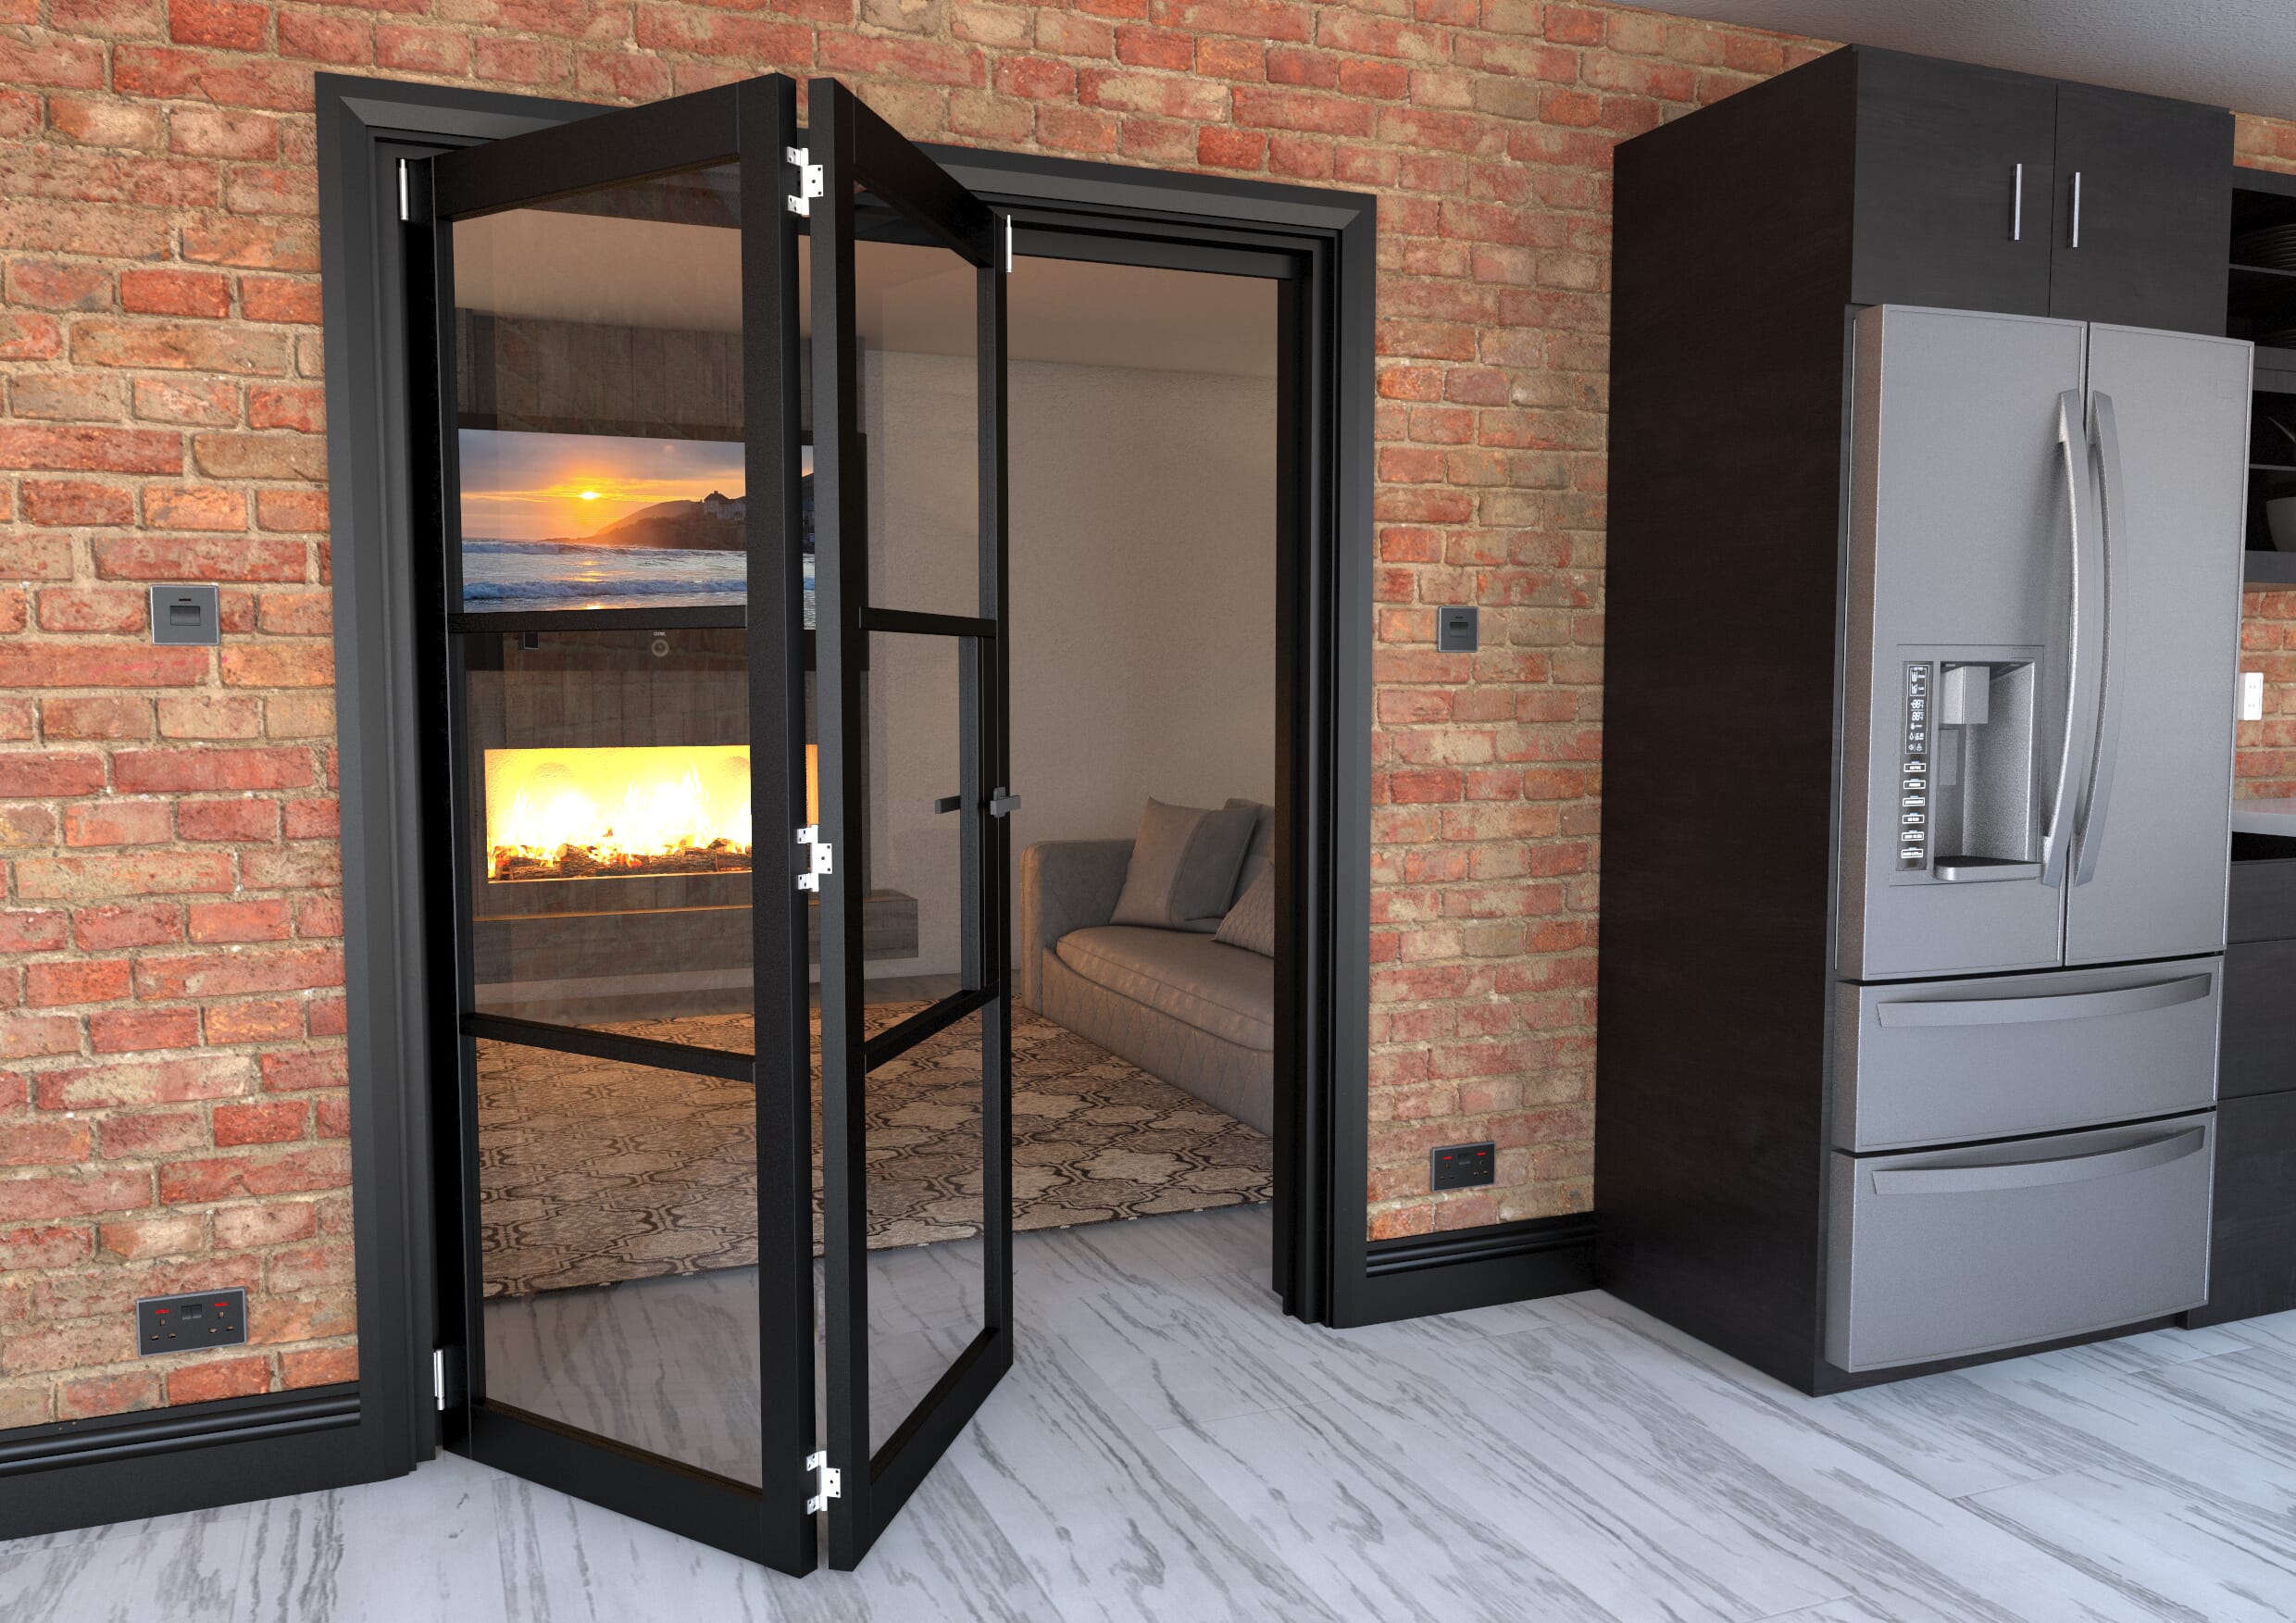
Bring industrial-inspired design into your home with our collection of heritage steel-look doors. Available in bifold, French and internal door options, these on-trend designs offer the distinctive appearance of traditional steel doors with the practicality of modern materials. Browse our range today and transform your living space with striking heritage style doors.
Trusted stockist of Climadoor; the Folding Doors brand.
© Express Doors Direct 2026. All rights reserved.
Company number 11557039.