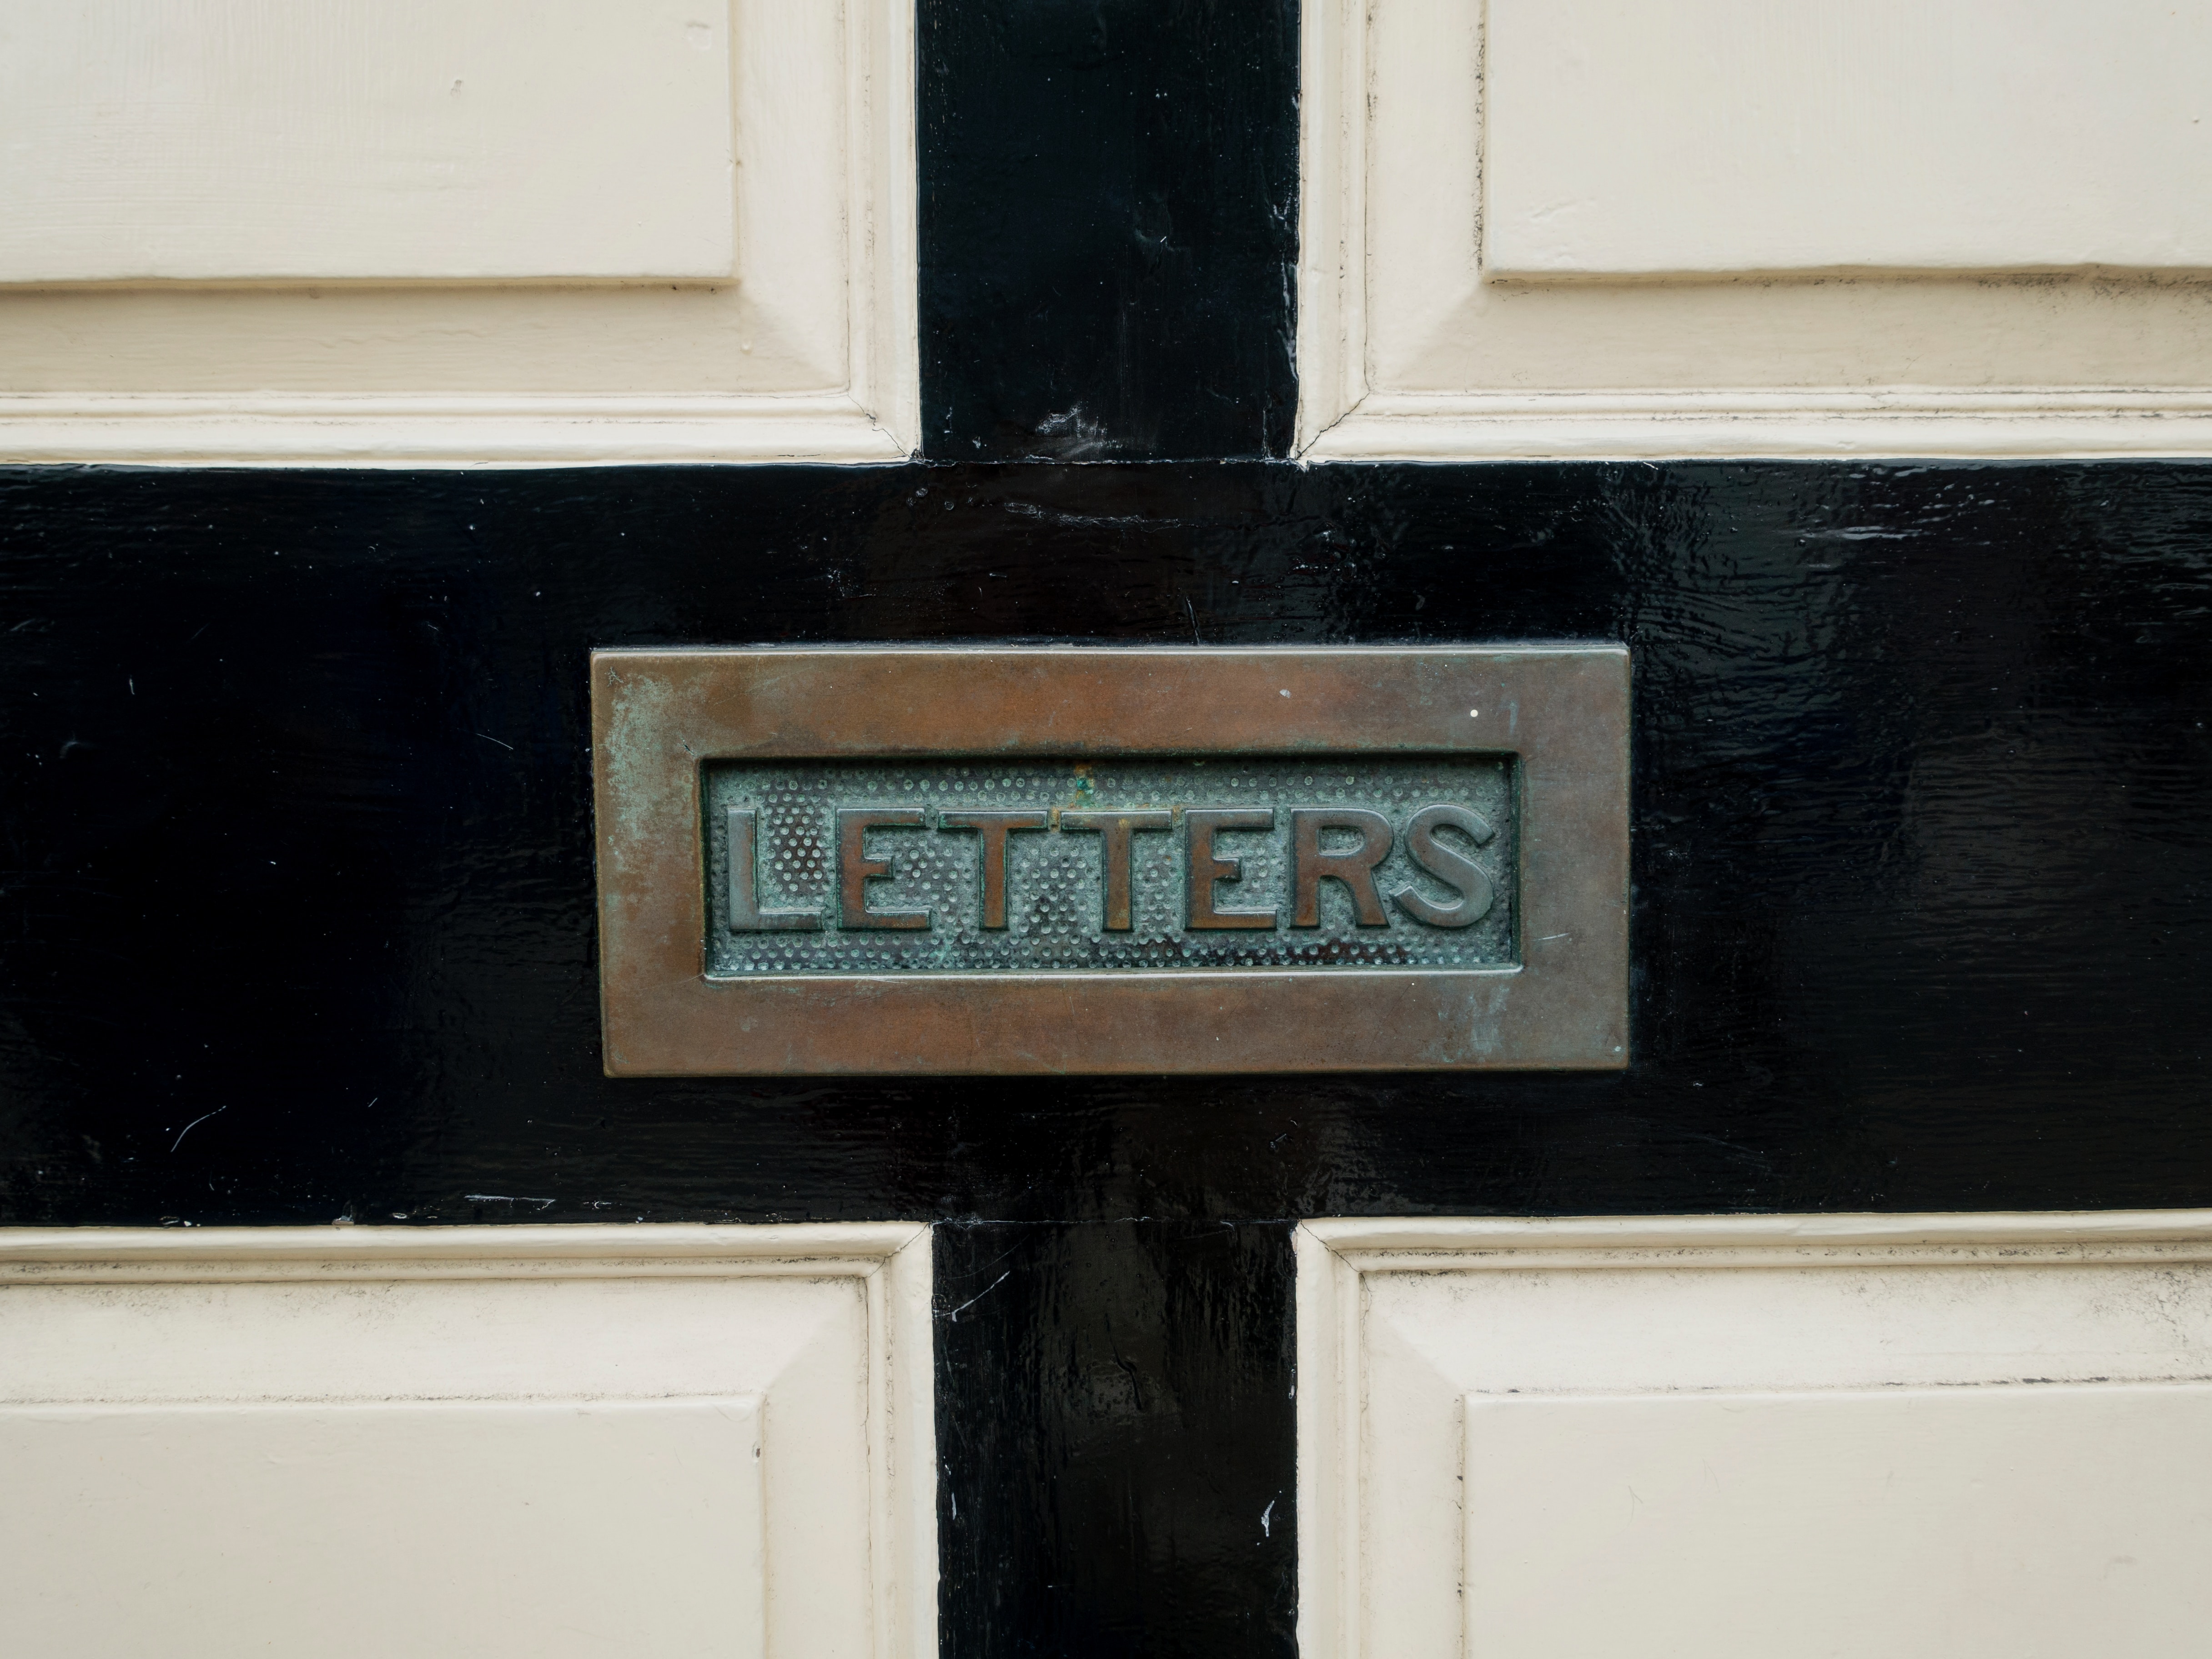
If you’re going to be able to receive traditional snail-mail, then you’ll need a suitable letterbox. It’s through this simple device that postal workers are able to deliver our post while we’re out doing other things.
In most cases, a letterbox is installed directly into the front door itself. If your door is a timber door, then you’ll have the luxury of choosing a letterbox to suit your particular taste (and to suit the door itself). Moreover, you’ll have the choice of where exactly on your door your letterbox will be installed.
This isn’t a job that requires a professional hand. Most competent DIYers will be able to tackle the project, provided that they’re patient and willing to set aside the appropriate time. Here, we’ll run through the process from start to finish. But before we do that, let’s do our groundwork, and establish exactly where we’re going to cut the hole.
What’s the best position for a Letterbox?
Traditionally, a letterbox will go right in the middle of the door, level with the handle. This will allow easy access without having to stoop over. However, not all doors will allow for this. There may be panelling running all the way up the centre of the door. Or, you might have a lot of glazing, which obviously you won’t be able to cut a hole into. Some people might prefer the look of a floor-level letterbox; for most of us, it’s a question of practicality.
What Tools Will I Need?
To get this job done right, you’ll need quite an extensive assortment of tools. Fortunately, they’re the sort of common tools you might already have to hand. Be sure that they’re all ready to go before you get started.
You’ll need:
- A pencil
- The letterbox
- A file
- A jigsaw
- A drill with suitable bits
- A spirit Level
- A ruler (preferably a metal one)
- A tape measure
- A hammer or mallet
- A spanner
How long does the job take?
You should be able to get it done over the course of an afternoon, even if you’re not all that experienced with DIY. If you know what you’re doing, you might be able to get the job done in an hour or even less. With that said it’s better to give yourself more time than you need. You don’t want to end up rushing the task toward the end, as that’s when mistakes can occur.
Letterbox Installation: Step by Step

Having assembled our tools and set aside the necessary time, we can get started on the installation itself.
Step 1: Find the Centre
First, we’re going to mark the position of the hole onto the door. This will allow us to see exactly what the hole is going to look like before we make any permanent alterations and to correct any slight crookedness.
But how do you measure a letterbox? There’s a trick to it. You want your letterbox to be at the door’s exact centre-point, so take your tape measure and measure the width of the door. Then mark a point midway across. You might also want to do the same with height, though a letterbox that’s too far to the left or right will look far more out of place than one that’s slightly too high.
Step 2: Mark the Hole
Next, we’re going to draw a rectangle around our mid-point. Use your ruler and the spirit level to get every edge perfectly straight. You can start by making a short vertical line upward from your midpoint (half the height of the final letterbox) and then drawing the rectangle from there. Once you’re done, double-check every angle and edge.
Step 3: Start drilling
Now we can start drilling a few holes. These are what your jig-saw is going to be threaded through. You need one in each corner, large enough to thread the blade. The sides of each hole will need to be just about touching the edge of the rectangle you’ve drawn. Be sure to keep the drill perfectly level, as correcting a crooked hole is a major pain.
Step 4: Get Sawing
Now we can start sawing. If you’ve never used a jigsaw before, then this might prove a bit of a challenge. The saw will take care of most of the work for you, so you won’t need to apply much force. Stay inside the lines rather than straying outside them, as you’ll be using the file to correct any remaining bumpiness after you’re done.
Step 5: Tidy Up
It’s time to tidy your work. Use your file to go around the edges. Take your time and make sure you don’t go too far. You don’t need perfectly smooth sides, as the letterbox itself is going to disguise small imperfections.
Step 6: Thread the letterbox
Here’s the moment of truth: is your letterbox going to fit? You’re just going to thread it through the hole to make sure that everything aligns correctly. If it does, you’re ready to install more permanent fixtures.
Step 7: Mark the stud locations
Before you start drilling the studs, you’ll need to mark the locations. There’s a trick to doing this accurately. Just take your letterbox, studs and all, and hold it over the door. Then, after covering it with a protective cloth, give it a gentle tap at each corner with your mallet. Your stud locations will be marked into the wood.
Step 8: Drill your Holes
Now it’s time to drill the actual stud holes. You can do this by first drilling a pilot hole to make things easier.
Step 9: Attach your nuts
Finally, you can tighten the nuts to fix the letterbox into place. If there’s any excess, you can trim it with a hacksaw.
In Conclusion
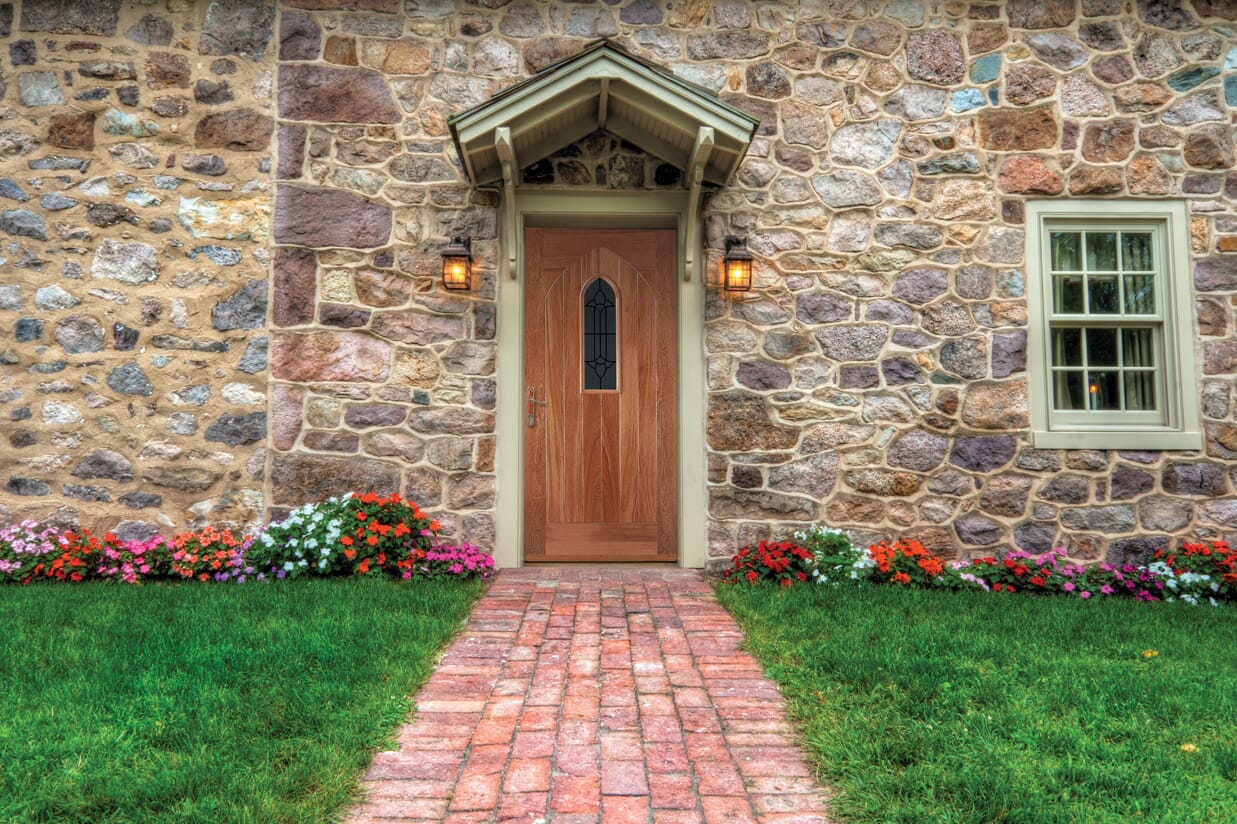
A letterbox is a critical part of your home’s front end. Not only does it serve an essential, practical purpose, but it’ll also contribute to the overall look (and ‘kerb appeal’) of the building. If you’re looking to make an impression on your visitors, then this particular bit of DIY makes great use of your time!