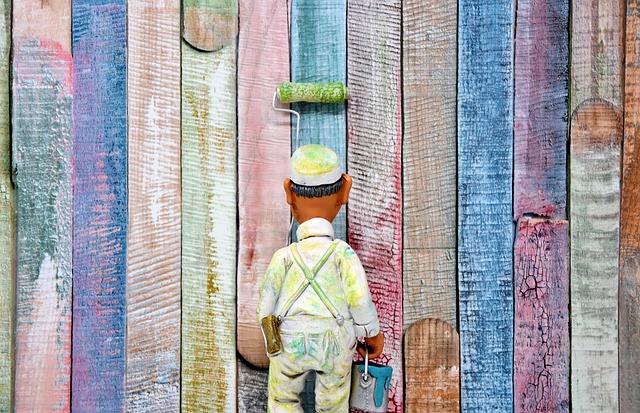
Interior decorating is a great way to revitalise an interior space. A lick or two of paint can transform a room entirely, turning it from drab to vibrant over the course of a single afternoon. But if you’re not careful, things can get a little messy: paint splashes are inevitable, and if you want nice clean lines dividing your skirting, sills and walls, you’ll need to take some extra precautionary measures. Let’s take a look at some of them.
How do you Tape off Door and Window Frames?
Let’s run through the process of taping up the entire room, particularly protecting your door & window frames.
First, you’ll want to remove any dust and grime from the areas you’d like to tape. If your door and window frames are glossy enough, this might just mean giving them a once-over with a damp cloth. If you don’t do this, then the tape won’t adhere to the surface, and paint will creep underneath. The result? A crooked line.
You’ll want to apply your tape in short stretches of around a foot long. This is because it’s slightly stretchable, and if you use too much, you’ll run the risk of overstretching. When the tape reverts back to its original shape, it’ll work loose from the wall, and allow a little bit of paint through. Different sorts of tape will be more resistant to deformation, and thus it’s worth investing a little more in the right kind.
Place the tape right up against the surface you’re going to be painting. This will ensure the straightest possible line. If you have excess tape available, then have it come away from the wall to form a slight gutter. This will catch any stray spatters if you get overzealous. Then, when you come to remove the tape, you can use a Stanley knife to score along the edge and ensure that there’s a clean break between the paint and the tape.
You can use the edge of your Stanley knife to ensure that the tape forms a tight seal against the surface. Just be careful that the blade doesn’t dig into the tape itself, as this will risk damaging the underlying material, and creating an uneven effect.
When you’re joining lengths of tape at the corners of your skirting board or window-frame, it’s important that you get the angle right. This is often best achieved using a mitre seam. You don’t need to be terribly precise about this – just cut the end of the tape at a rough 45-degree angle.
If you’re applying tape to a surface you’ve recently painted, such as a skirting board, then be sure that you’ve left sufficient time for the paint to not only dry, but cure, too.
While a single length of tape should be enough for most paint-jobs, you might want to be extra careful and tape sheets of paper to the other side of the tape. This will prevent all but the most violent splatter from reaching the floor.
What sort of tape should I be using?
You’ll find different sorts of tape available, designed to deal with plaster, paint, wallpaper, wood or metal. Check the packaging to see what you’re getting. Ideally, you want something that’s strong enough to stick to the wall, but not so strong that it peels off a great big chunk of paint when you come to remove it.
How do you Protect Glass?
Masking tape is usually adequate for protecting glass surfaces. Just make sure that the edge of the tape sits right up against the edge of the glass. If you’d like to try something a little different, you might consider liquid mask, which can be daubed straight onto the glass. It’ll turn into a rubbery goo when it dries, allowing you to peel stray paint specks right off the glass.
How do You Remove & Store Doors?
Removing doors entirely will save you from having to mess around with tape. It’ll also slightly widen the entrance to the room, which might come in handy if you’d like to move large, cumbersome items of furniture in and out.
Let’s look at how to take a door off its hinges. Start by assembling a few key items.
You’ll need
- A hammer
- A nail
- A pair of pliers
- A sheet of cardboard
Step 1. To begin with, we’re going to loosen the hinge pin. You can find special tools which do this job, but if you don’t have one to hand, a nail and a hammer will do the job. Just lightly tap the pin upwards from below, and then pull it out from above using your pliers.
Step 2. Repeat step one with the other hinge.
Step 3. Now we’re going to actually remove the door. Simply open it and allow it to fall from its hinges (but don’t allow it to fall straight onto the floor.)
When you come to restore the door to the frame, you’ll want to first lay down a sheet of cardboard. This will prevent the door from gouging into the floor as you realign it with the frame.
How to store doors
If you’re only storing your internal doors for a few days (or even just a few hours) then it doesn’t matter too much how you store them, provided that they’re out of the way. If you’re storing them for longer, then we’d suggest laying them flat, with all of the hardware removed. This will prevent them from warping under their own weight, and remove the possibility of them being inadvertently knocked over. Don’t store your door in a room that’s just been plastered – as the air will be full of moisture as the plasterwork slowly dries.
In Conclusion
Preparation is key if you want to get a smooth, crisp paint job. This means applying tape in short lengths at every edge you don’t want to be covered in paint. When you’ve got everything nicely covered, you’ll be able to go right up to the edges with your roller, without risk of creating an unsightly mess.